Tag: Belt Sander
-

Hand Made Aluminium T-Nuts
I recently installed a t-track into my router wardrobe table and quickly discovered that I didn’t have enough t-nuts to do anything useful. I vaguely remember buying some t-nuts with the track but that was a while ago and time seems to have ensured that all but one has gone missing. What more excuse do…
-
Repairing a Window Sill – Part 4
In part three of this growing series on repairing a window sill I cut, shaped and fitted the two largest patch pieces. In this part I prepare and fit the other patch pieces for the sill and start to prepare the outer lining patch.
-
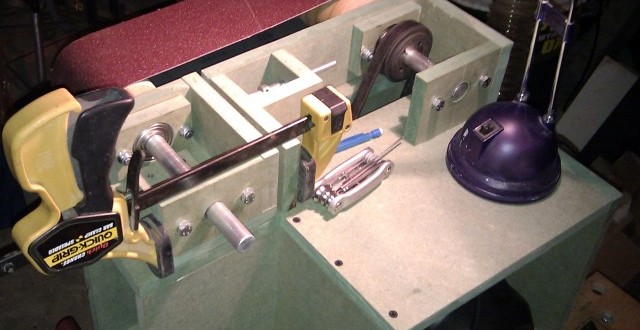
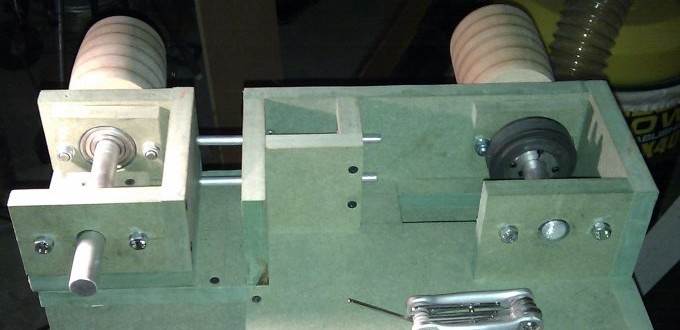
Belt Sander – First Rotation
One of the most worrying aspects of this machine build is that it’s been essentially impossible to tell if it will work until it’s all but complete. The only major piece of functionality that I didn’t absolutely have to fit before having a trial run was the tracking system. I have, however, finally got to…
-

Belt Sander – Motor Mounting
Fitting the motor posed some interesting problems since I had completely neglected to design in any way of getting to the feet to insert bolts. Fitting a carriage to the motor which could be more easily attached was clearly out as I had only a few millimetres of clearance above the motor so it was…
-
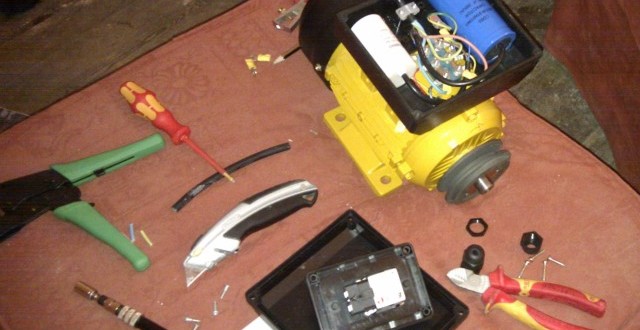
Belt Sander – Motor Wiring
With the pulley mounted to the driven shaft I moved onto the motor. The first thing to do was to fit the pulley to the shaft. The taper bush required a little encouragement to get it started on the shaft in the form of a few light taps with a wooden mallet. Once on it…
-
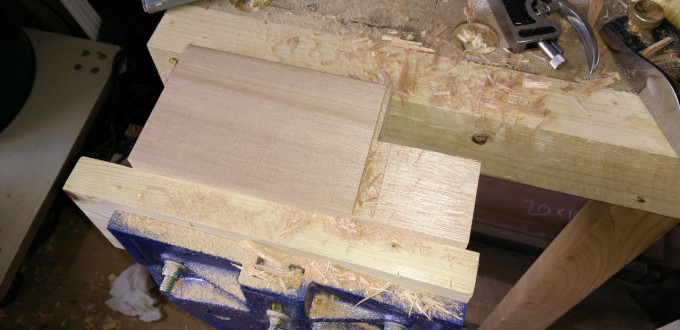
Belt Sander – Main Shaft
Now that the idler stock is complete I moved onto the drive shaft. I learnt a lot of lessons about make the roller from making the one for the idler stock and I managed to ignore most of them. The driven roller isn’t quite as crowned as the idler roller partly by design and partly…
-
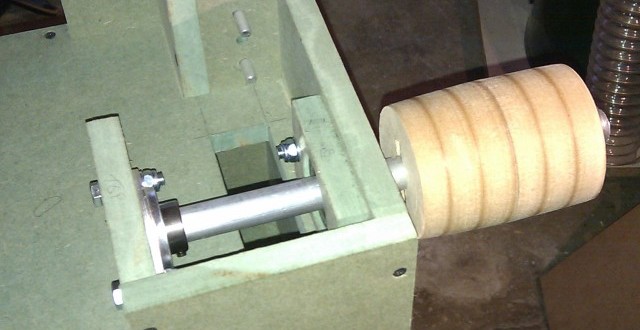
Belt Sander – Rollers
Ironically the rollers, which I thought would be quite simple, turned out to be fairly difficult to get right. The problem I faced was similar to the problem I faced with the tensioning system – the bar or perhaps my drill bit didn’t seem to be quite the right size. Unlike with the tensioning system…
-

Belt Sander – Tensioning System
Of all the parts of this project the one that probably caused me the most trouble was the tensioning and tracking system. It’s not strictly necessary for the two features to be built as one piece, you could tension the drive wheel and track the idle wheel but I felt it made sense for them…
-
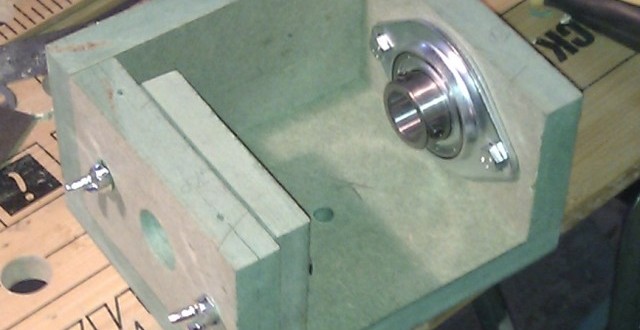
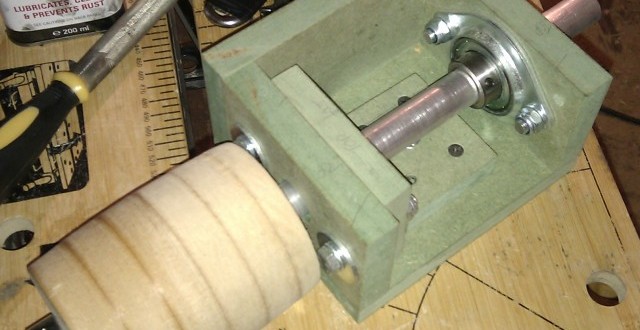
Belt Sander – Idler Carriage
The idler carriage was the first part of the belt sander that I actually put together because it involved solving almost all of the main problems with the machine in one compact piece. The main problem I felt I was going to face was mounting the bearings and getting them aligned fairly perpendicular to the…
-
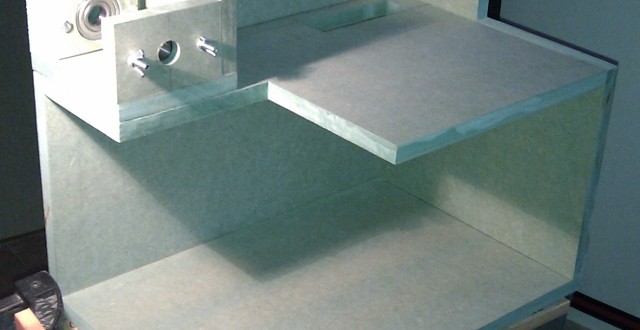
Belt Sander – Case Construction
Now that the parts are all cut out it’s time to get started on building the case. I actually started making the idler carriage first but I’m presenting the case construction first as that seems more logical.
-
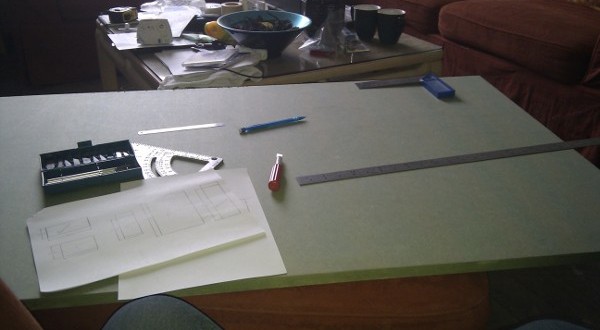
Belt Sander – Cutting the Parts
I’ve now cut all the pieces for my home made belt sander out of MR-MDF. I hate working with MDF, It seems no matter how much extraction I’ve got going the dust still seems to go everywhere. A problem not helped by the fact I did a lot of the cutting with a jigsaw and…
-
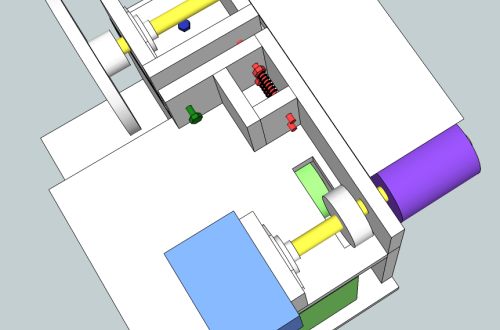
Belt Sander – Design #4
At last I think I have a design that can build and that is also built out of components that exist in this universe! By spinning the motor round and having the disc sander powered off the idler shaft I think I’ve incorporated all the features I wanted.
-
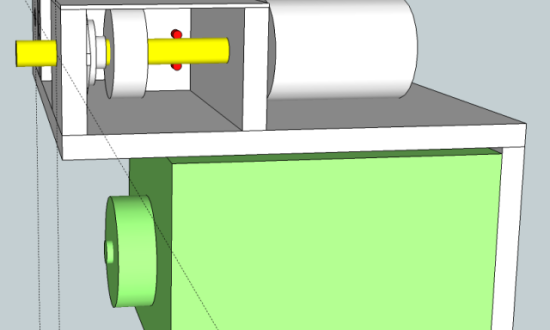
Belt Sander – Design #3
Right so I’m now onto design number three and the wheels have come off a bit. Thinking I had the design pretty much sorted I rushed out and spent a load of money on parts. What I should really have done though is had a good think about how I was going to fit the…
-
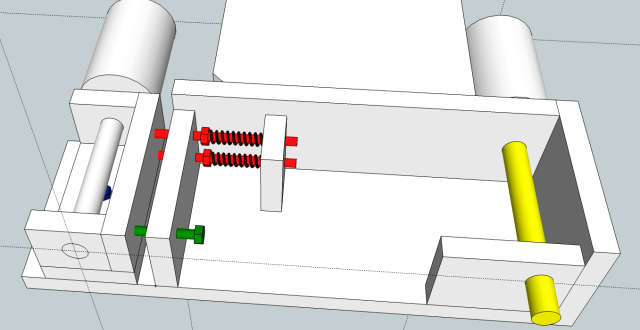
Belt Sander – Design #2
One of the things I really wanted to try and avoid was using springs in the tensioning design. My plan was to keep the design as simple as possible and use as few components as possible but after much thought about how I could make the two bolt design work I came to the conclusion…
-
Belt Sander – Design #1
I initially started designing my belt sander around some cheap and cheerful belts I picked up from B&Q that were in a discount bin. As per my requirement for easy belt changing I have stuck the main belt wheels out the side of the machine. The two red things that look like bolts are in fact bolts…