
Those of you following my build logs will have noticed that the Wyvern machine build seems to have ground to a halt (as of Sept 2013). There was nothing inherently wrong with the build (although I can now see several areas for improvement) but I simply ran out of space and time. I plan on going back to that build at some point once the workshop is built but for now it’s just a pile of steel in need of welding together. I couldn’t wait for the workshop to be built before building a CNC machine though so I set about the task of designing and building “Yeti” a small machine that would fit into the space I have. As you’ll see I got a bit carried away with the design and it’s not exactly small any more but the build is progressing nicely.
Rather than go into all the fine detail of the design process I’m going to start the Yeti build series at the point where the design is essentially complete. There’s a chance that some minor changes will be made but at the time of writing I’ve already started buying parts so not a lot is going to change. Without further ado here are some pictures…
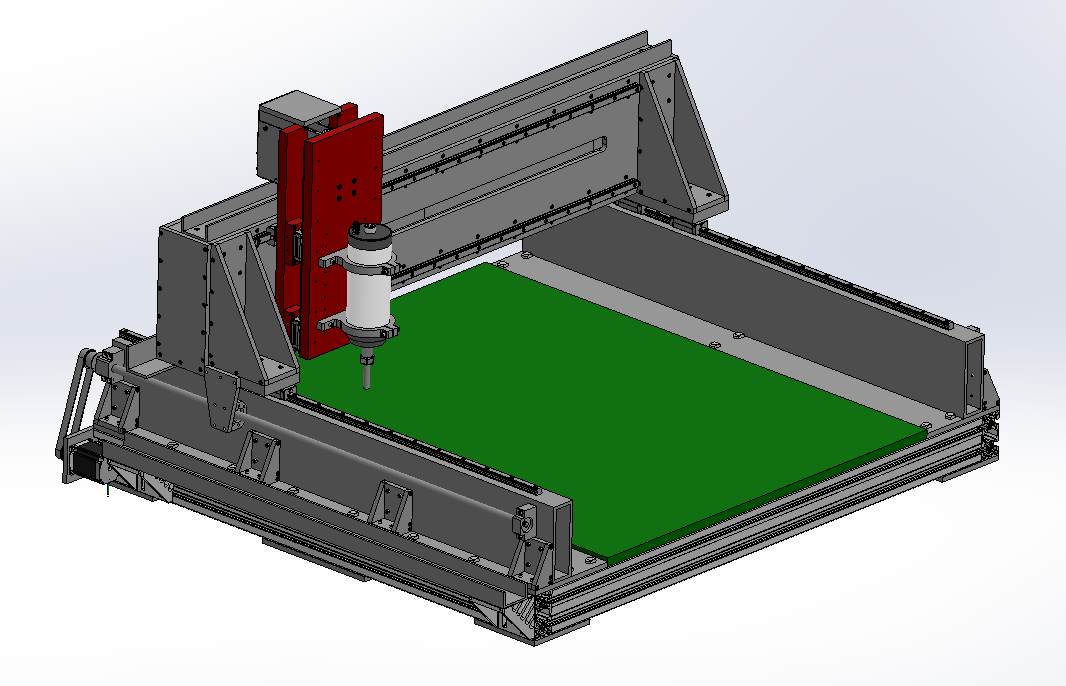
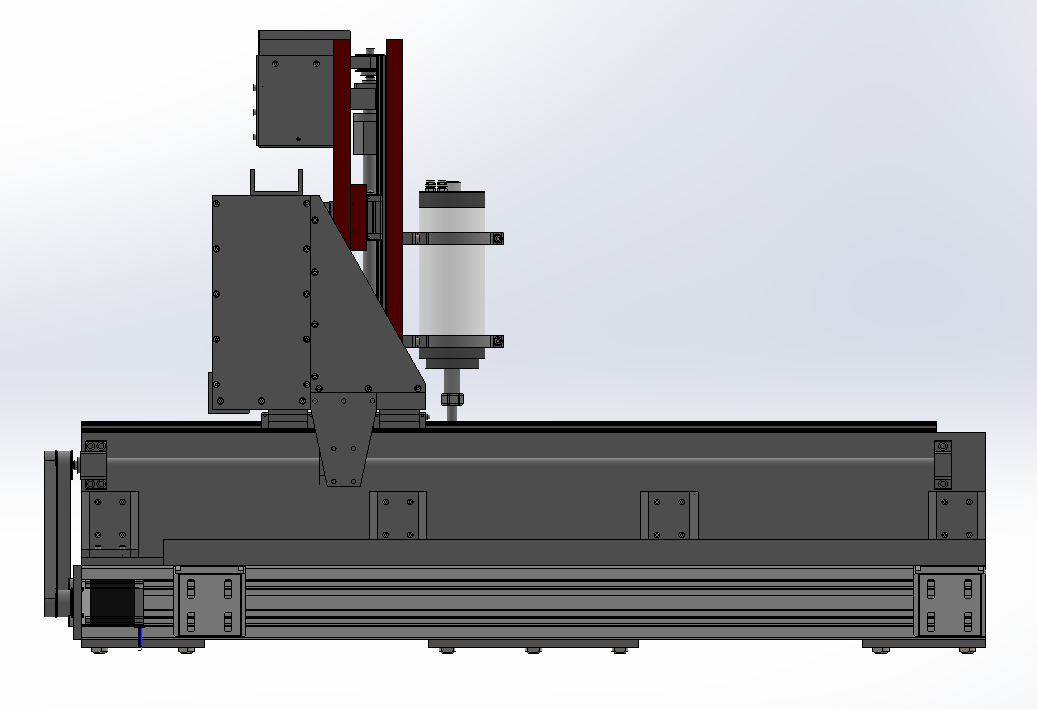
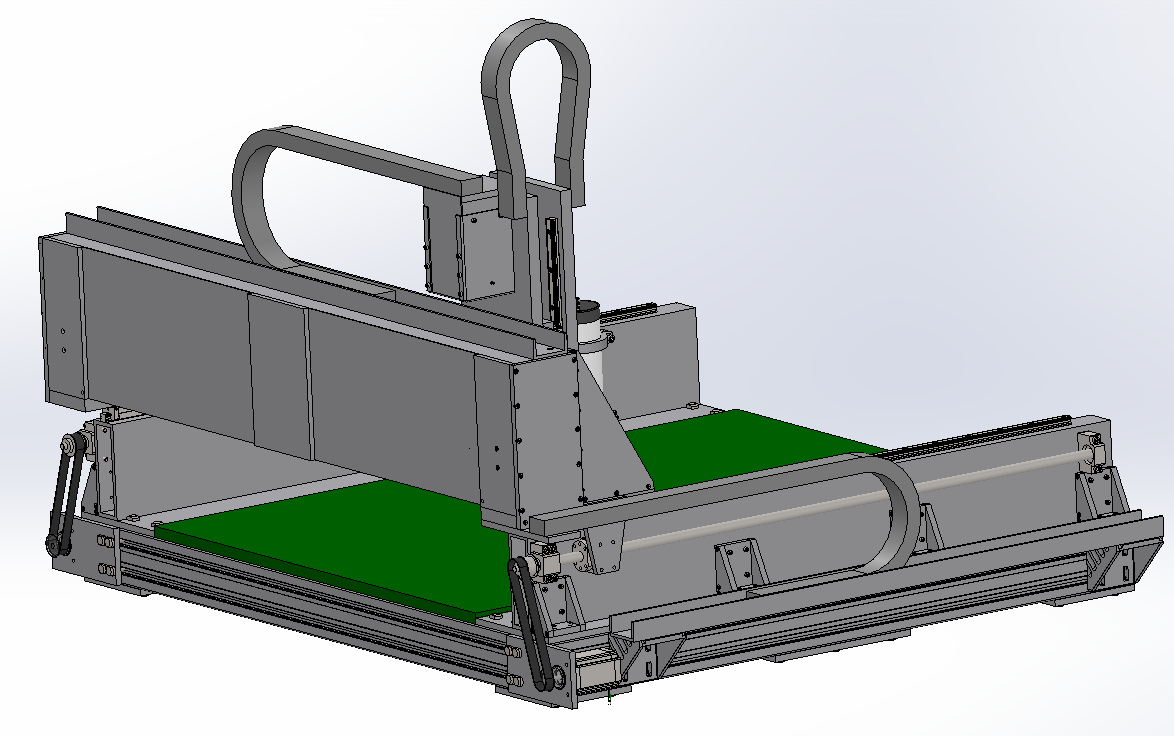
The machine will be almost completely built from aluminium. The core of the gantry is made from two 100x50x6mm box section joined by 10mm plate front and back to create a larger box section. The ballscrew and stepper are completely enclosed within the gantry. There are 15mm THK profiled linear rails all around, the X and Y rails are matched and should be interchangeable (may be useful for wear). X and Y rails are 1040mm with Z being 360mm. The workable volume by measurement from the drawing is: 840x840x125mm. The base is made from 45x90mm heavy profiled aluminium extrusion and is an area that I suspect will see an upgrade in the new workshop. The Rails are supported on 6x2x0.25″ aluminium box section (the biggest I could find). As with the base I suspect this will see an upgrade at some point as I’m not convinced by it’s stiffness but hopefully the brackets will help.
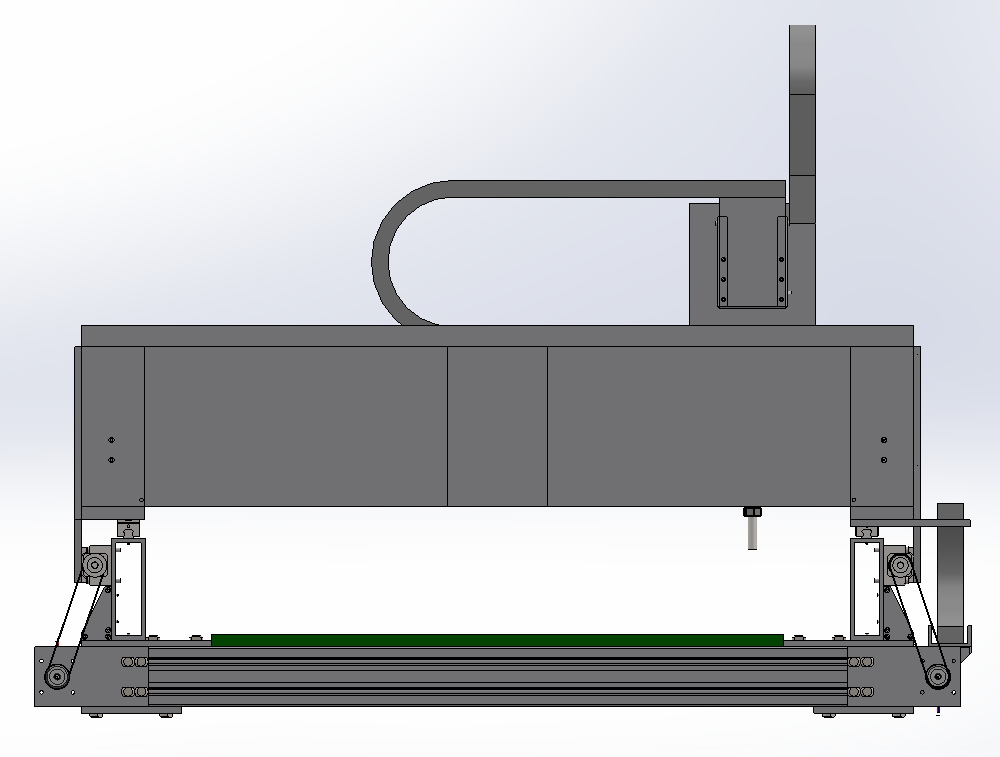
The Z-axis is a fairly conventional design except for a slightly higher than usual ballscrew and a fully enclosed stepper. Cutting is provided by the usual 2.2kW cheap Chinese spindle that everyone seems to be using now. In order to keep the back of the machine open for overly long pieces of work I’ve gone for a two stepper design. Whether this proves to be a good thing or a bad thing only time will tell – I’m concerned about getting the steppers working perfectly in sync and the reduced frame stiffness because both ends are open.
Unlike with the Wyvern machine I’ve given some serious thought to how this machine will be powered. Already on order are four 3.1Nm Nema 23 steppers, four Leadshine AM882 digital stepper drivers and a PMDX-127 break-out board. I also have a PMDX-107 spindle control board on order which will fit once I have the machine up and running. On the computer side of things I have a machine already set up running LinuxCNC which I’ll trial. If LinuxCNC doesn’t workout I’ll switch over to Mach3 with a Ethernet SmoothStepper. At the moment the plan is to build my own power supply assuming I can learn enough electronics to be comfortable with the build quickly enough.