In part four of this series I completed the long sides of the scaffolding tower. In this part I’ll build the shorter sides which provide the rungs which are used to climb the tower and support the platform.
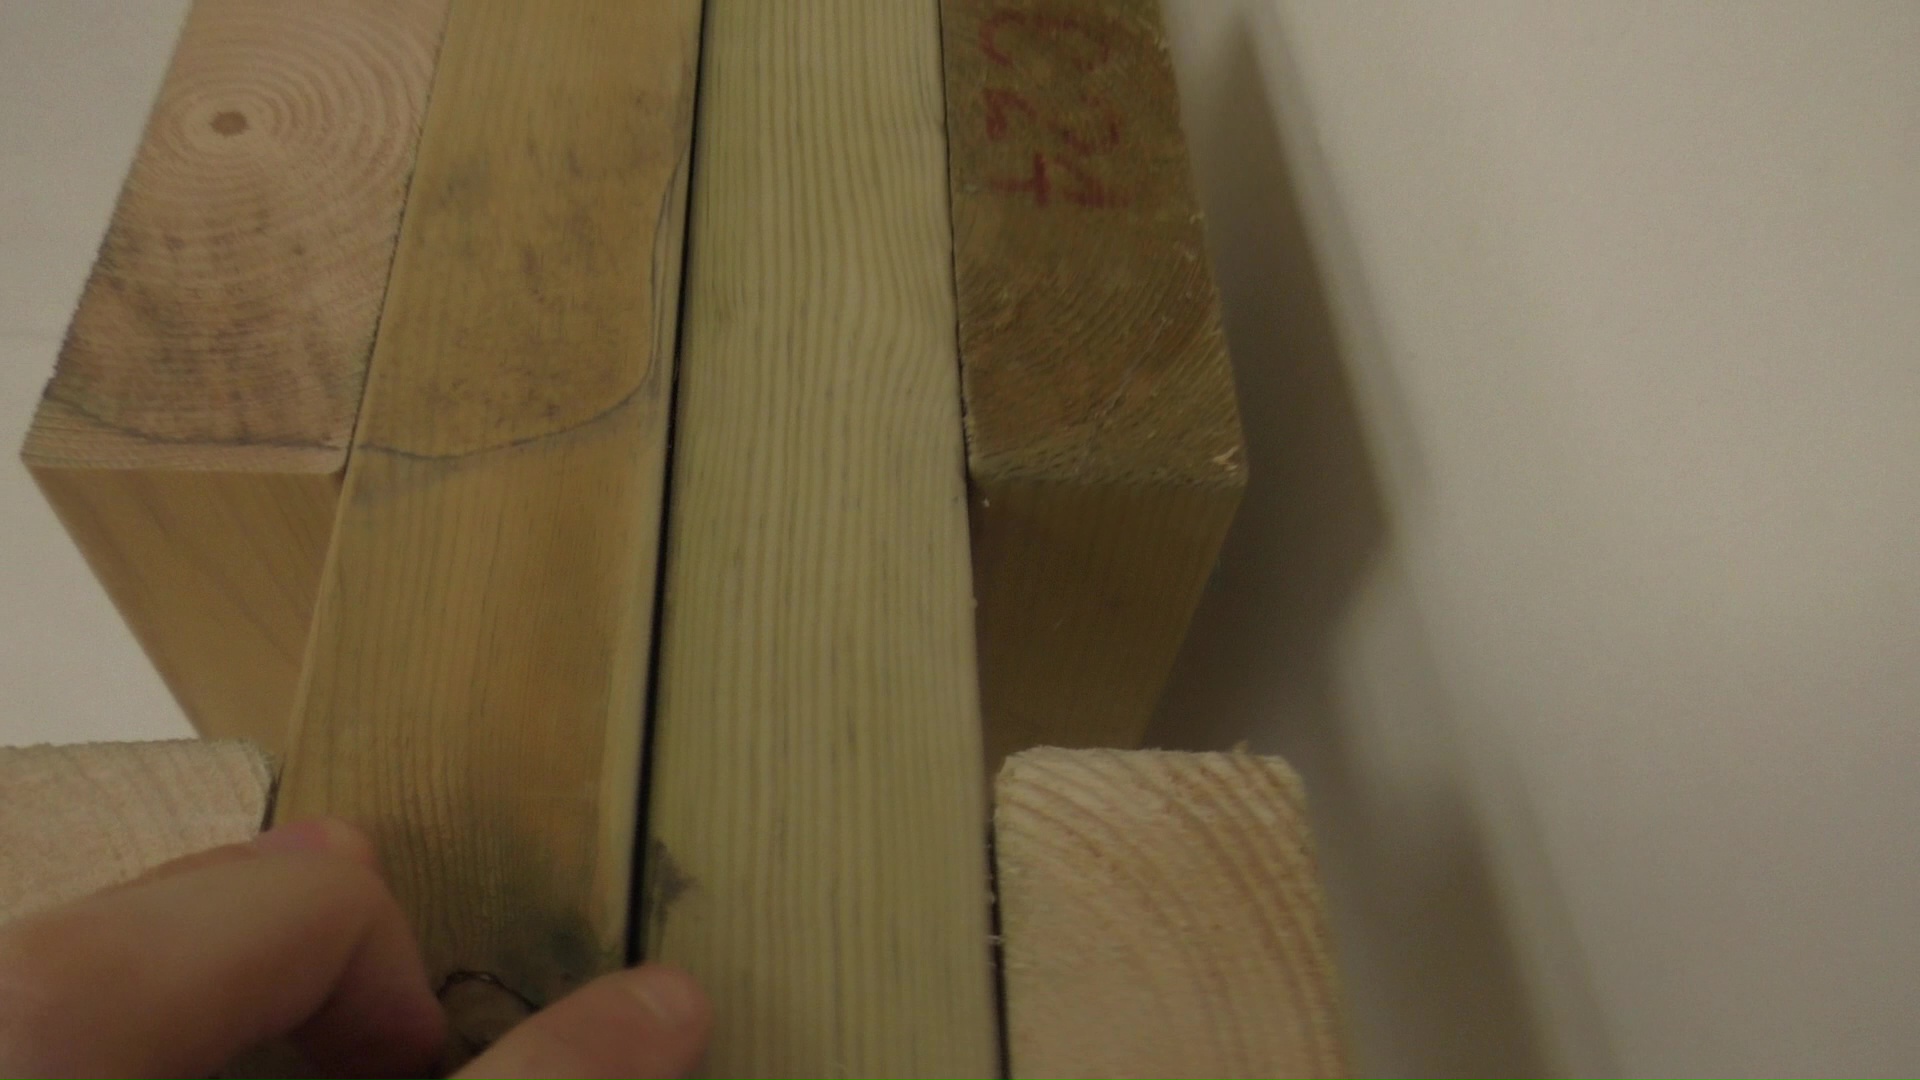
Start by putting the two long sides up against each other orientated as they would be in the final product. Check to see how accurately they match each other. In my case I had about 3mm of error over the 2.1mm length. A quick bit of calculation shows that the error is less than 0.1 degrees, pretty good I think.
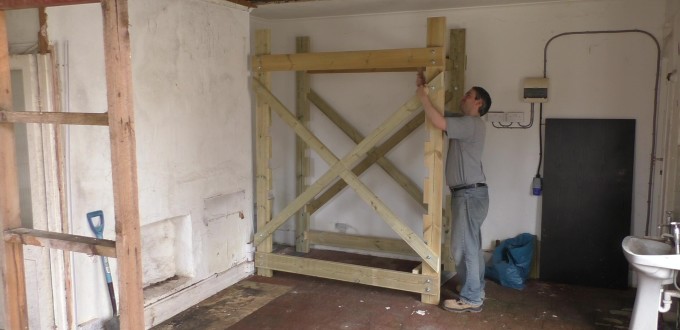
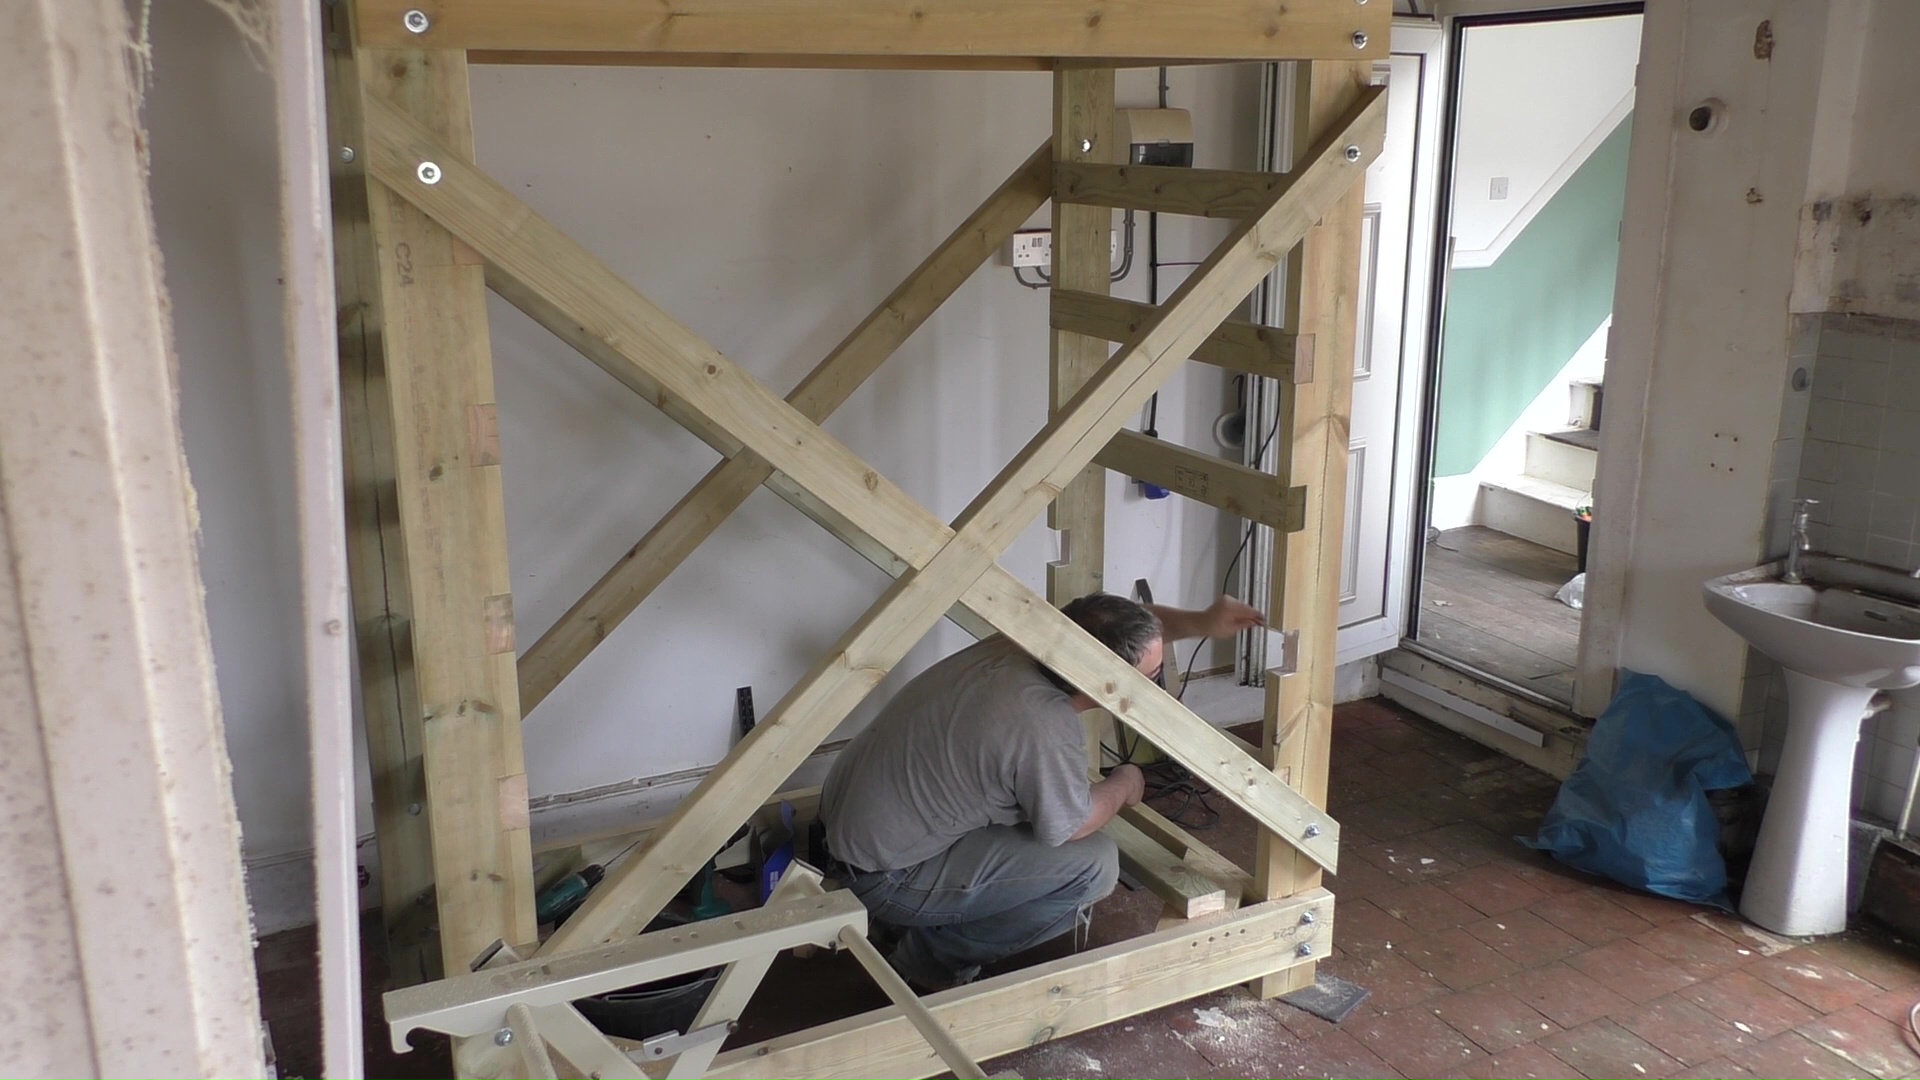
The next step is dry fit a couple of rungs so that the scaffold can stand on it’s own. I did this on my own but I would highly recommend getting a friend to help as it was a bit touch and go as to whether it would all fall on me. The problem is simply getting the two sides to both stand perfectly vertical while you hammer home a rung.
The scaffold is already surprisingly stiff and I found even a single rung at the bottom dry fitted was enough for it to stand on it’s own quite happily. The technique that worked for me was adding two rungs to one long side which it was leaning against a wall. I then offered up the other side.
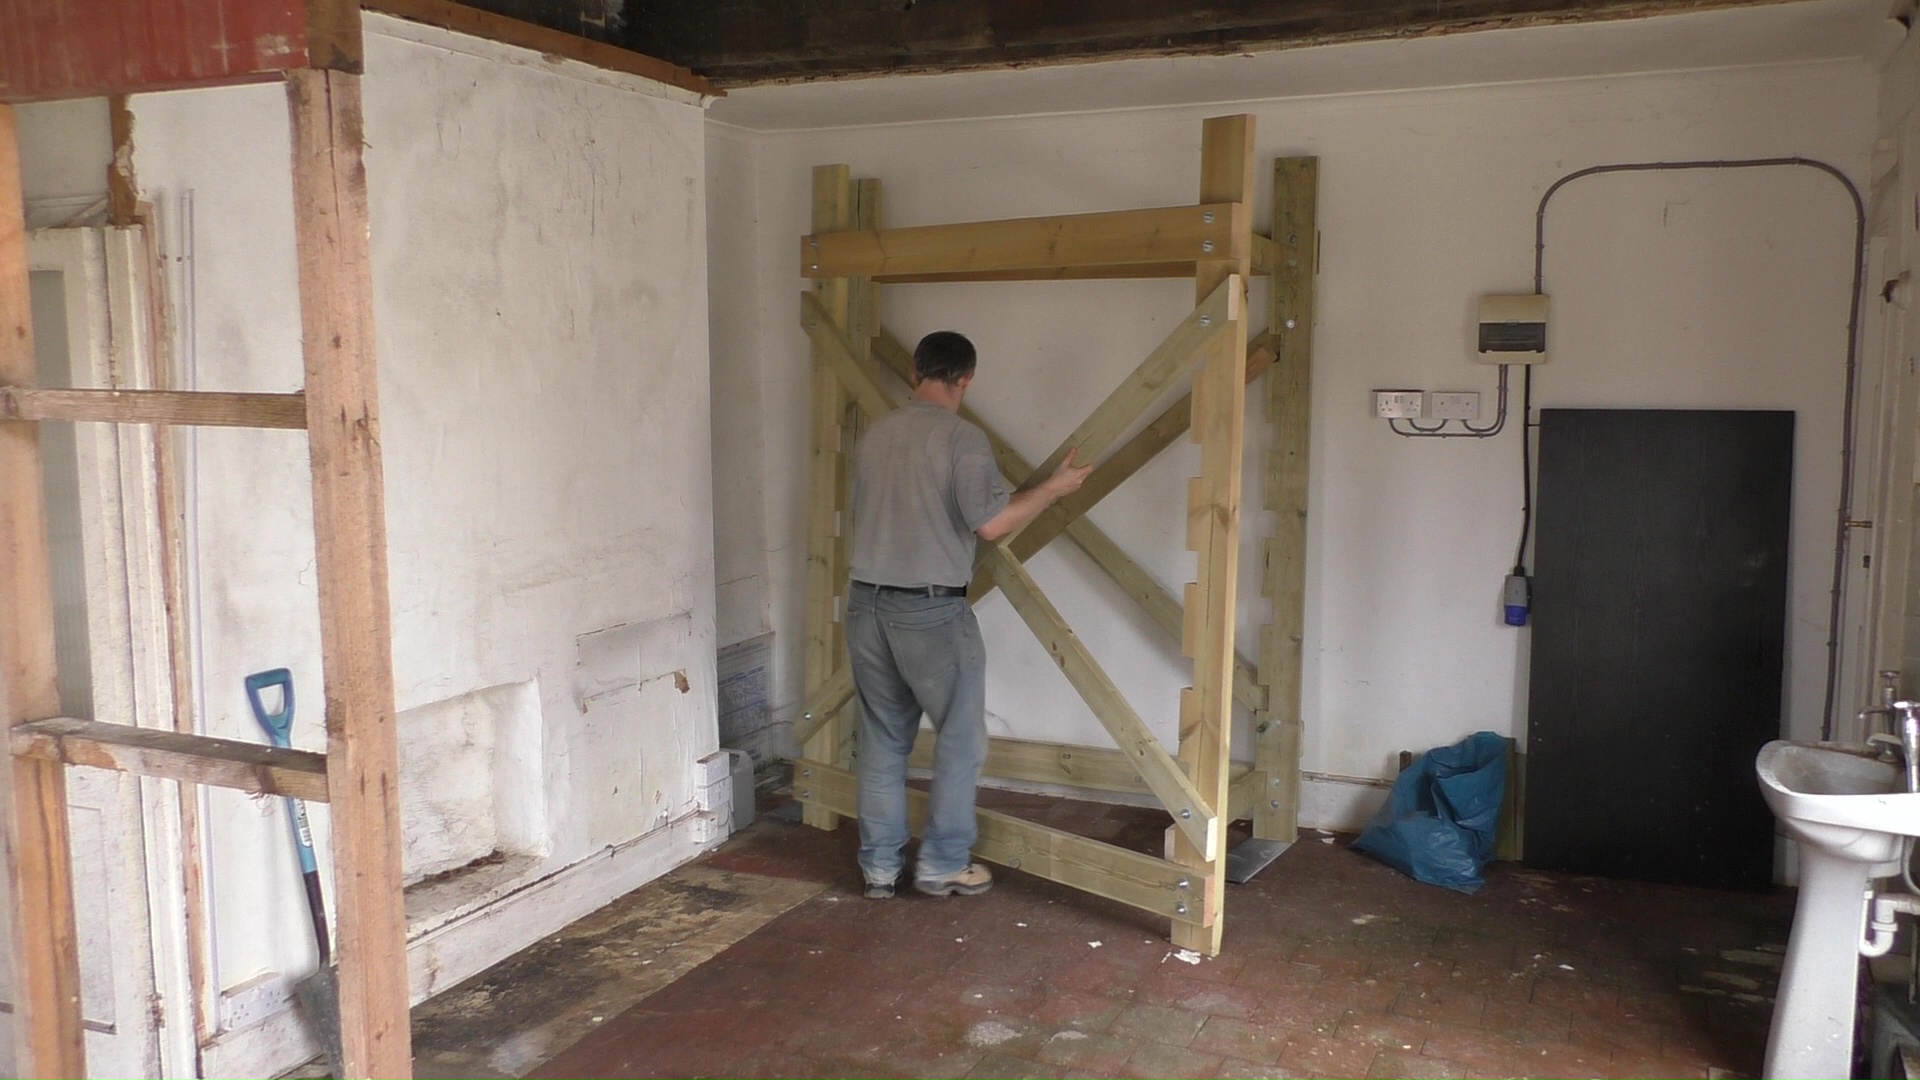
With some care I was able to stand the first side up while hammering the top run home. Once that first rung was home the scaffold was quite happy to stand on it’s own which made like much simpler.
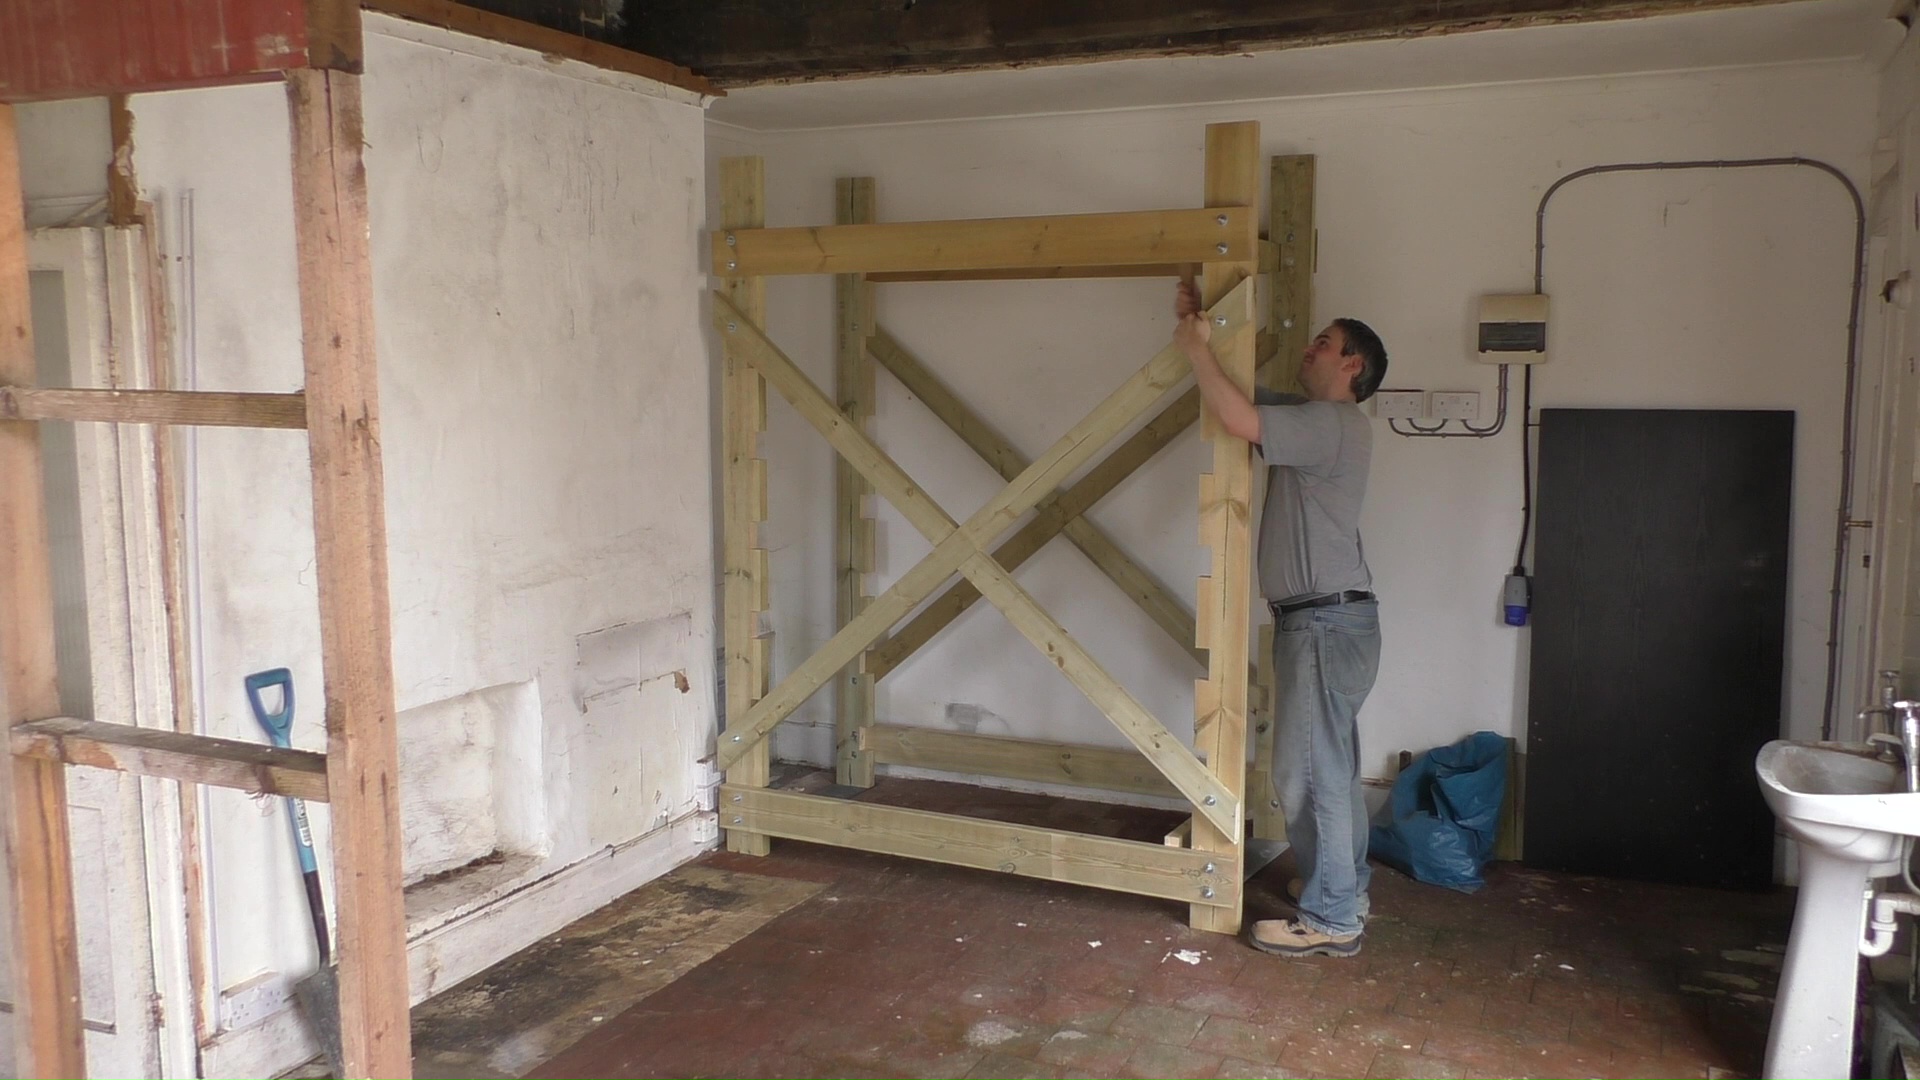
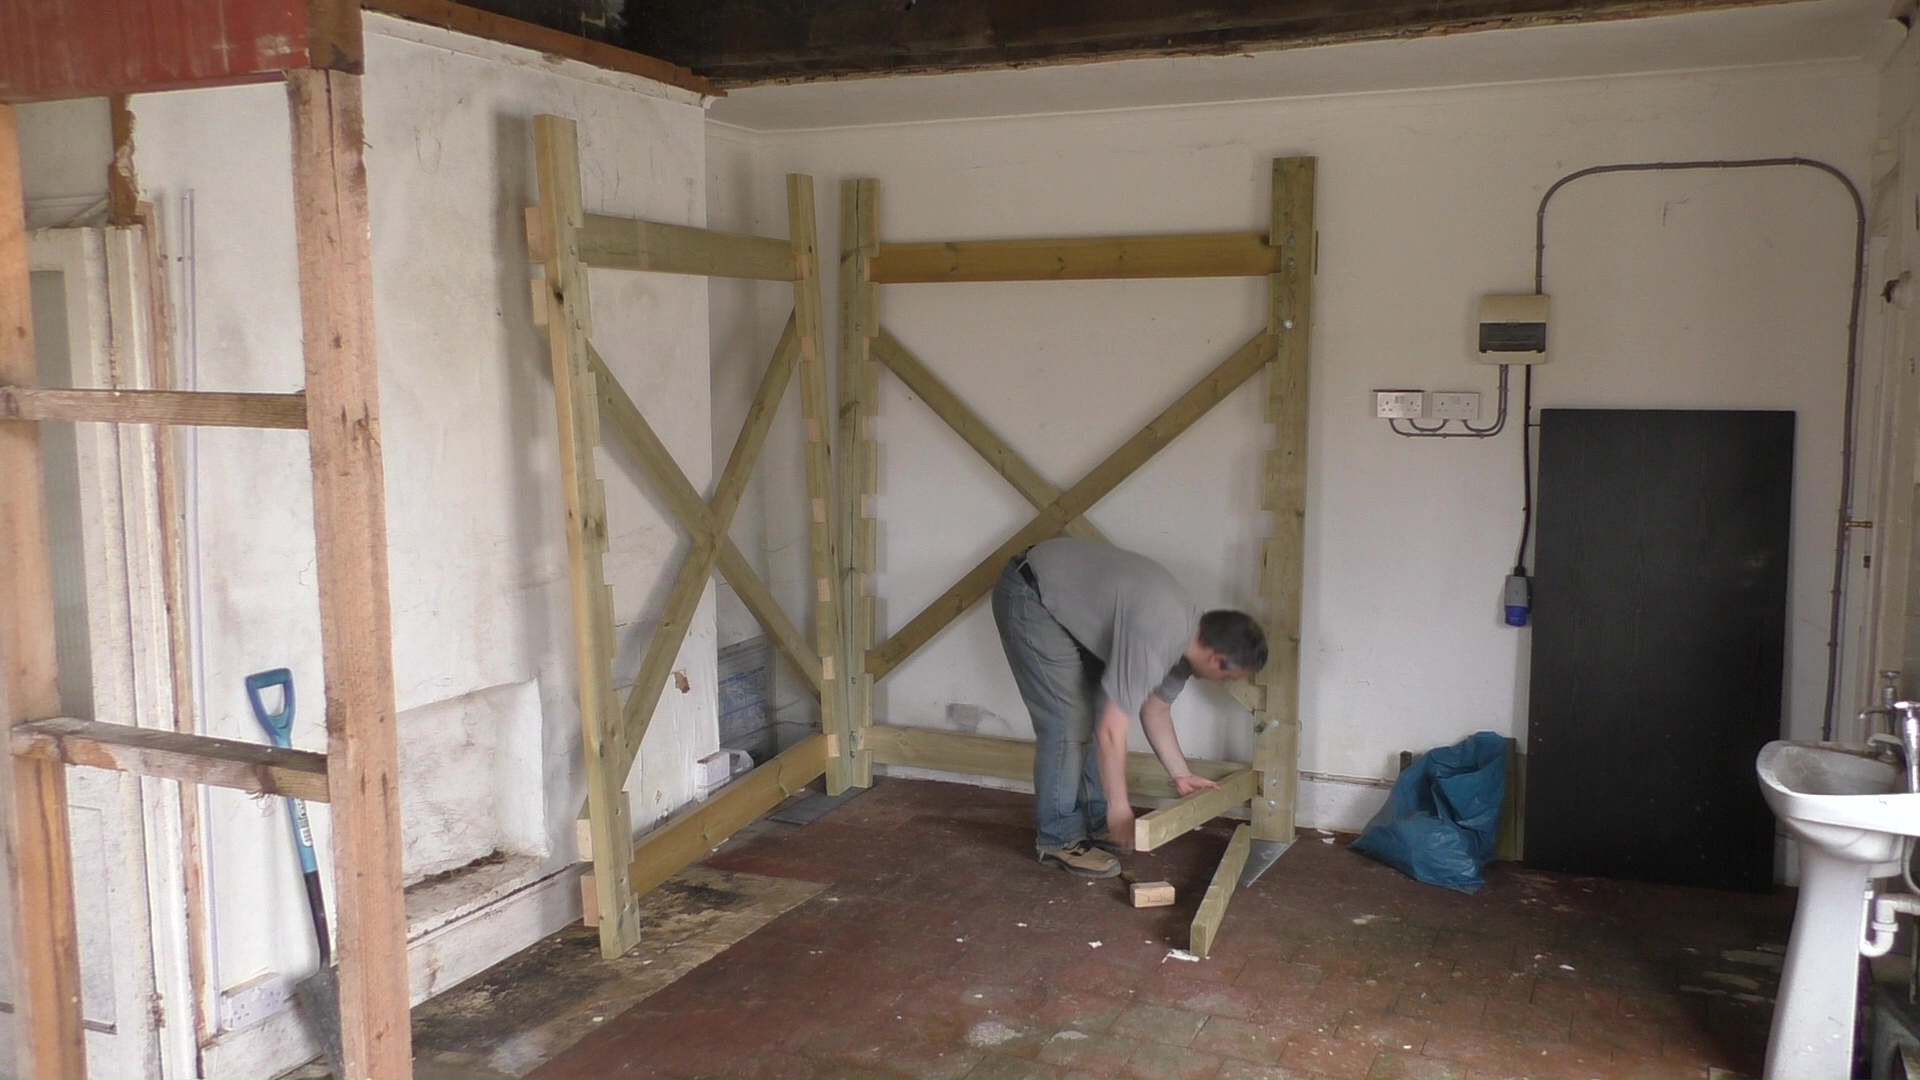
I then dry fitted rungs top and bottom on the other end to give the scaffold a little more stiffness.
At this point I felt I’d discovered a minor problem with the design. While the scaffold was very stiff in most directions there was little to stop it from twisting about the vertical axis. The best way I think to describe this is if you imagine a box with both the top and bottom opened or missing. It’s very easy for it to turn into a parallelogram and then collapse in on itself. When the base of a box is taped shut though it doesn’t collapse because the base braces it.
The scaffold had basically the same issue. The four sides that I had were like the sides of the box. The fixings in the rungs were the only things that were stopping the box from folding flat. To be fair once all the rungs were glued and screwed in I suspect it would have been strong enough but I wasn’t going to take any chances and so I decided to add some bracing.
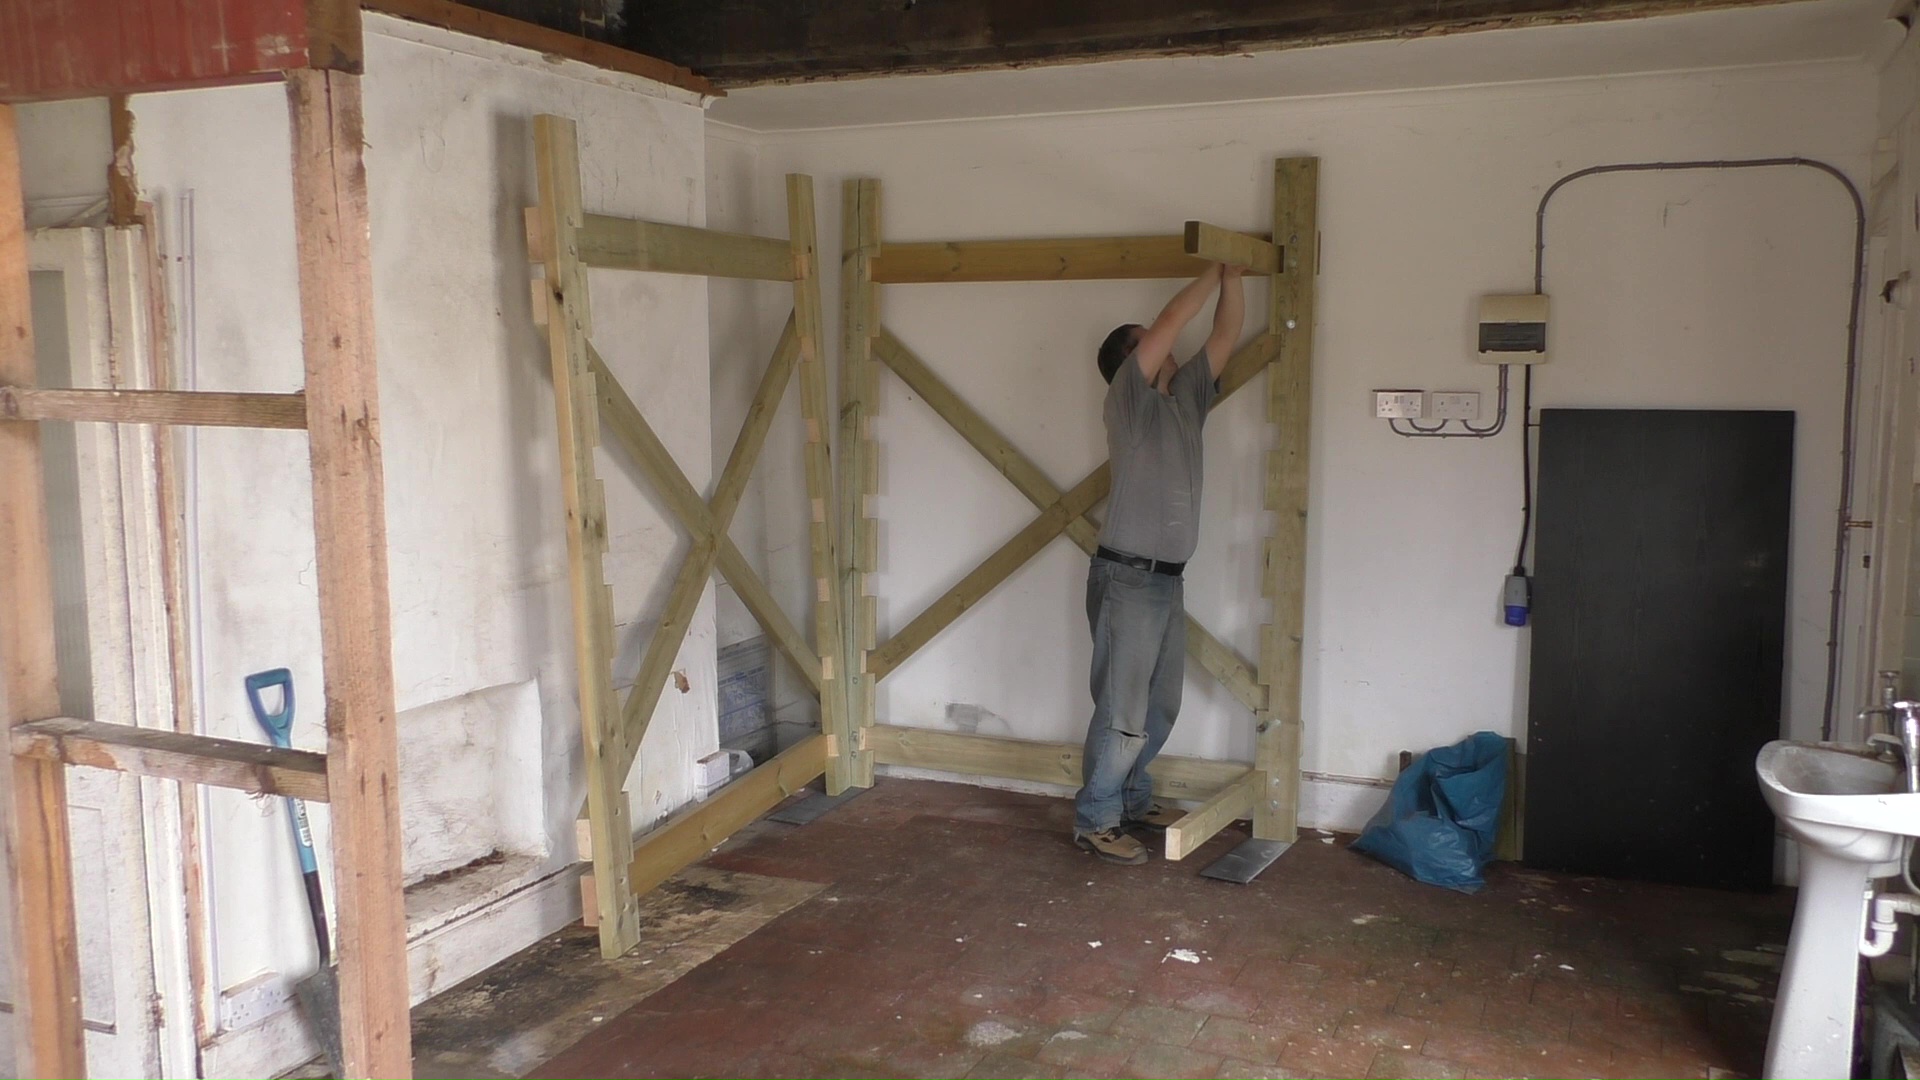
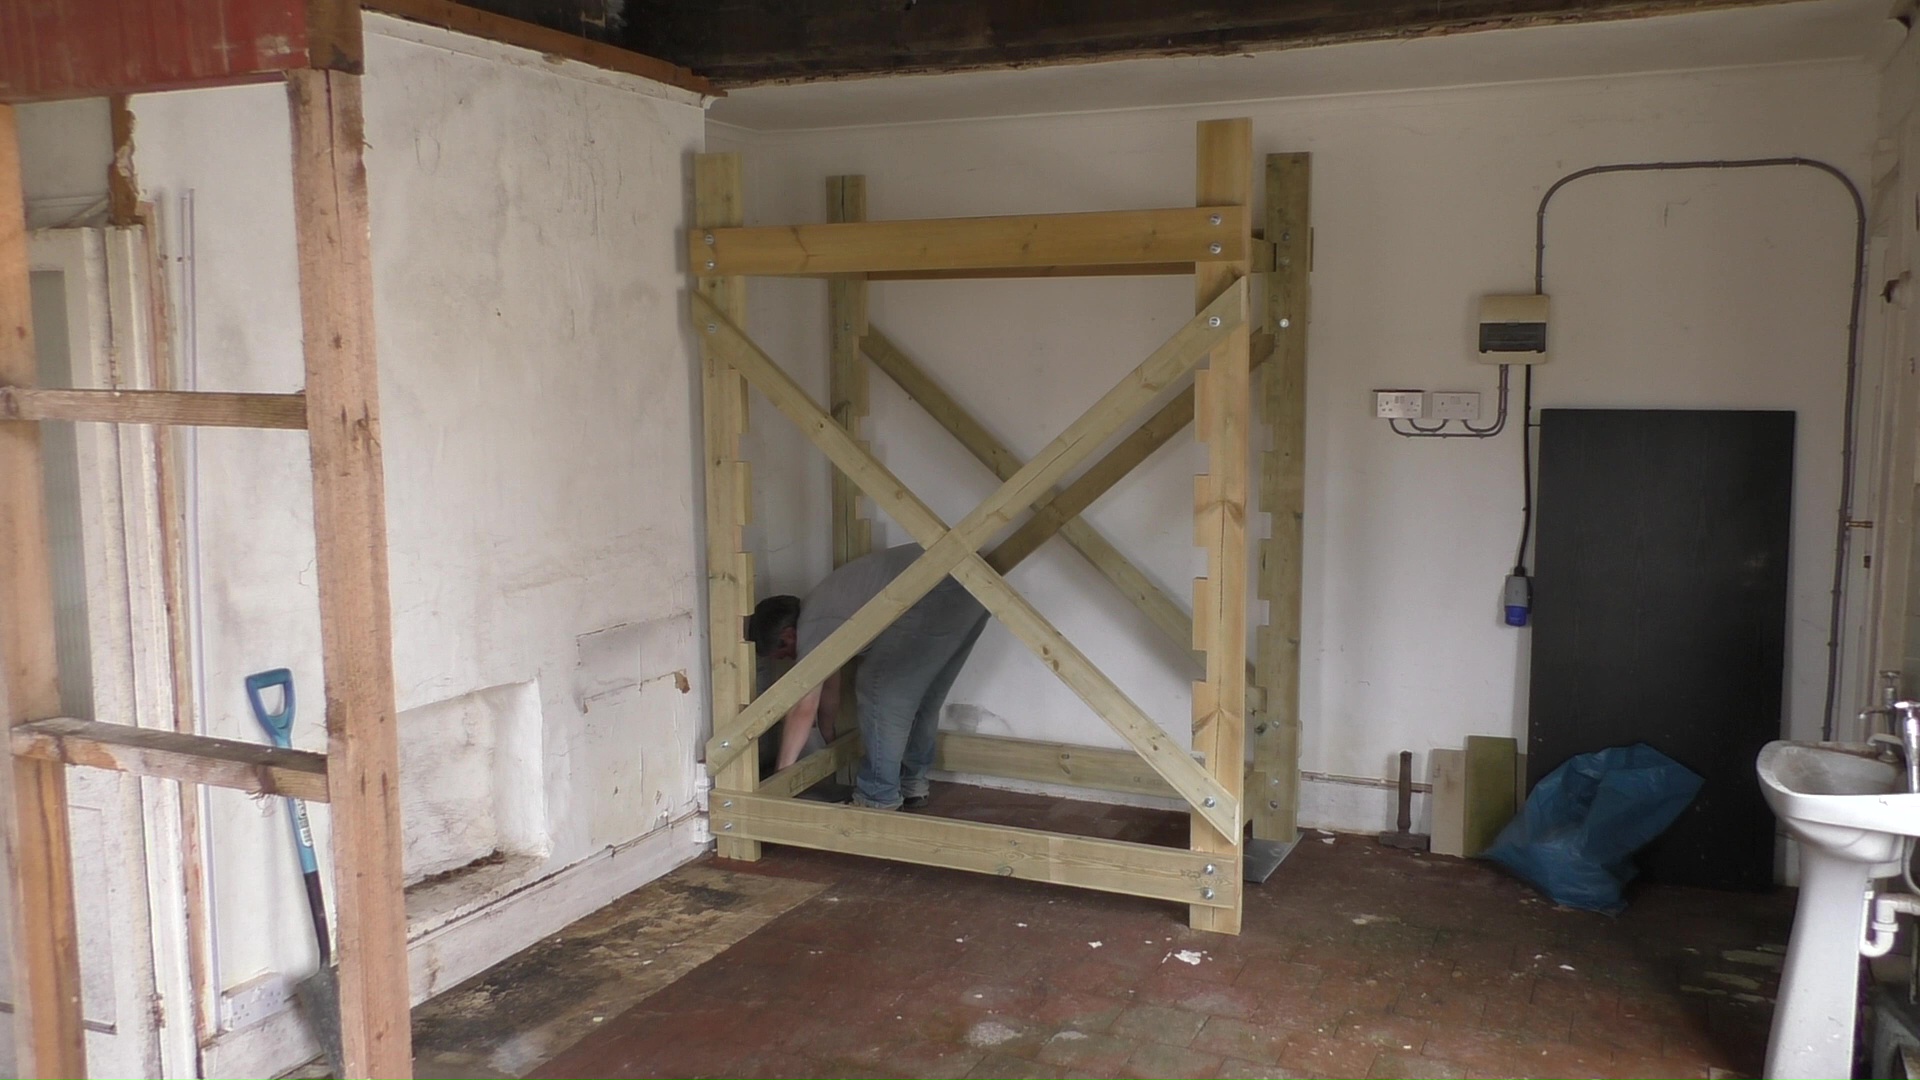
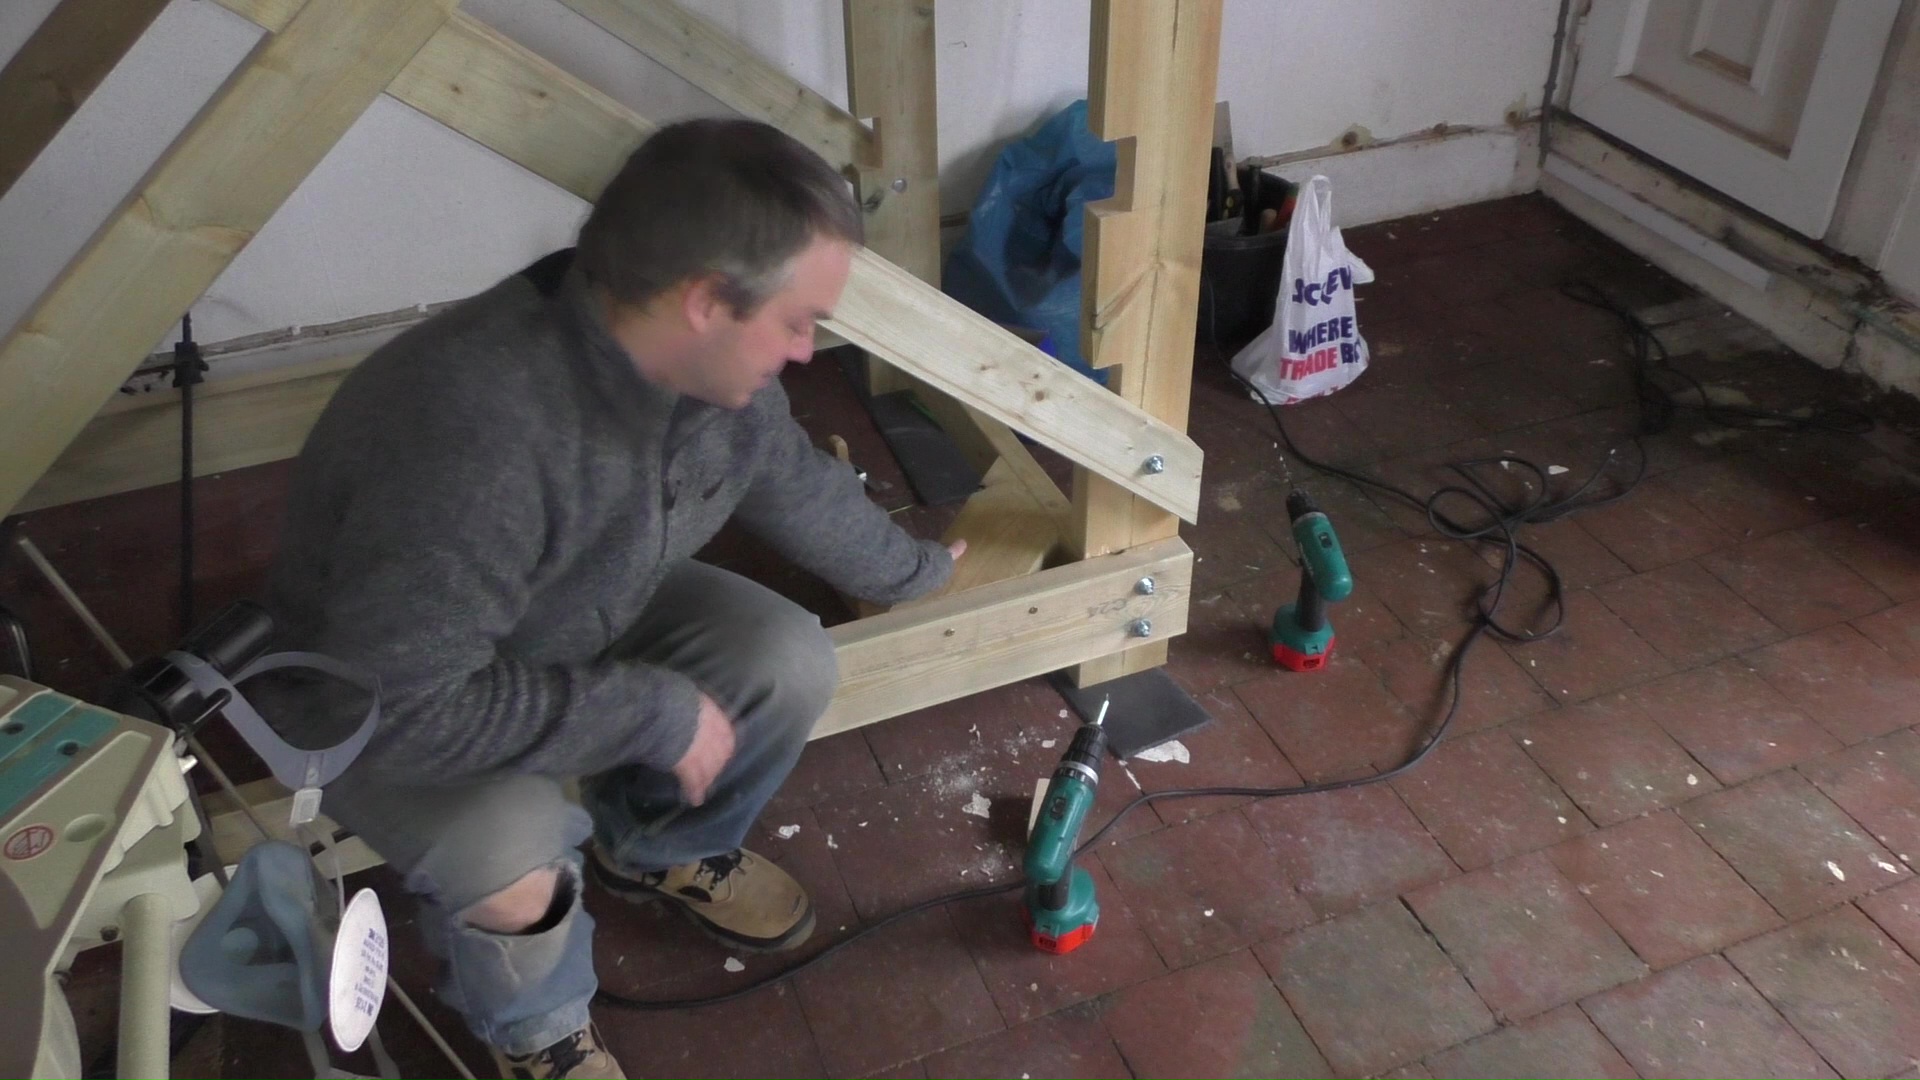
I initially considered full cross bracing like I had on the sides but I quickly discounted that because it would be difficult to fit and would get in the way. The other option is corner bracing and that’s what I fitted. As usual I went to town and used some off cuts of 50×150 for the bracing.
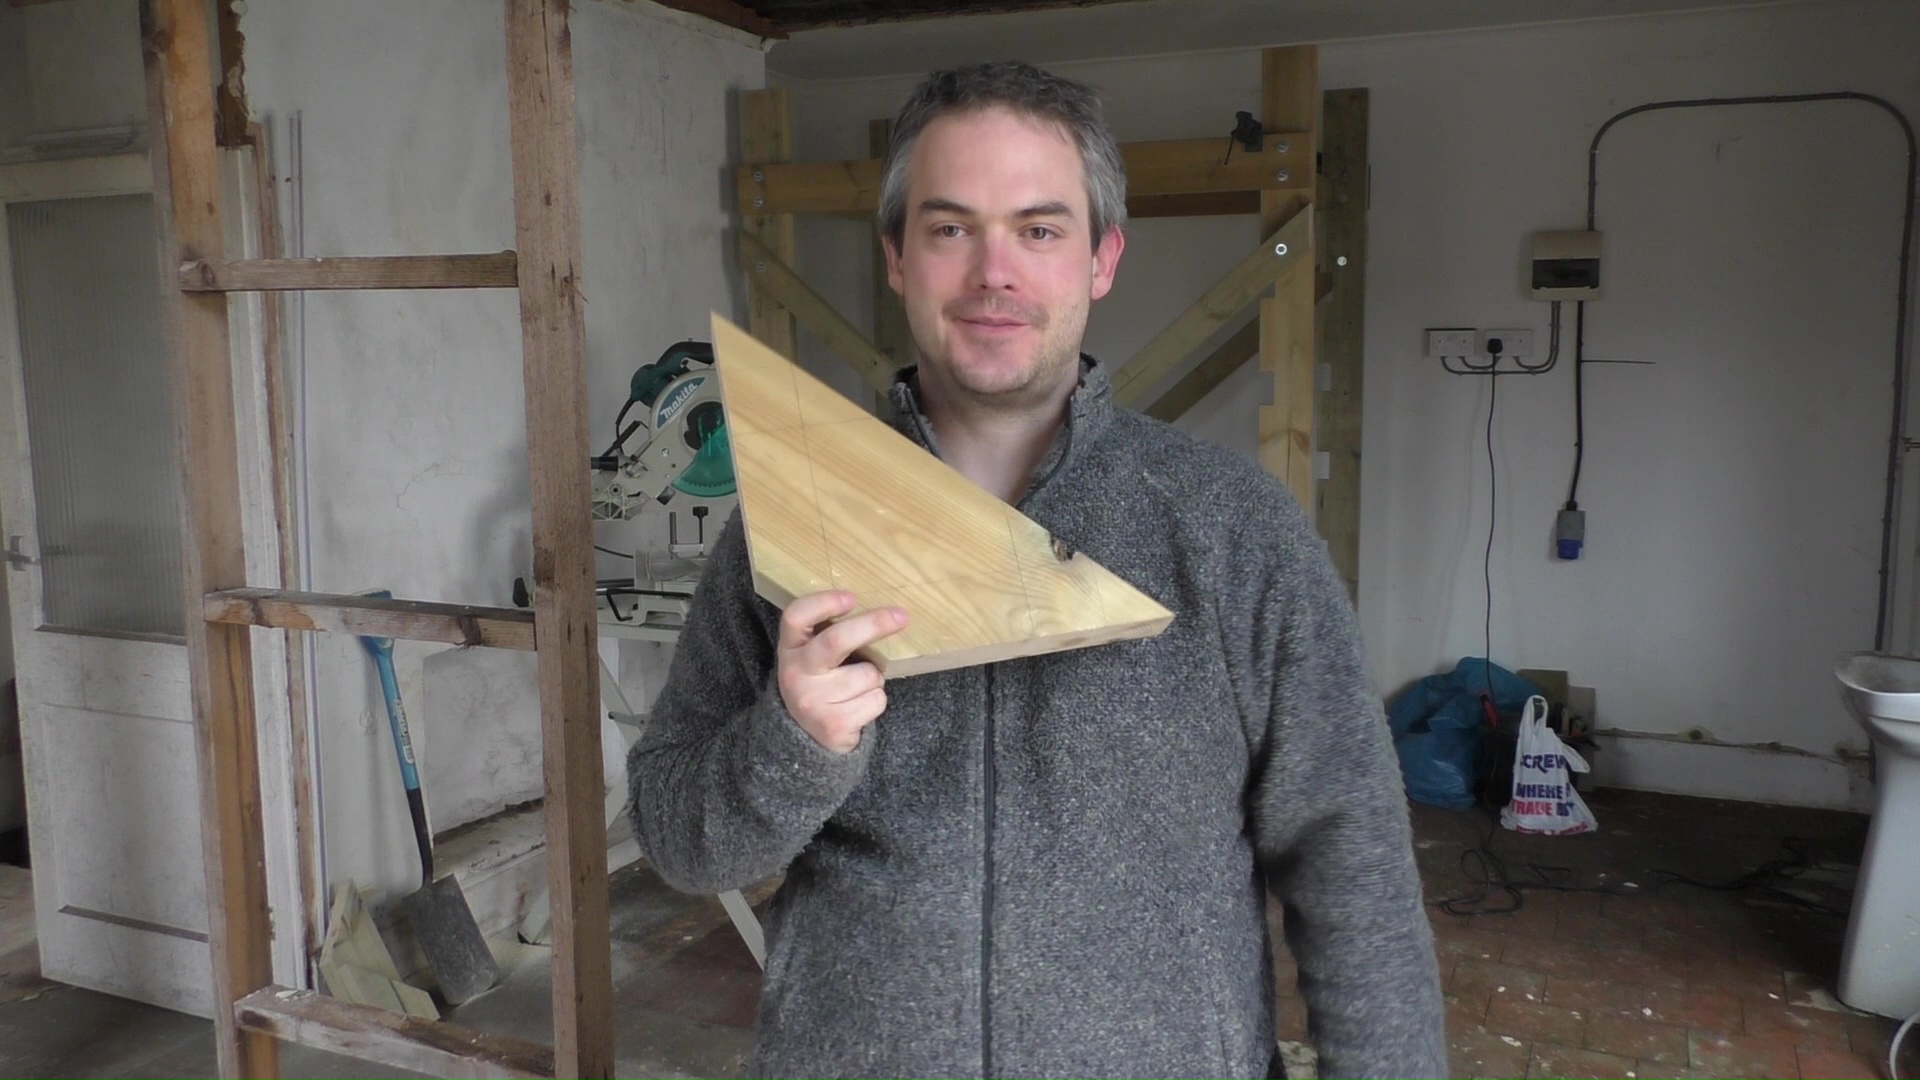
The reason for using such large corner bracing will become clear later but each piece was fitted with four 6x150mm long screws – it was going nowhere fast. Once the bracing was in place the scaffold felt incredibly strong. There was not so much as a creak let alone movement.
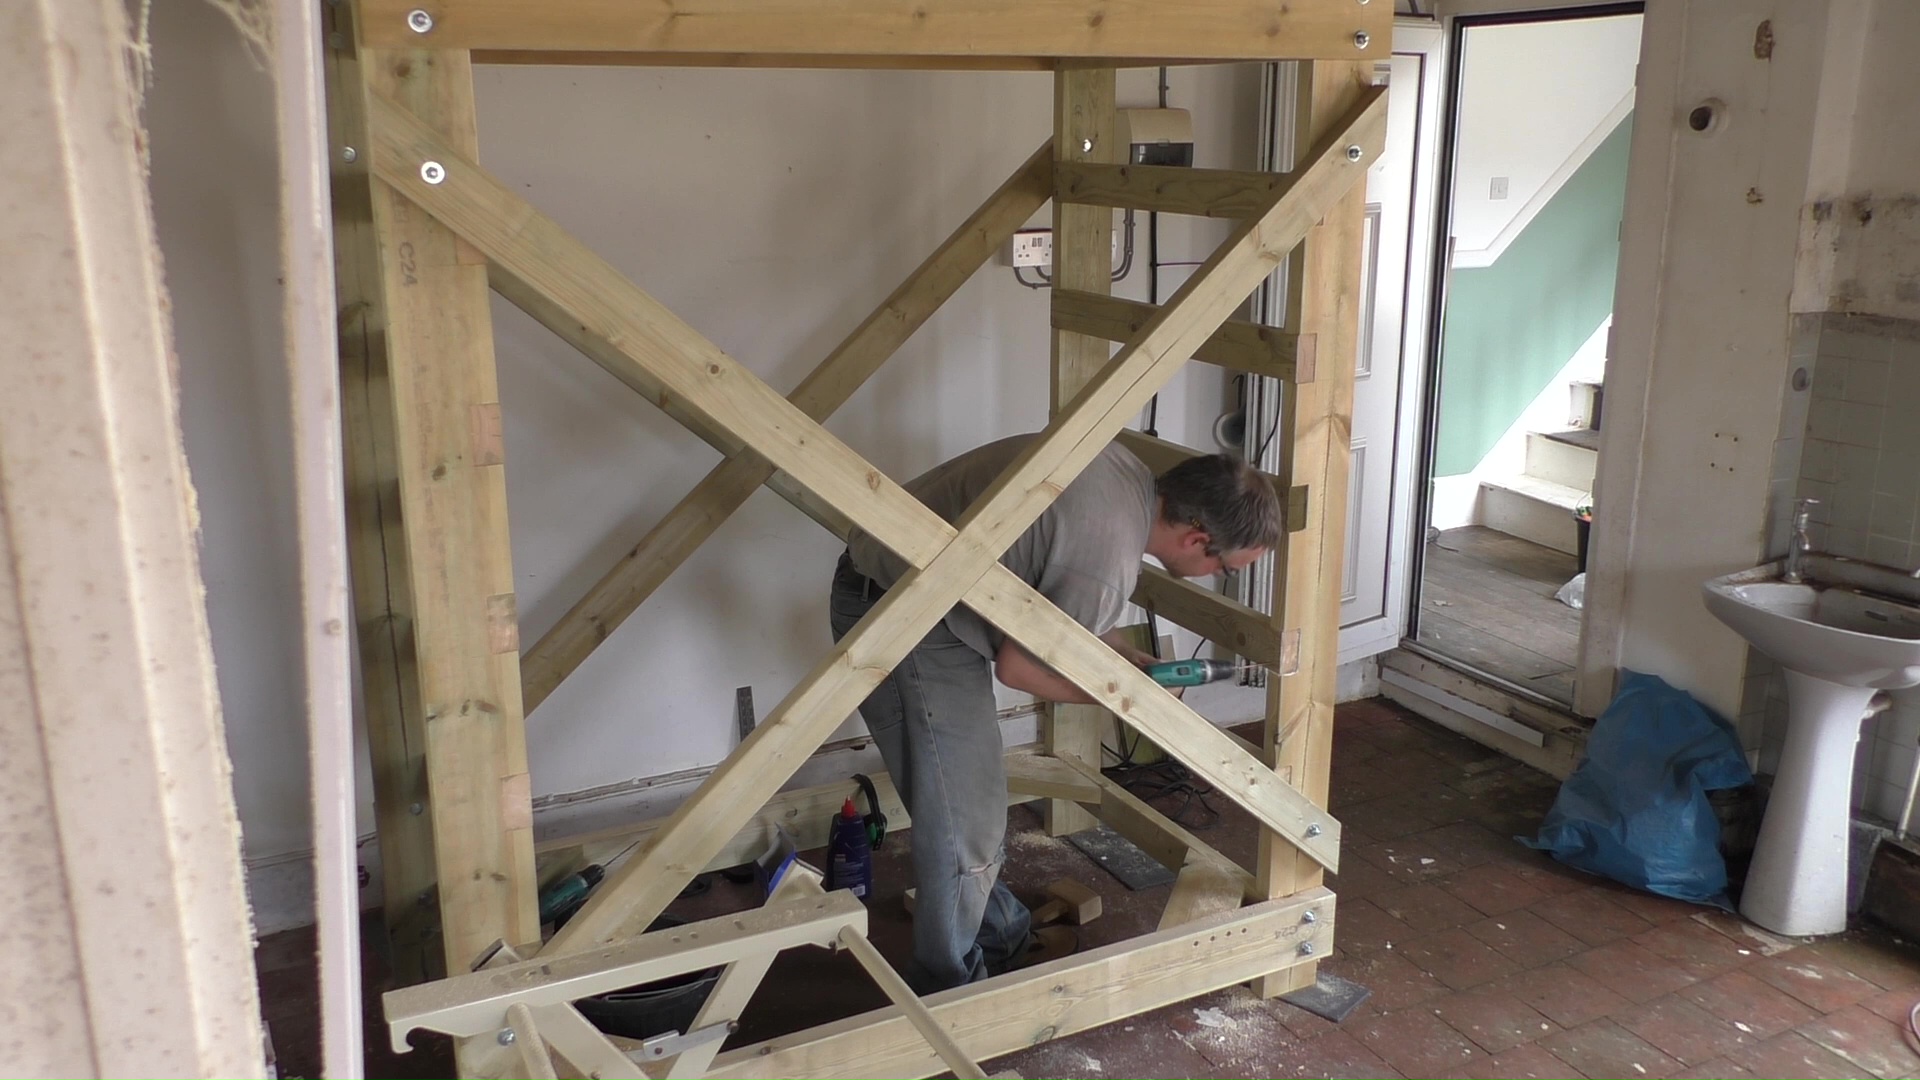
With bracing fitted in all four corners and the top and bottom rungs in place it was then just a matter of fitting the other rungs. It took about an hour per-end to glue and screw all the rungs into place.

In part six of this series I build the working platform and have a little test climb of the part finished scaffold.