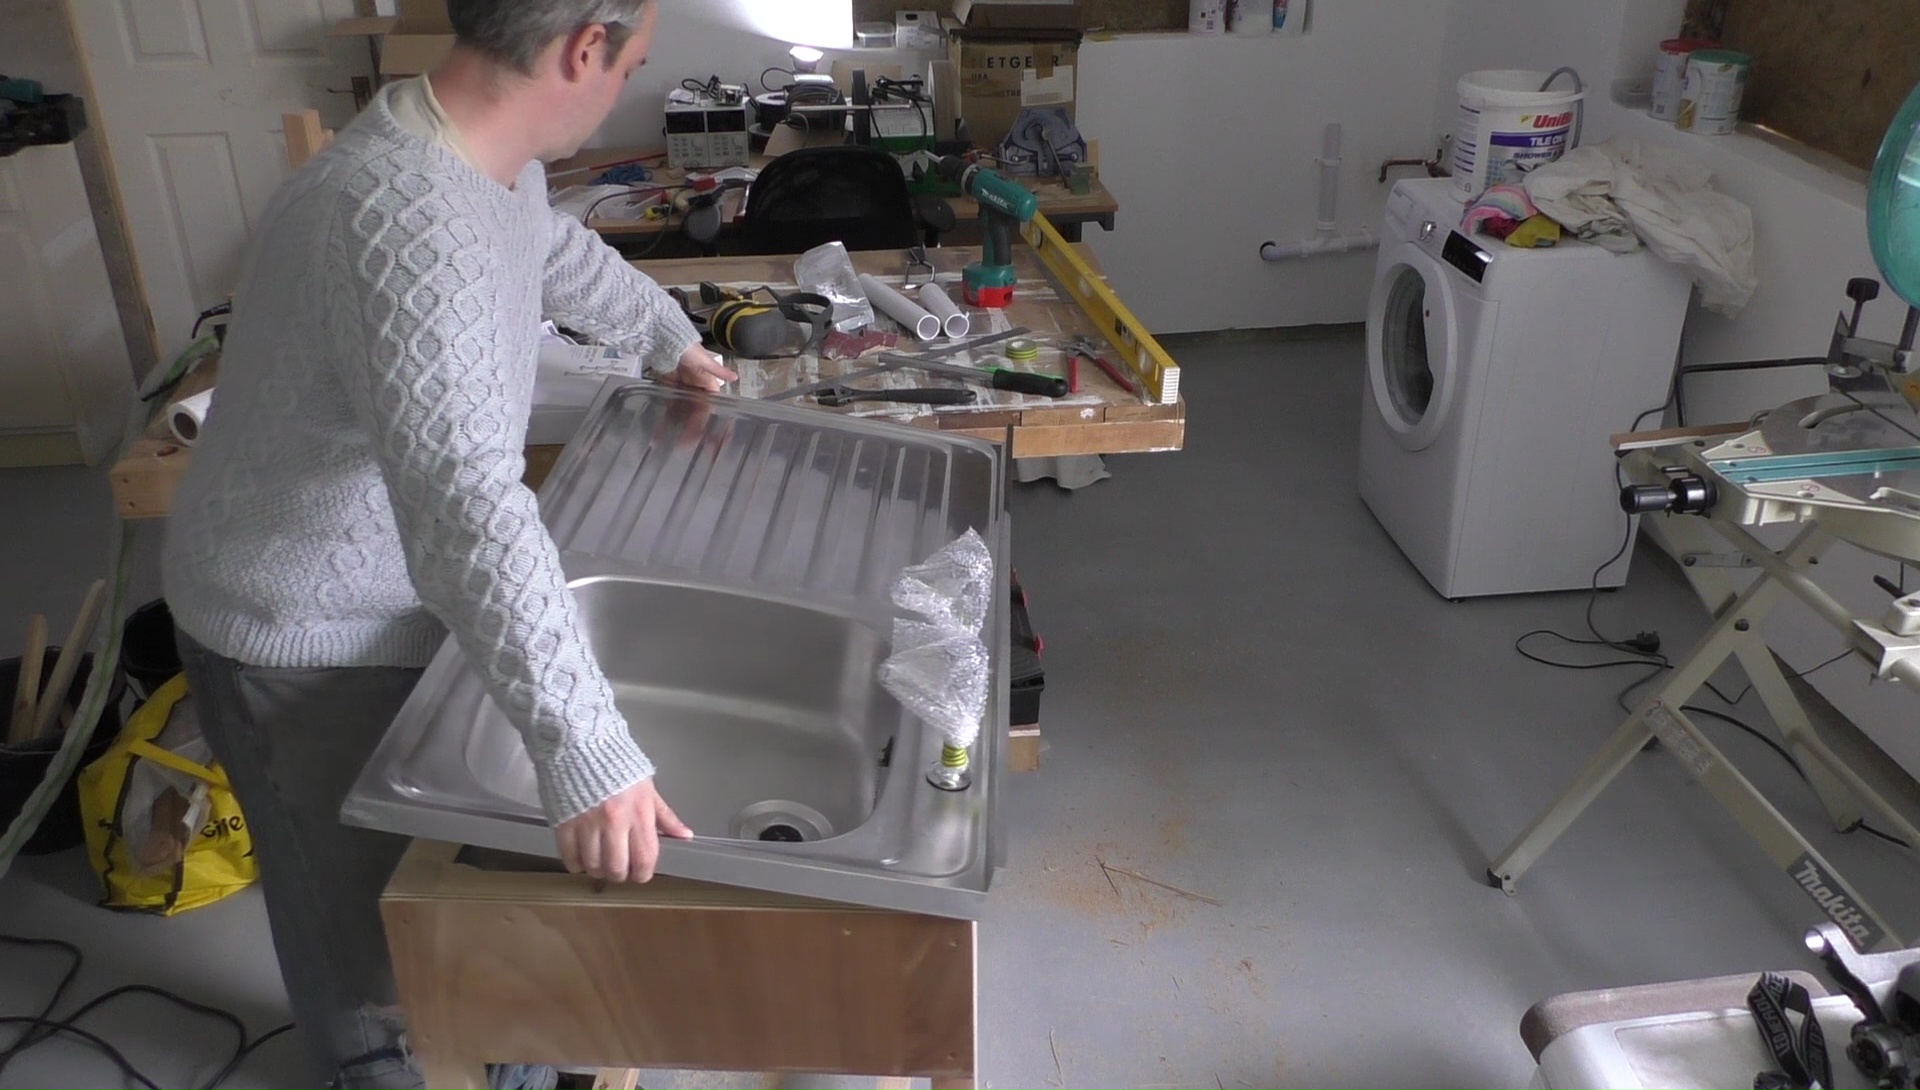
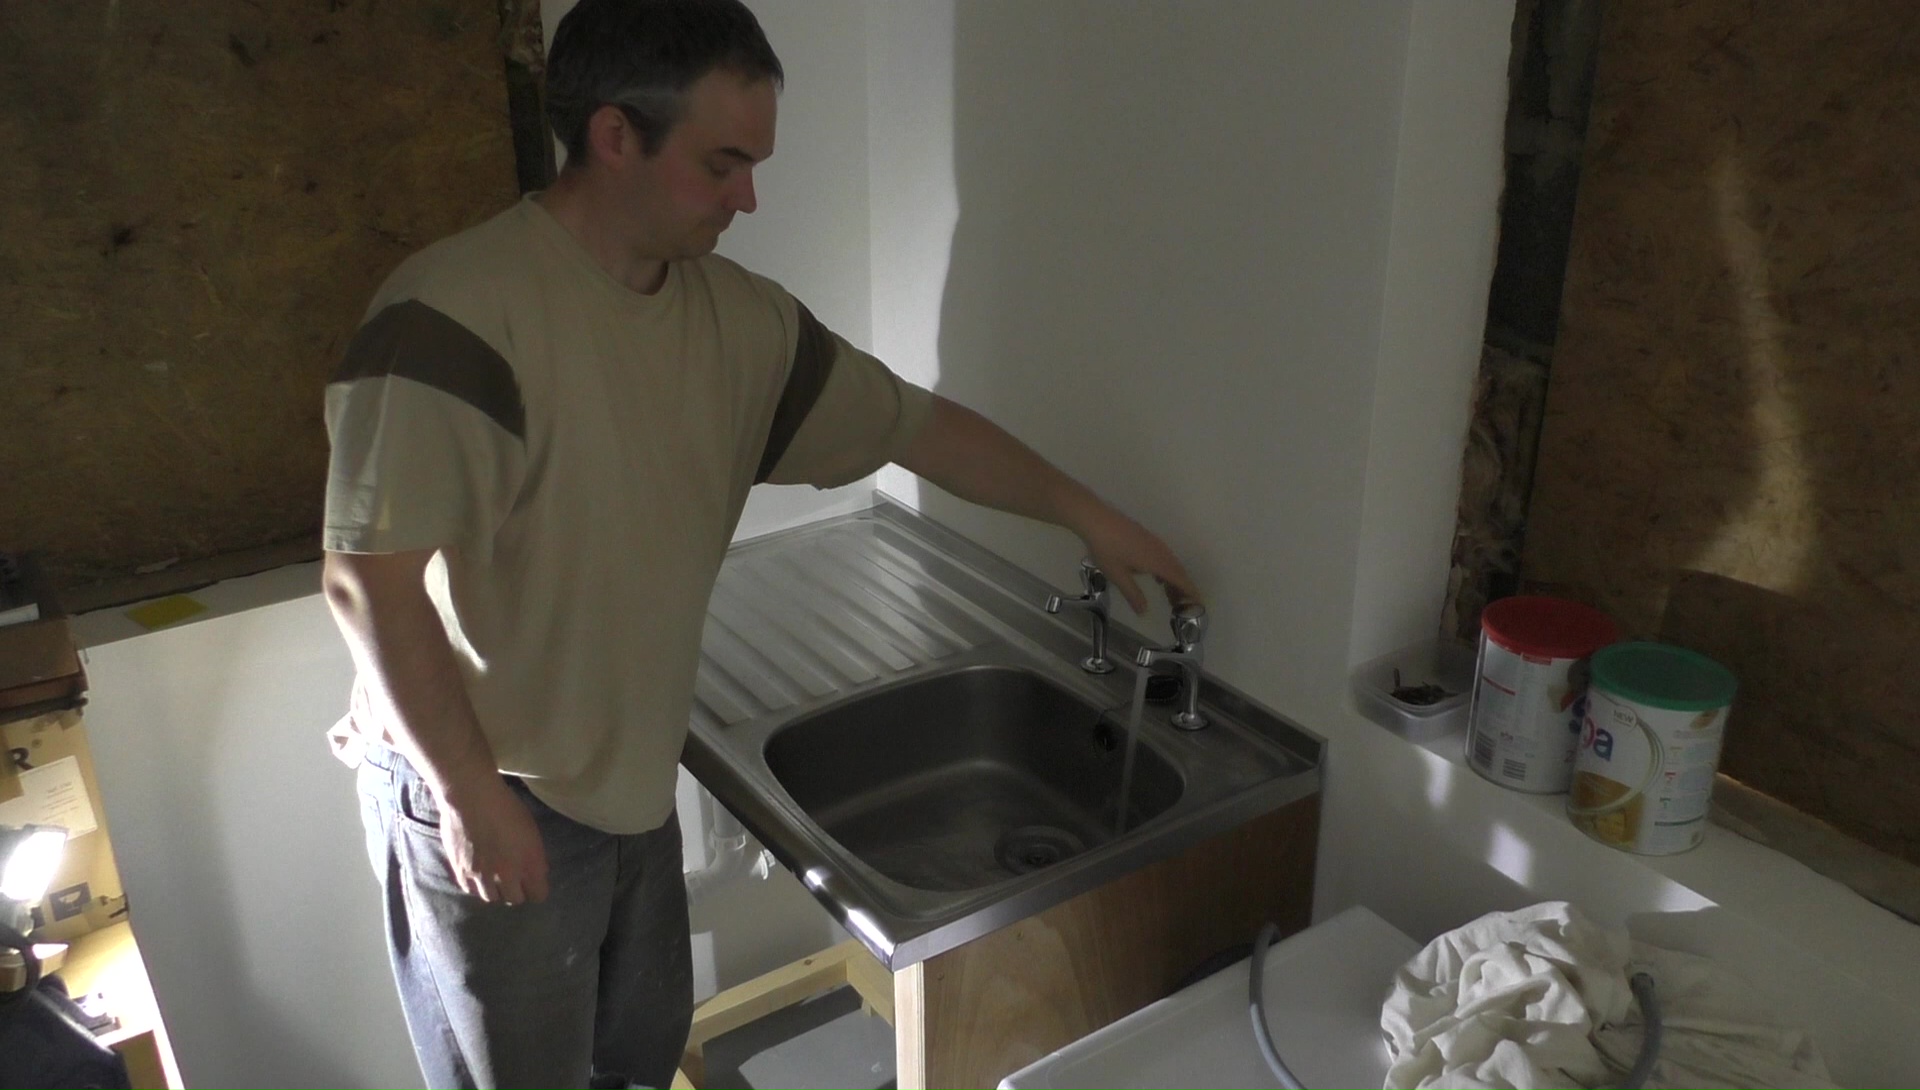
Something I’ve always wanted for my workshop was a sink I could call my own. For years I’ve made do with a bottle of water and a bucket or, if more water was needed, going down to the kitchen to use the sink there. I managed to lay my hands on a free stainless steel sink which is just what’s needed for a workshop. Better than that though it’s a reasonably uncommon design known as a sit on sink. A sit on sink completely replaces the section of work surface where it’s installed making it more robust, again great for a workshop.
Materials
- 50x50mm Planed all round timber, approximately 5m
- 18mm Hardwood ply, approximately 100x600mm
- 8x50mm Festool dominoes
- 4x50mm Screws
Tools
- Festool Domino
- Mitre Saw
- Jig Saw or Circular Saw
- Japanese saw
- Flat chisel
- Mallet
- Drill driver
- Sander
- Clamps
The Festool Domino is optional, if you are happy to layout and cut your own joints you don’t needed it but it does make the job quicker. The mitre saw is optional but nice to have, you could complete this project with a hand powered mitre saw or even just a mitre box. The jig saw or circular saw is optional, a hand saw would work it’ll just take longer.
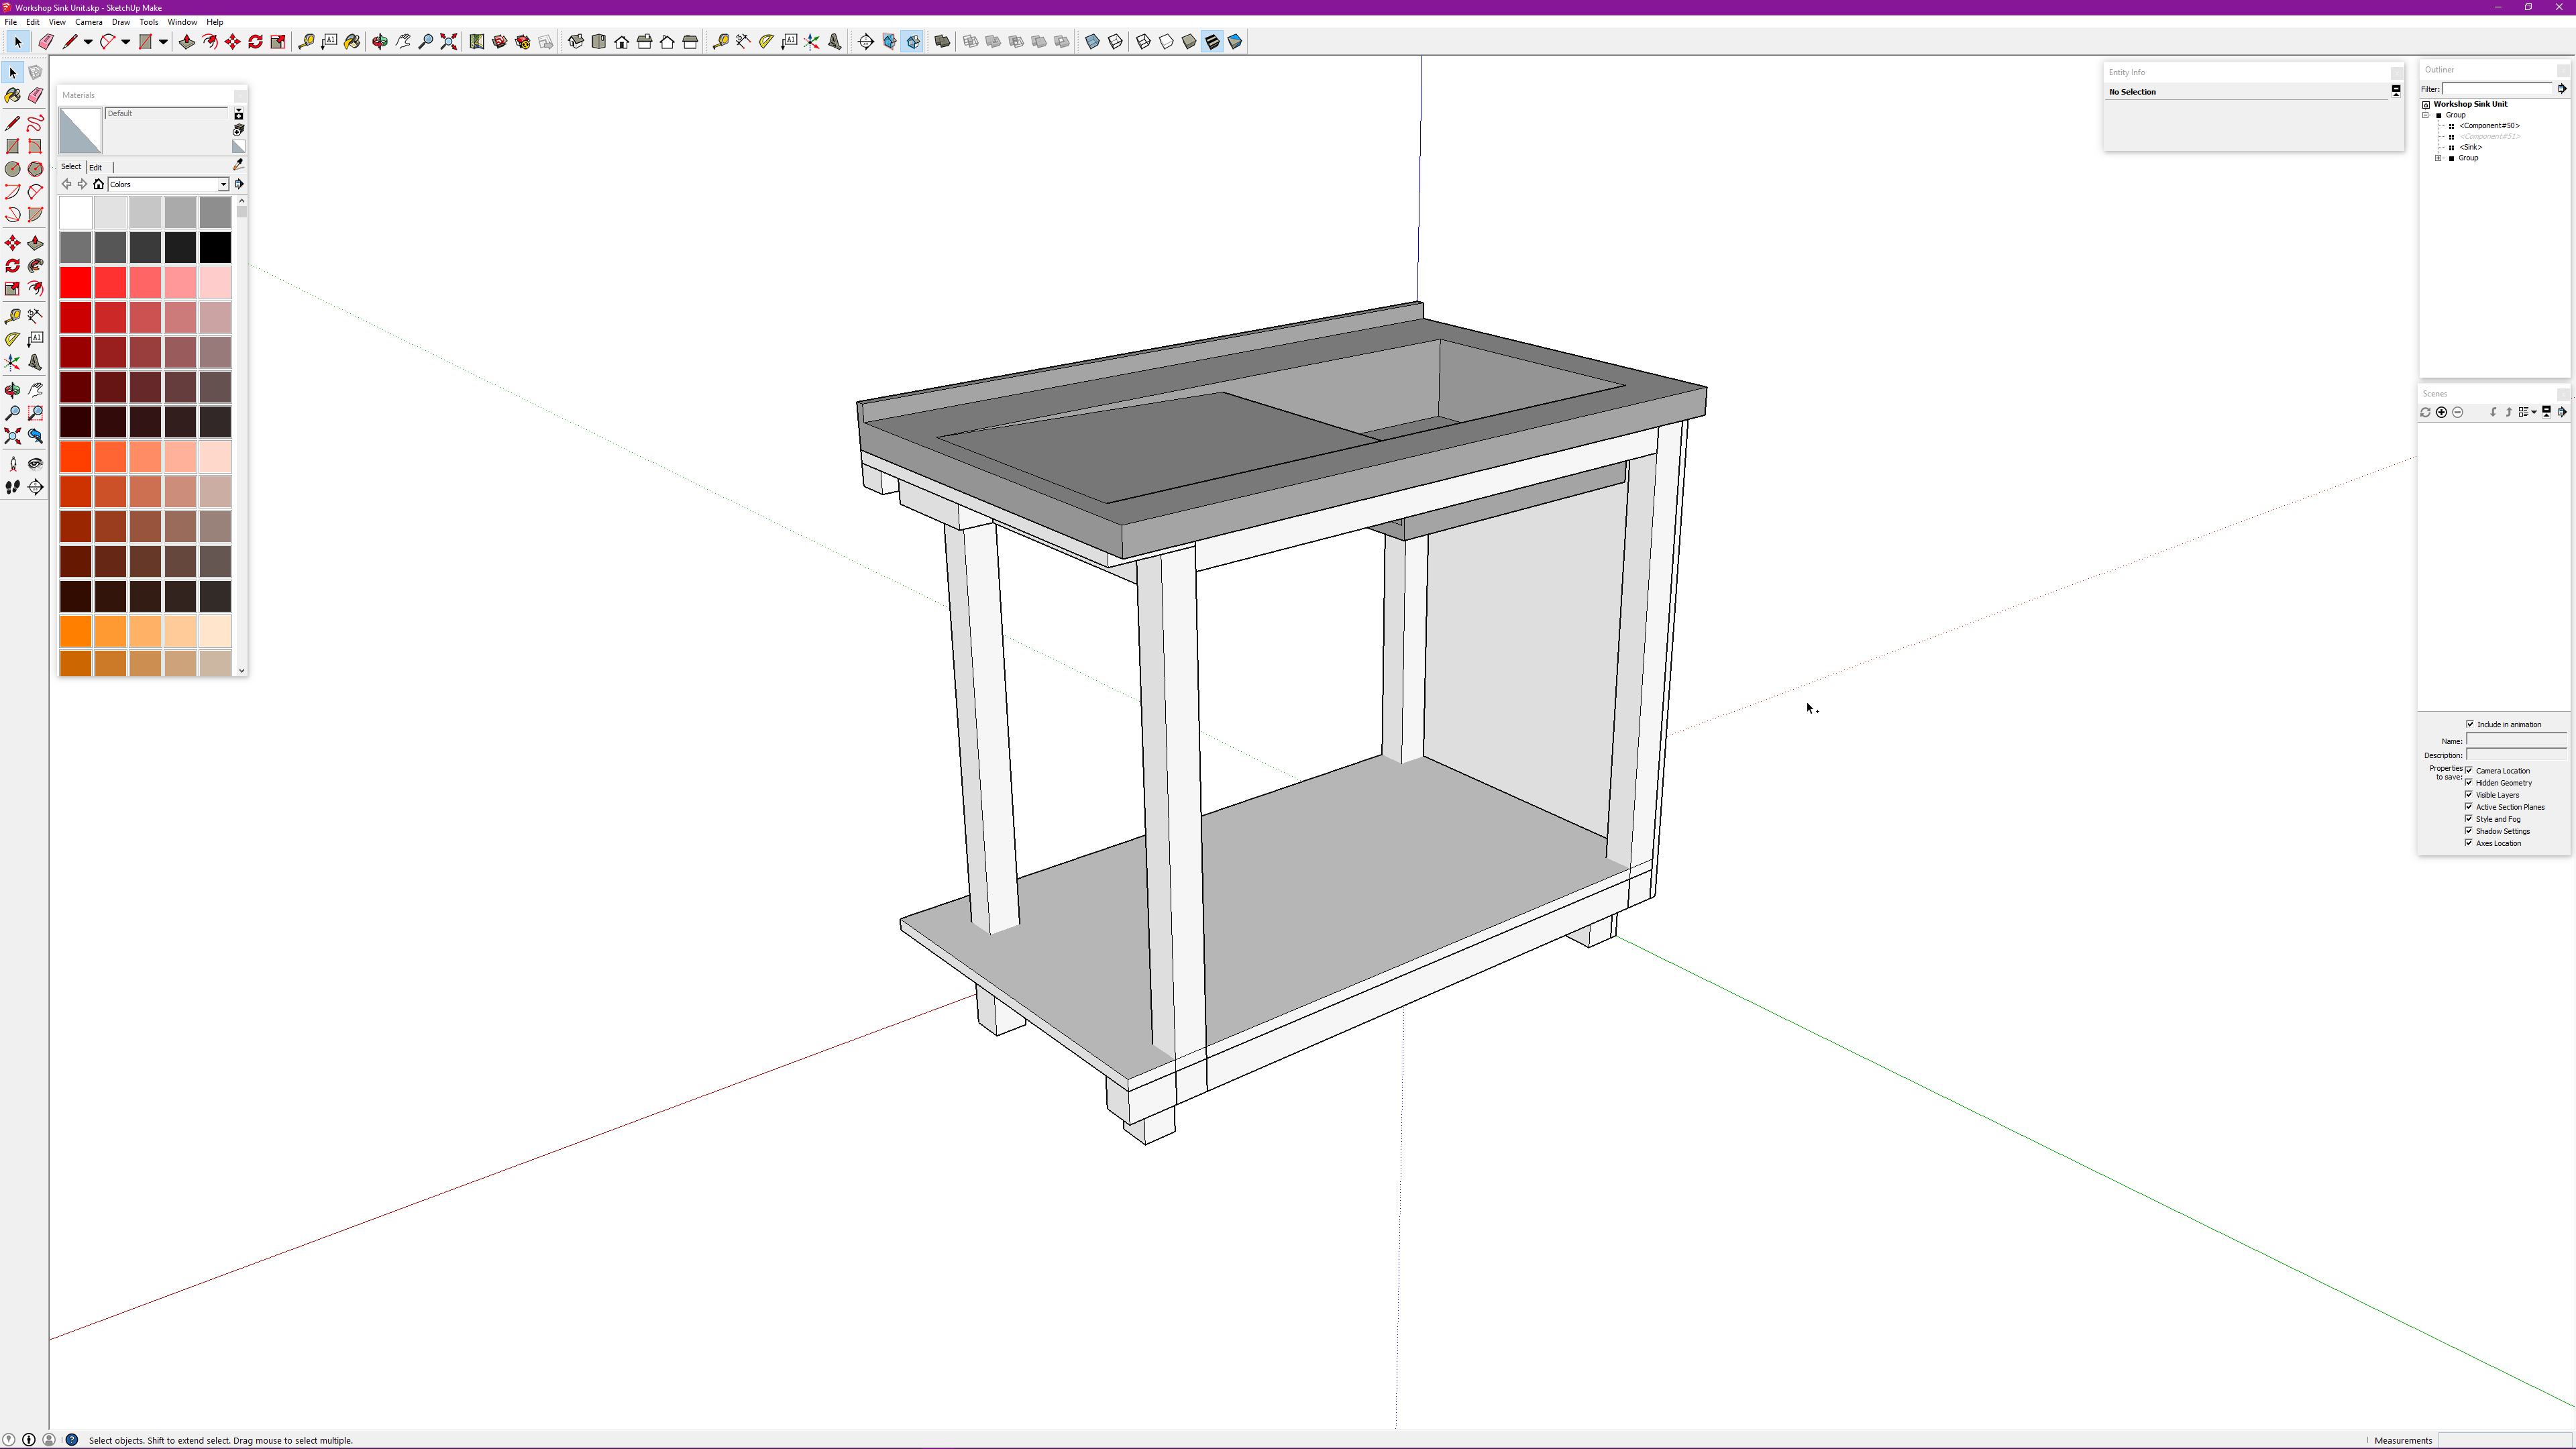
Planning
One day I’ll just go into the workshop and just start cutting wood and care about what I make later. Until that day comes though I’ll plan everything in excruciating detail in SketchUp. To be fair, for this job planning it out first is a good idea as this cabinet has to make it’s way around pipework on two walls hence the slightly odd looking design.
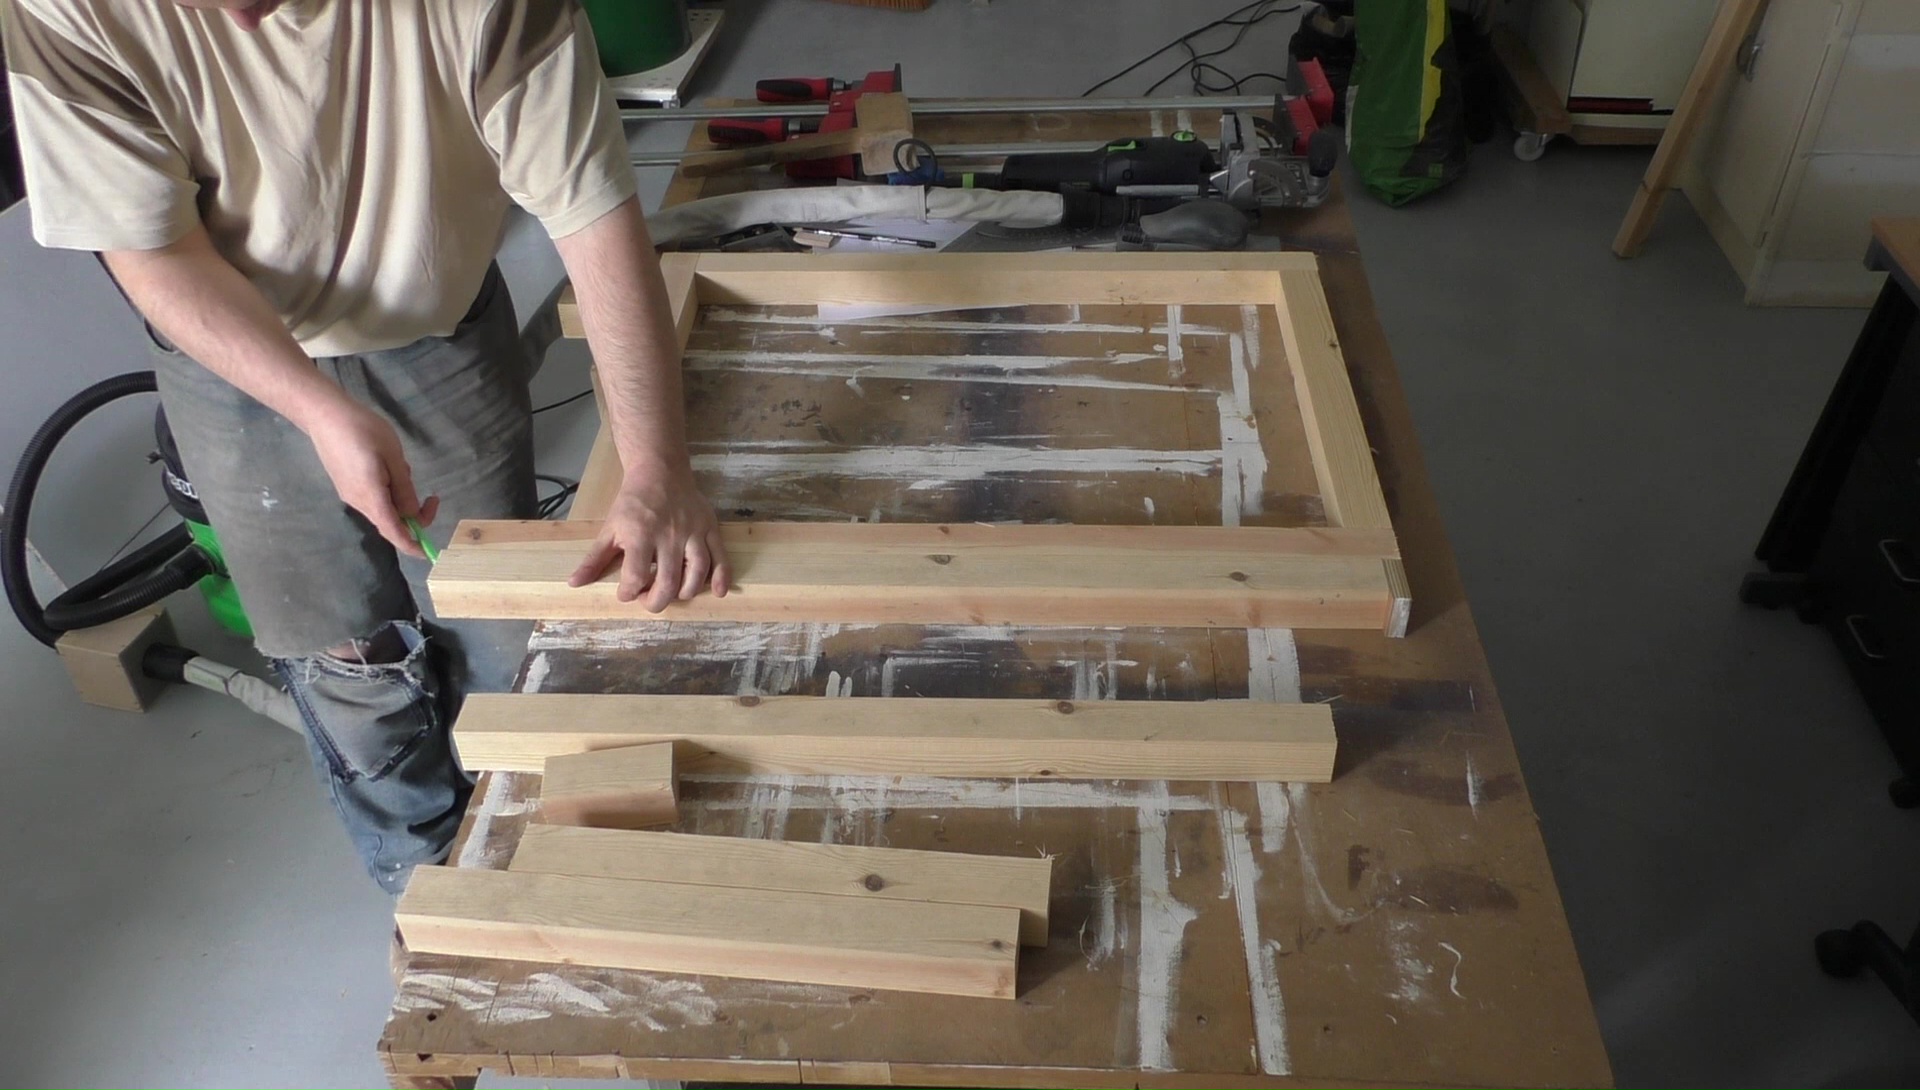
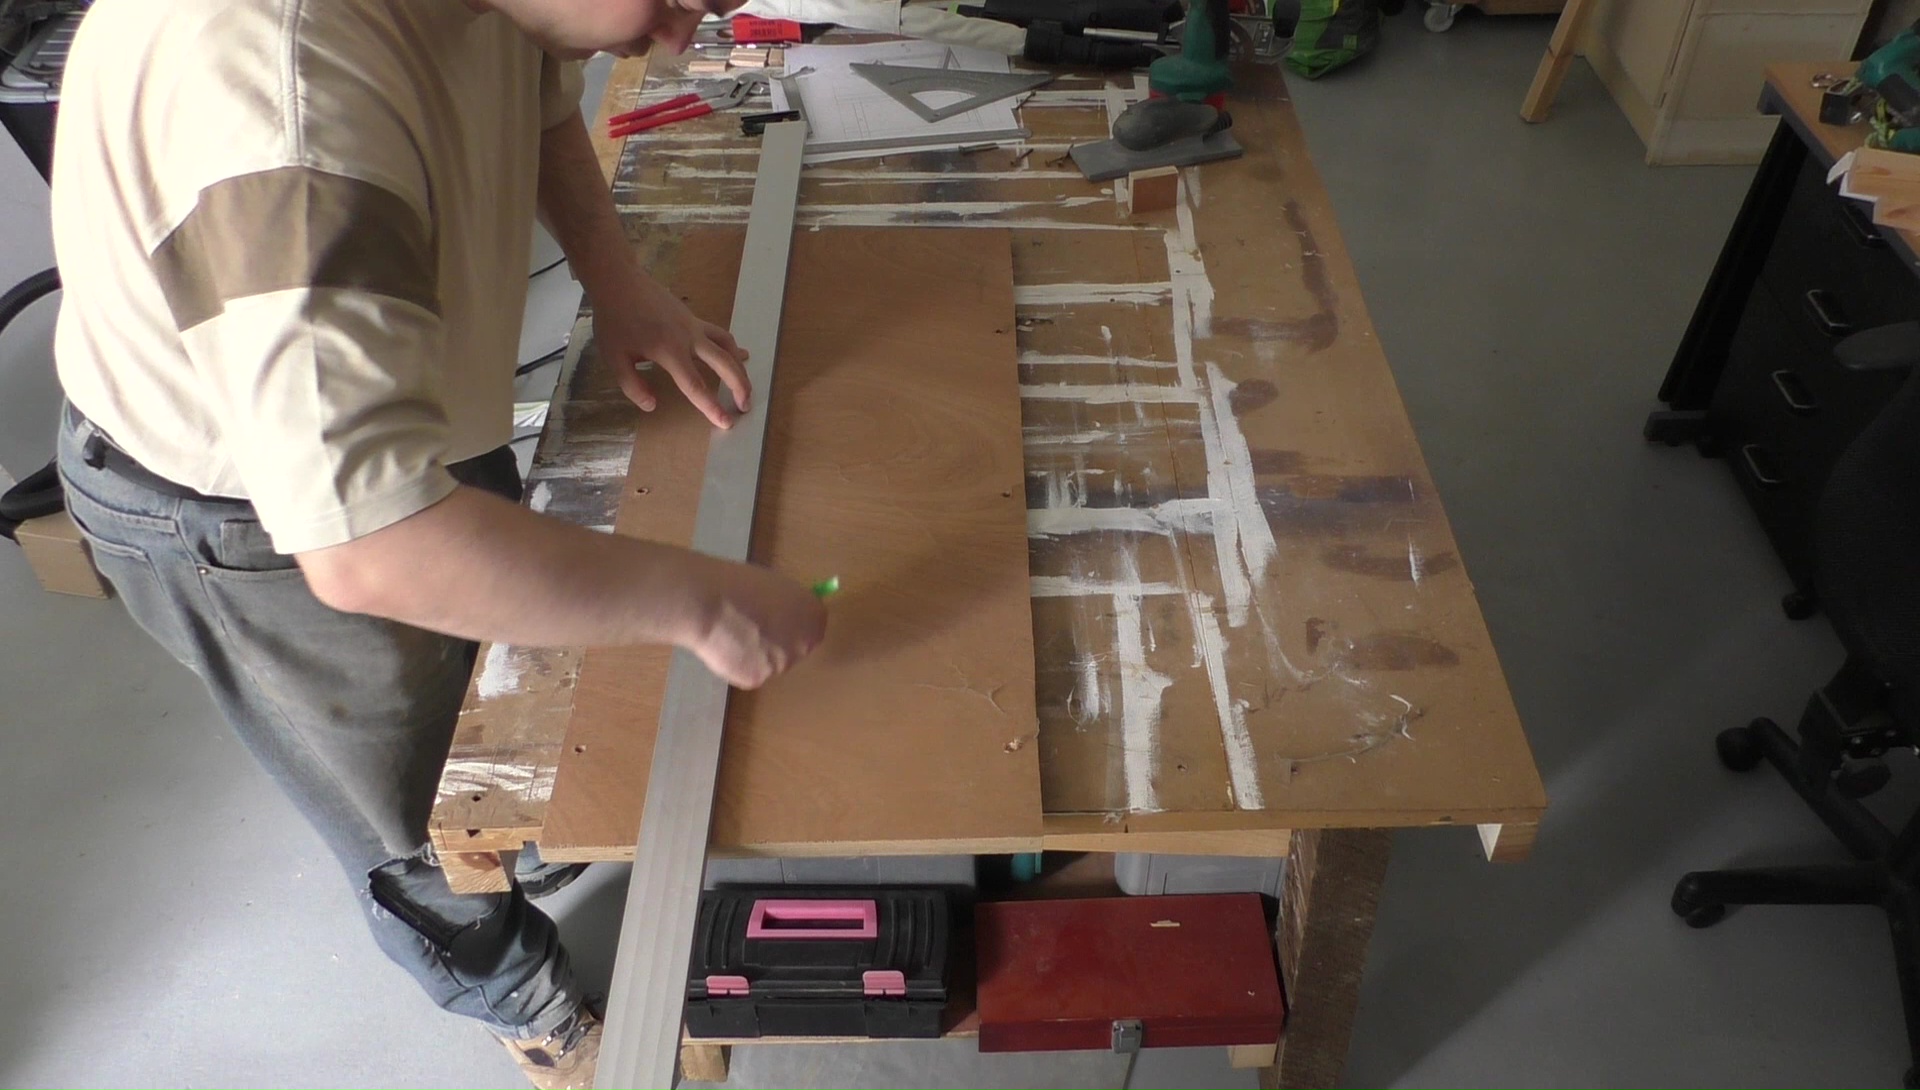
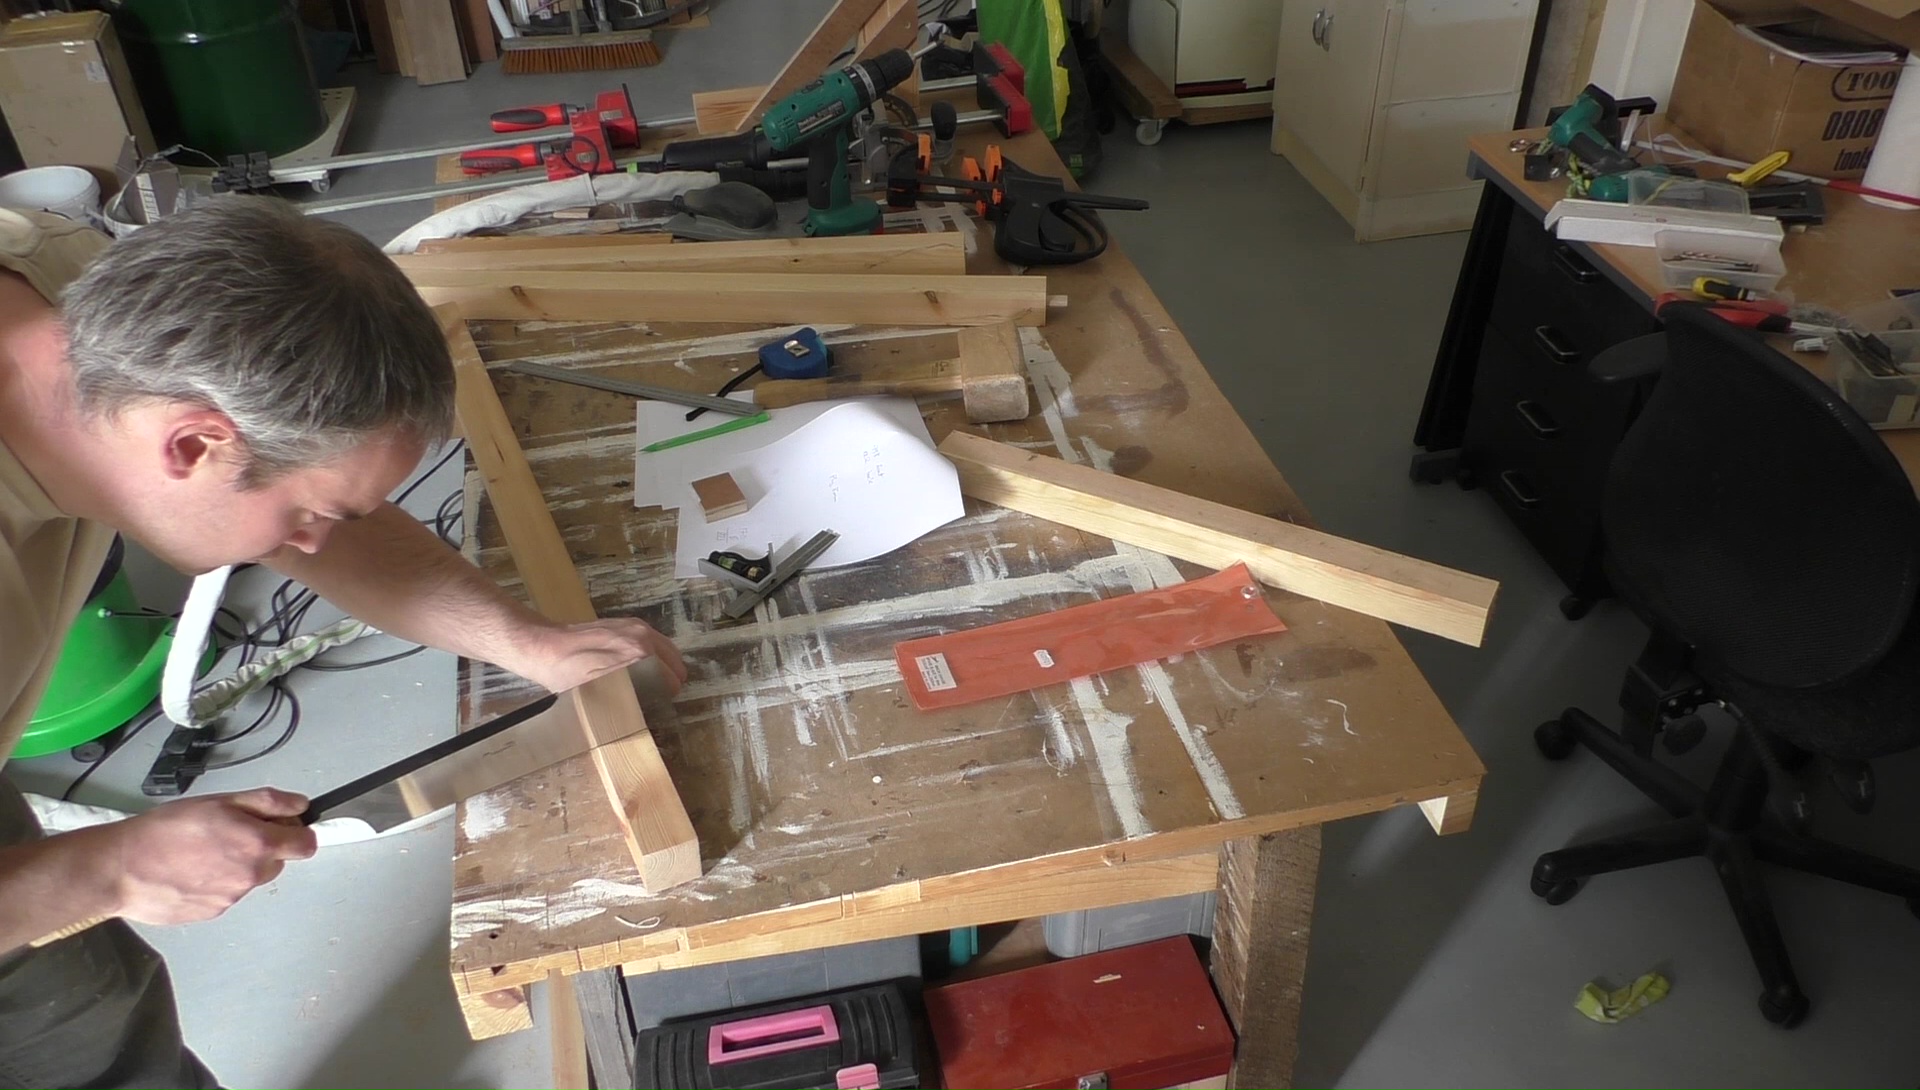
Stock Preparation
Start by marking all the pieces and then cutting them to (the wrong) size. A power mitre saw makes this really easy but a hand powered mitre saw or even just a mitre box could be used.
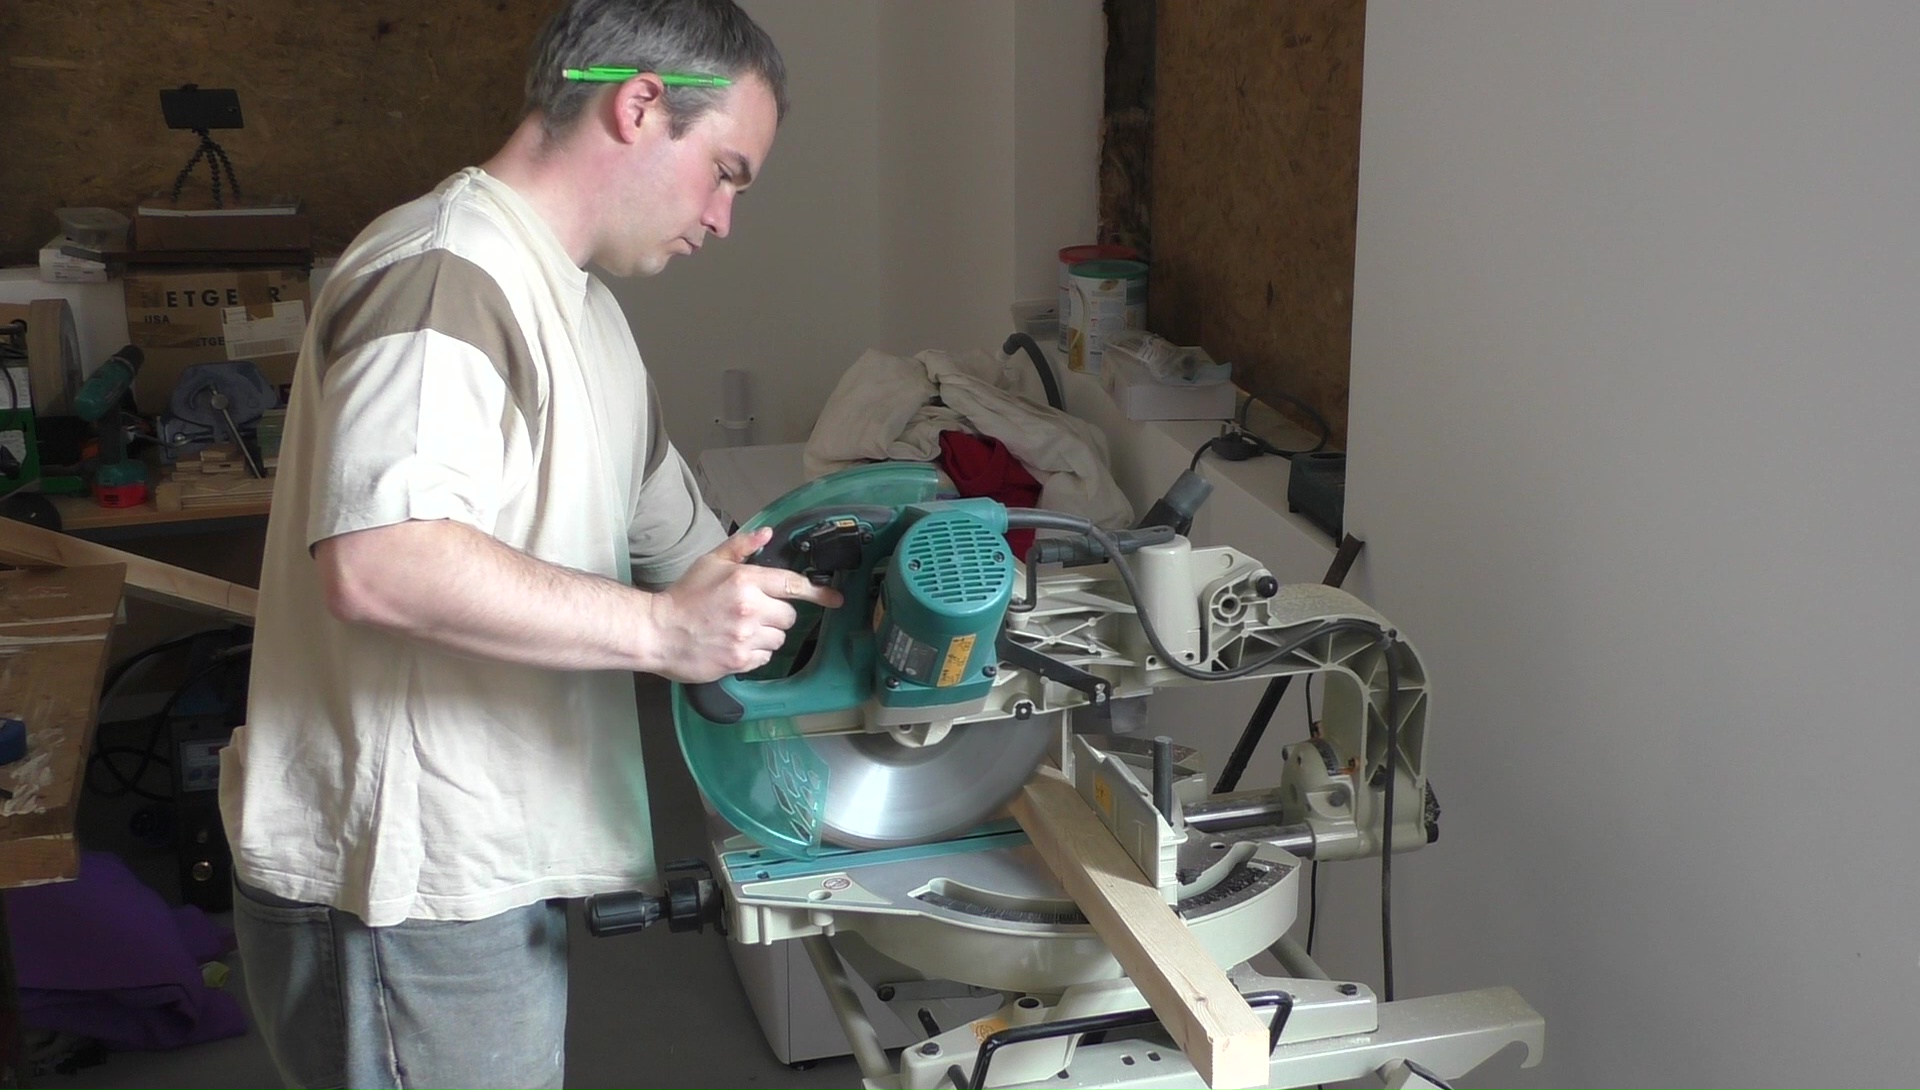
I managed to screw up the cutting the pieces to size, in my plan I’d used the nominal size of the timber which is 50x50mm. When timber is planed all round (PAR) like this it’s usually a few millimetres under it’s nominal size, the nominal size is as sawn. The error I had was about 5mm which thankfully I was able to deal with due to the way I’ve designed the frame, the cabinet just ended up 5mm shorter and narrower.
Rather than try to remeasure everything I just used relative dimensioning to correct the mistake. This is just a fancy way of saying I stacked up the timber until with was the right length and marked how long it should be.
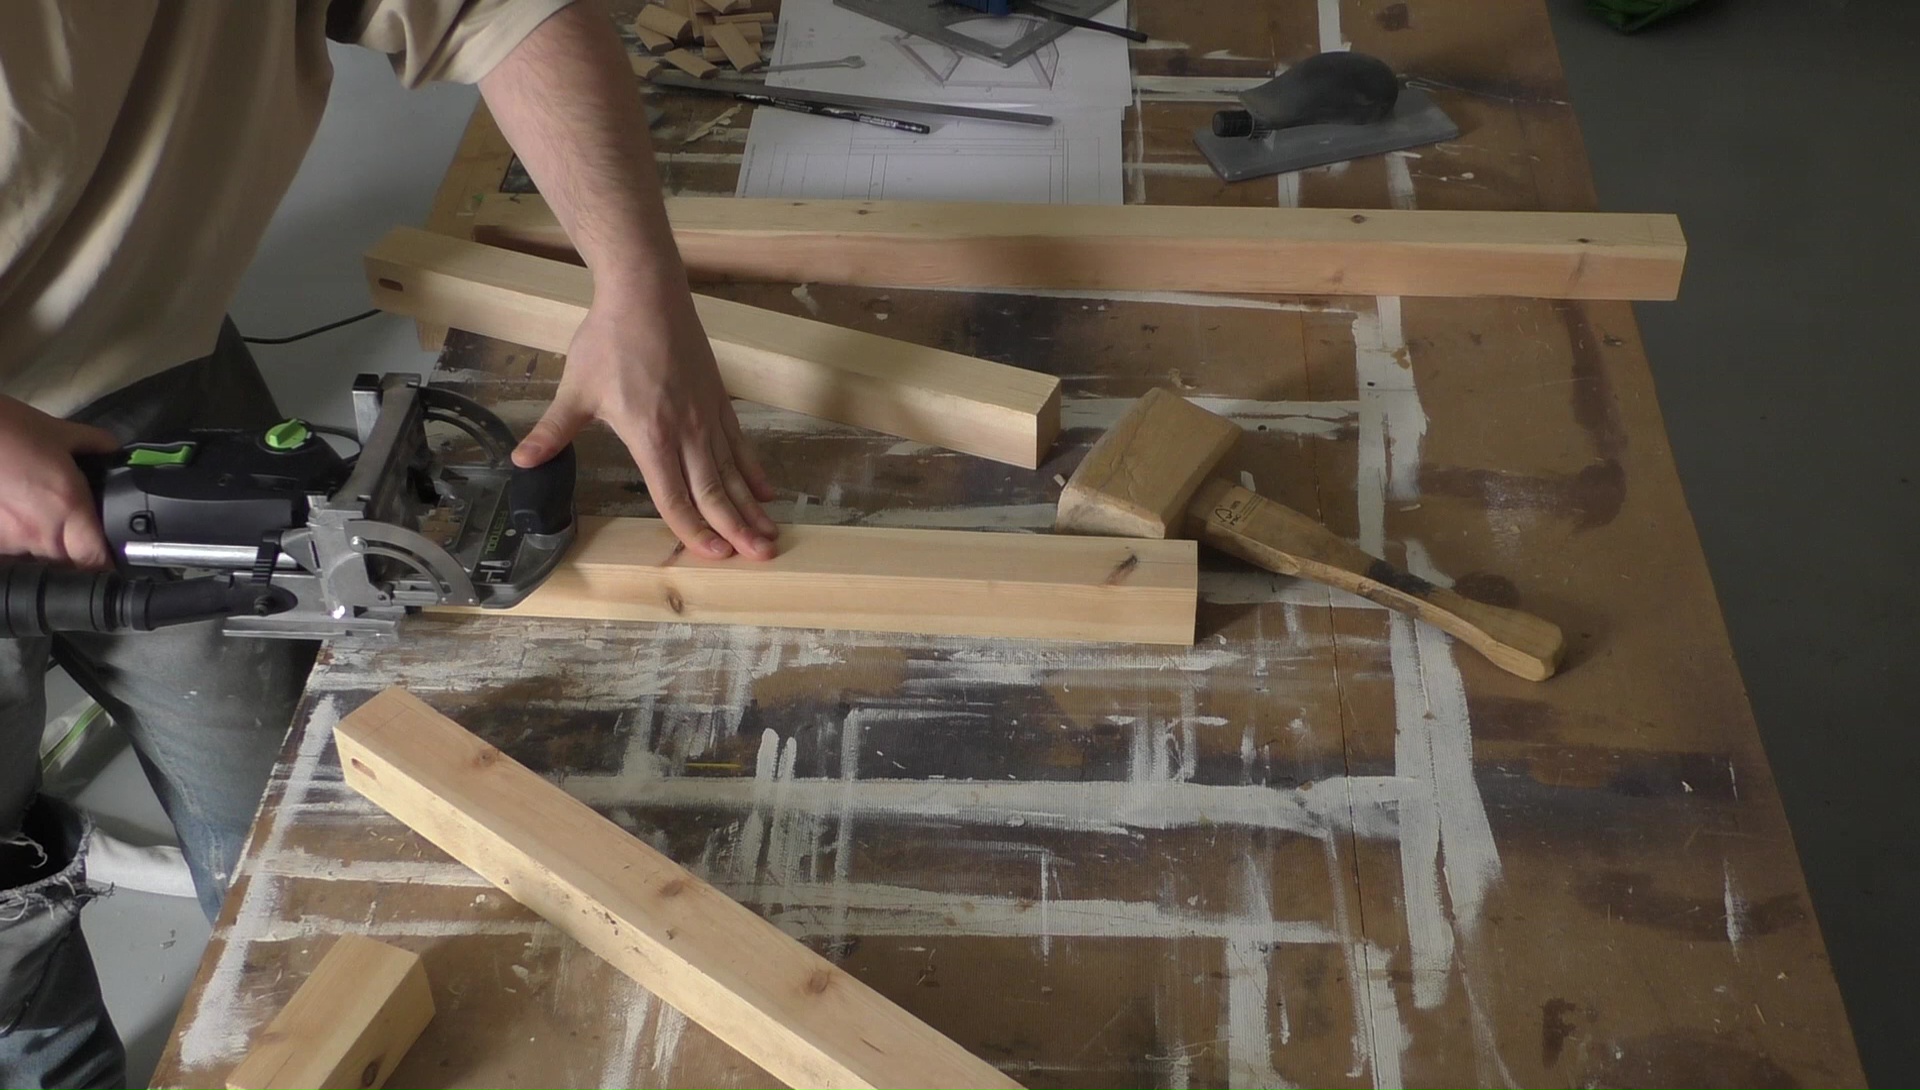
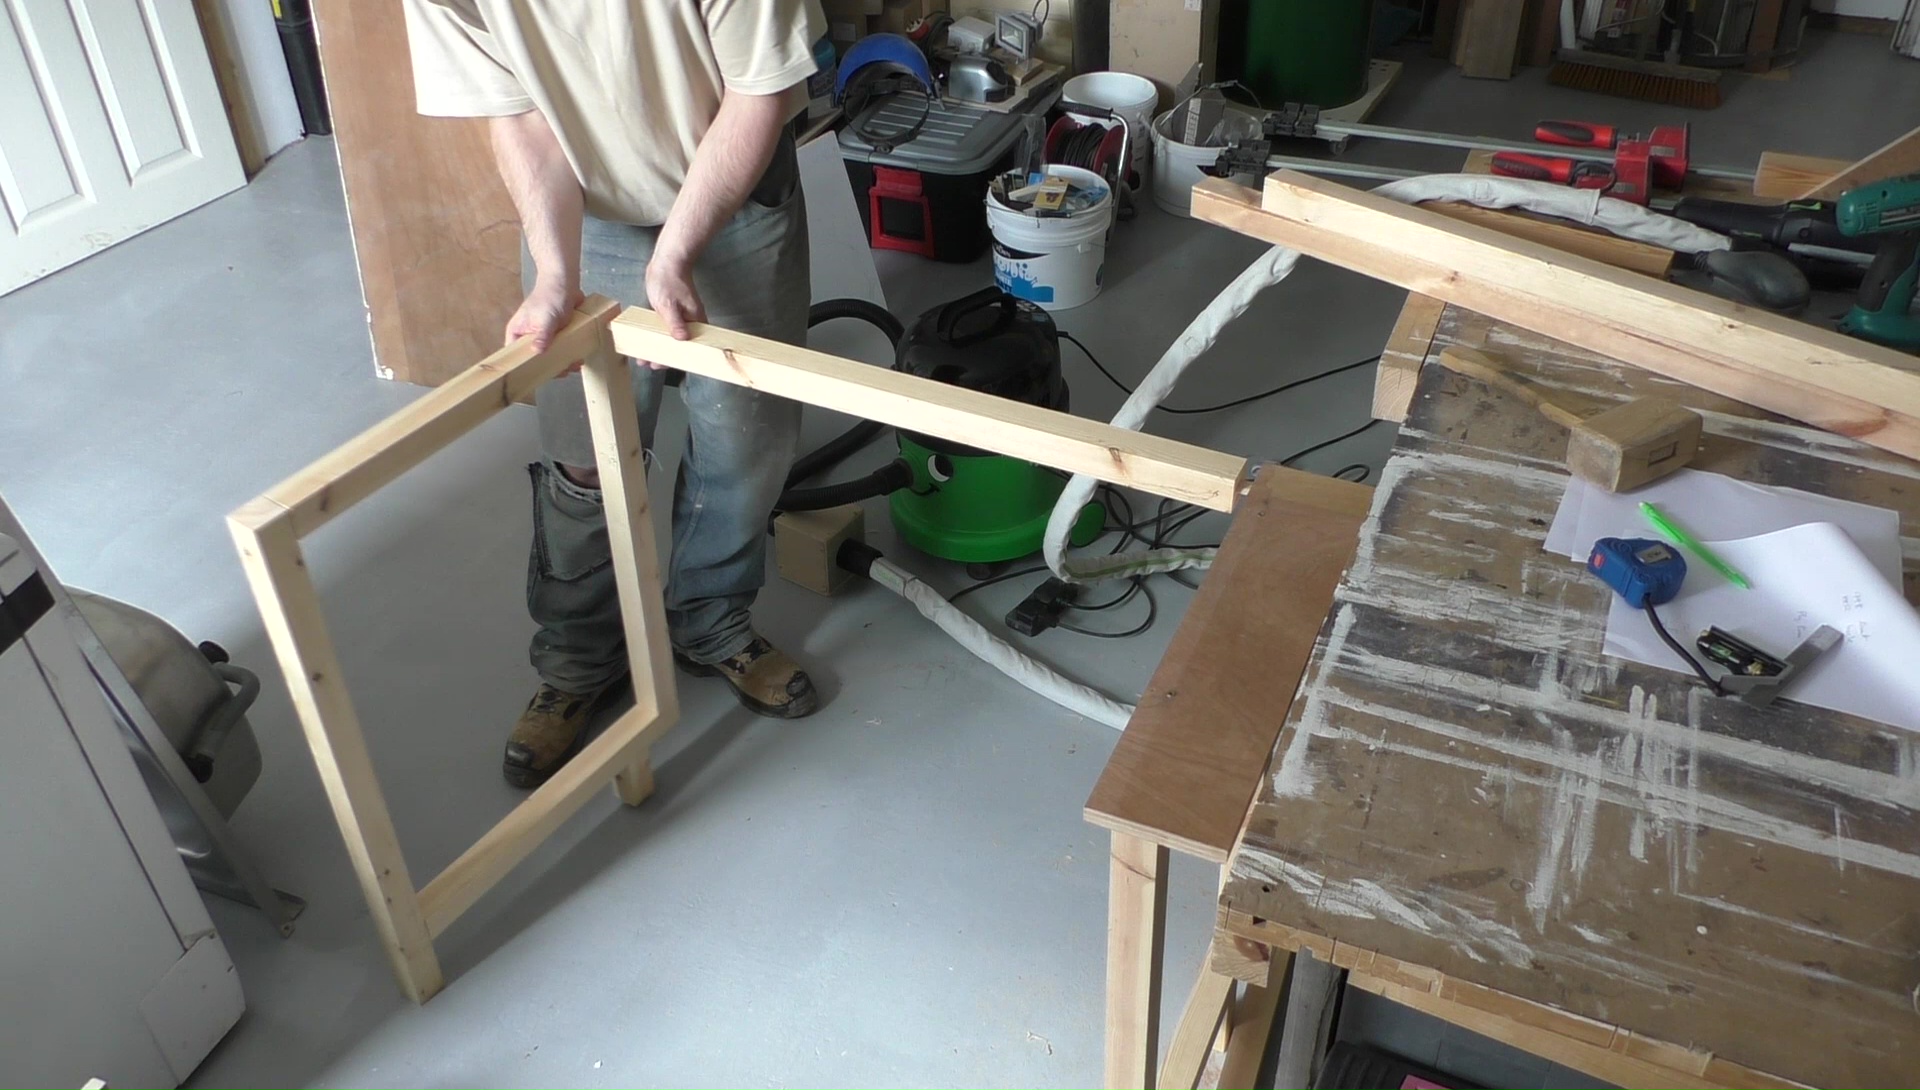
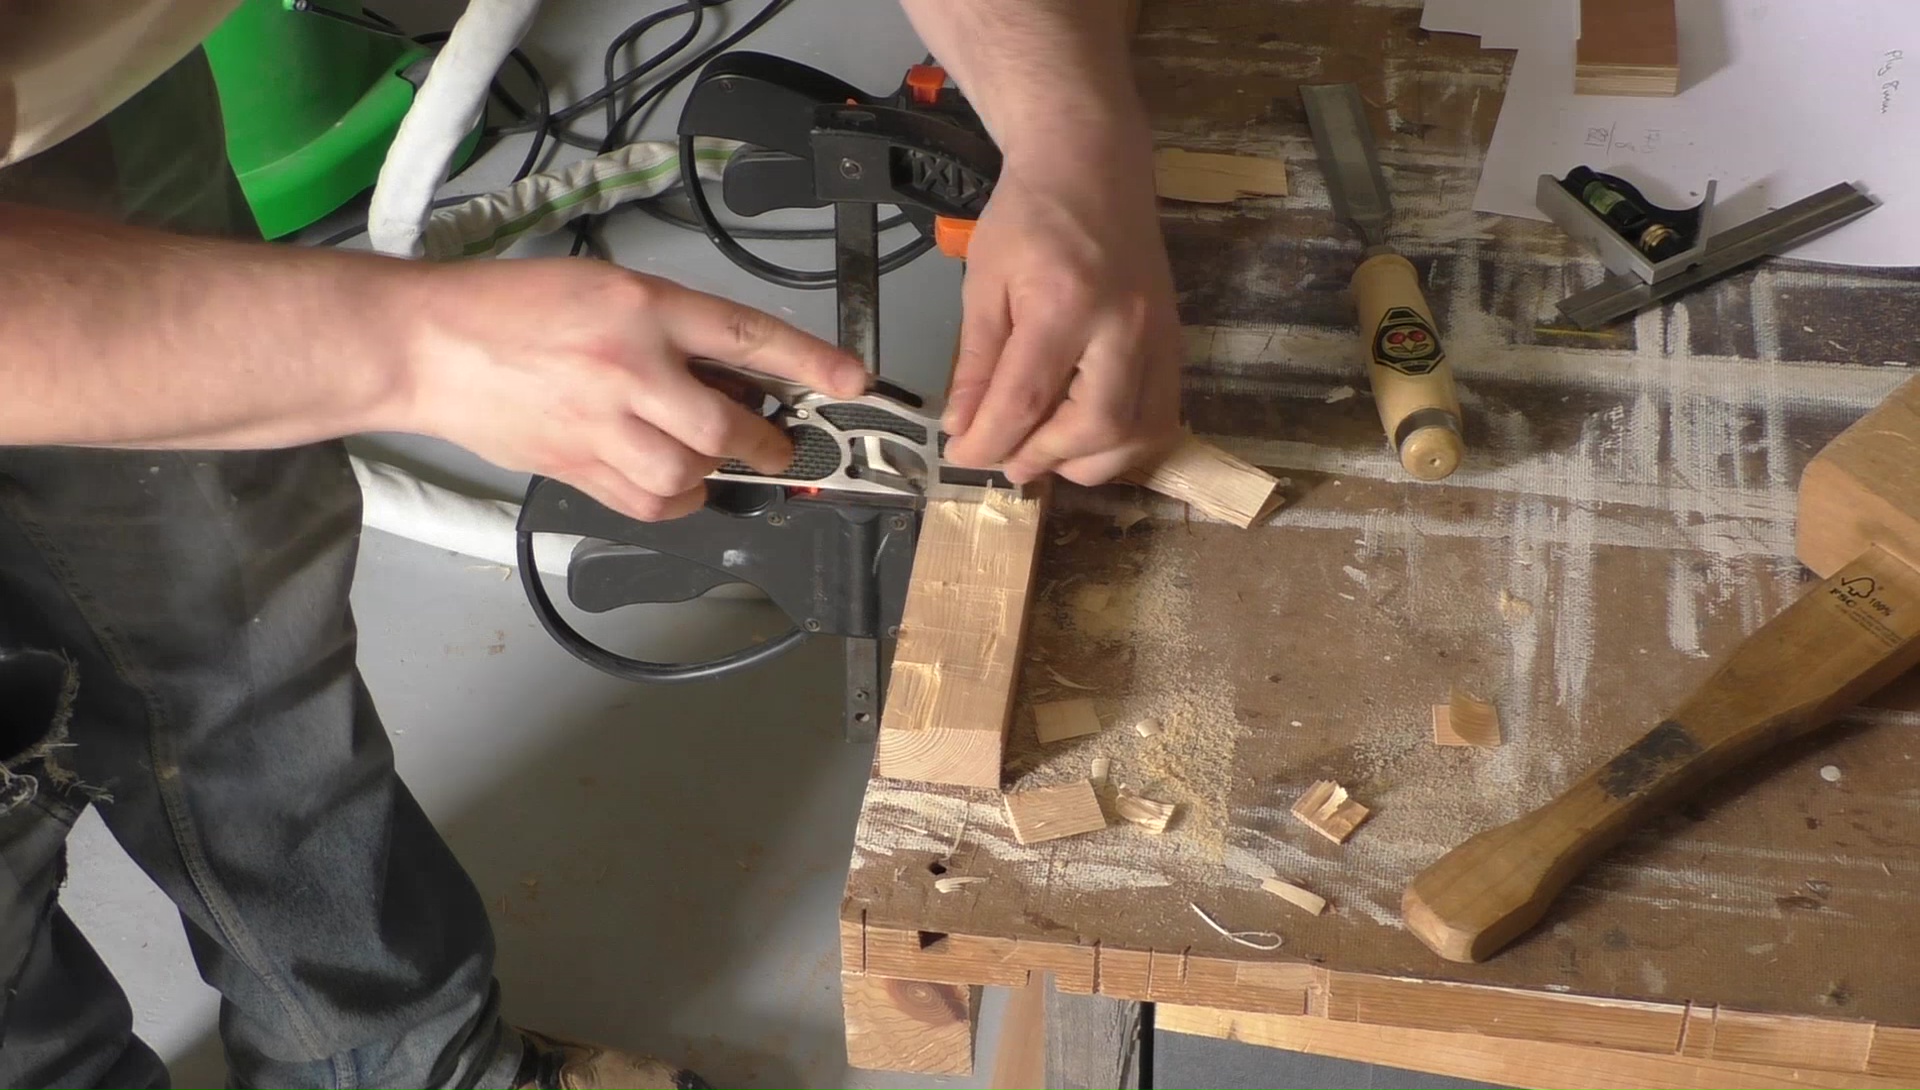
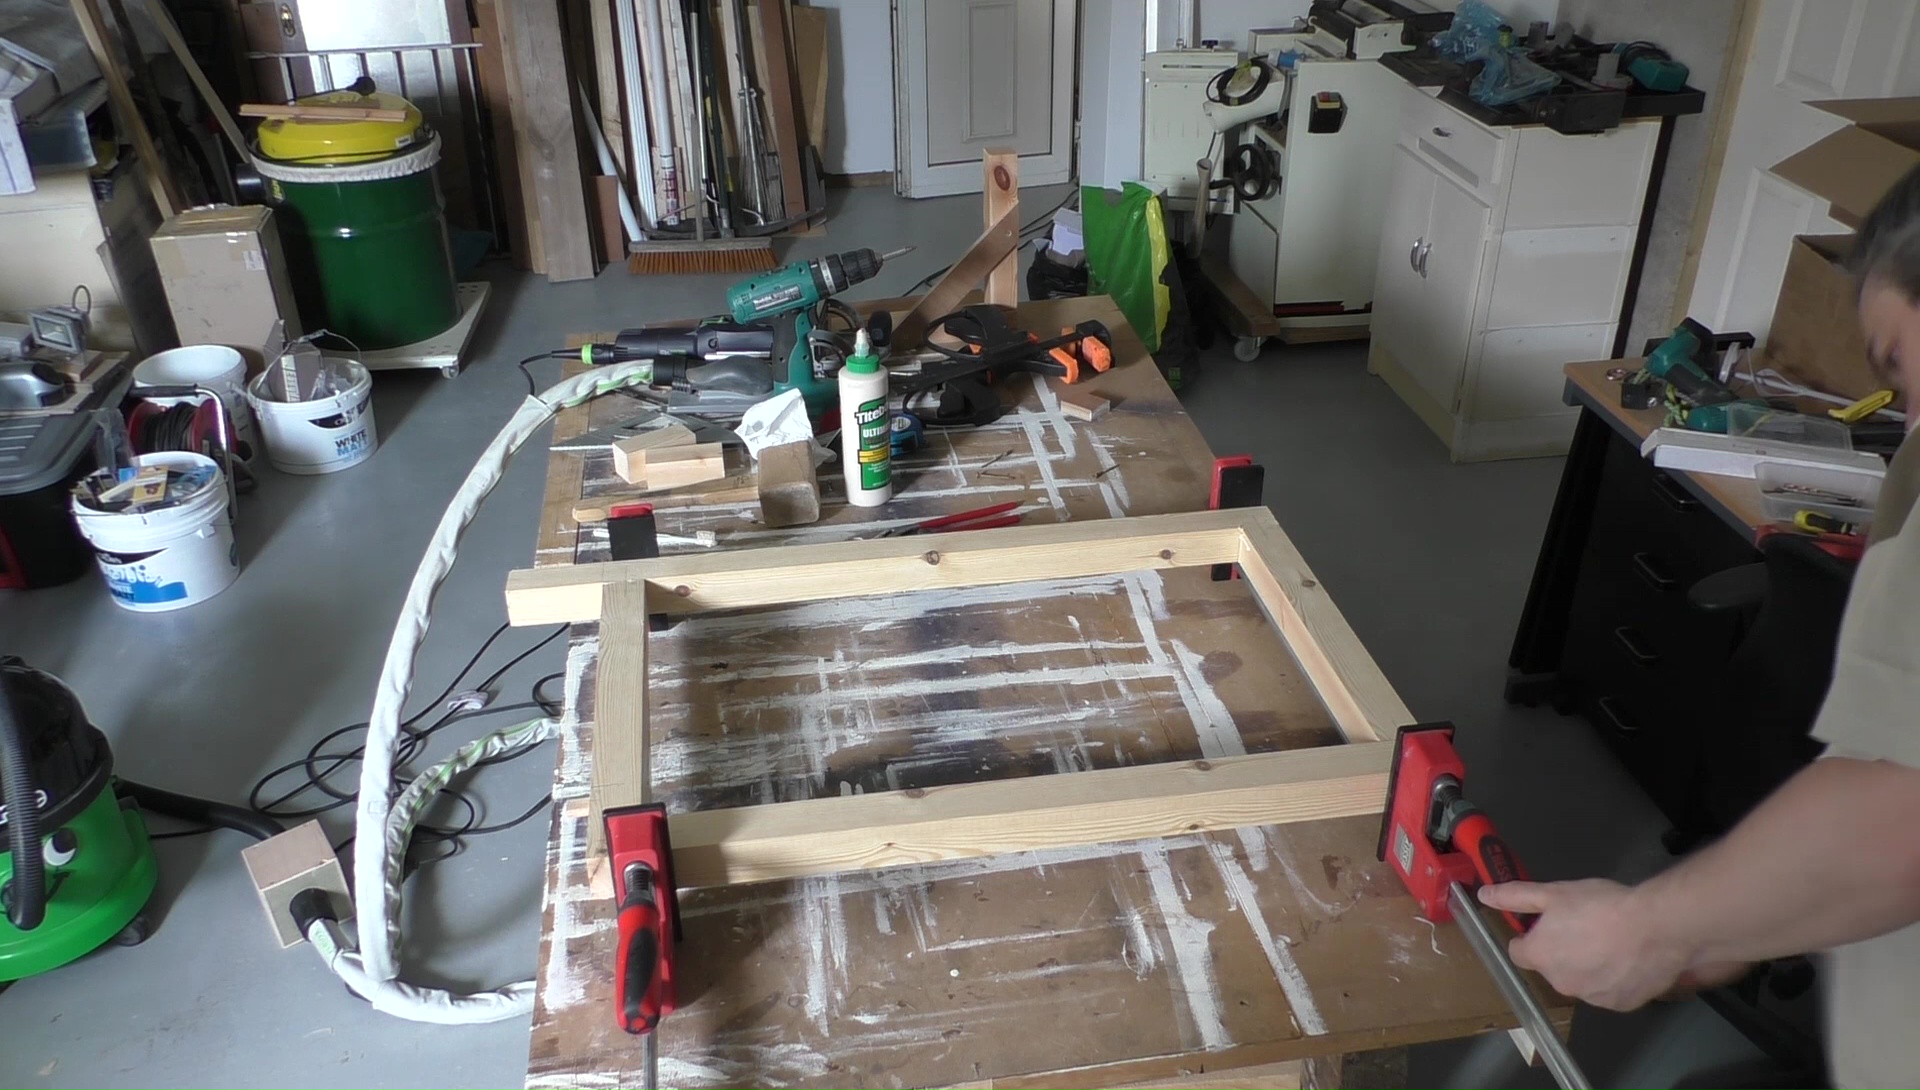
Dry Fitting and Jointing
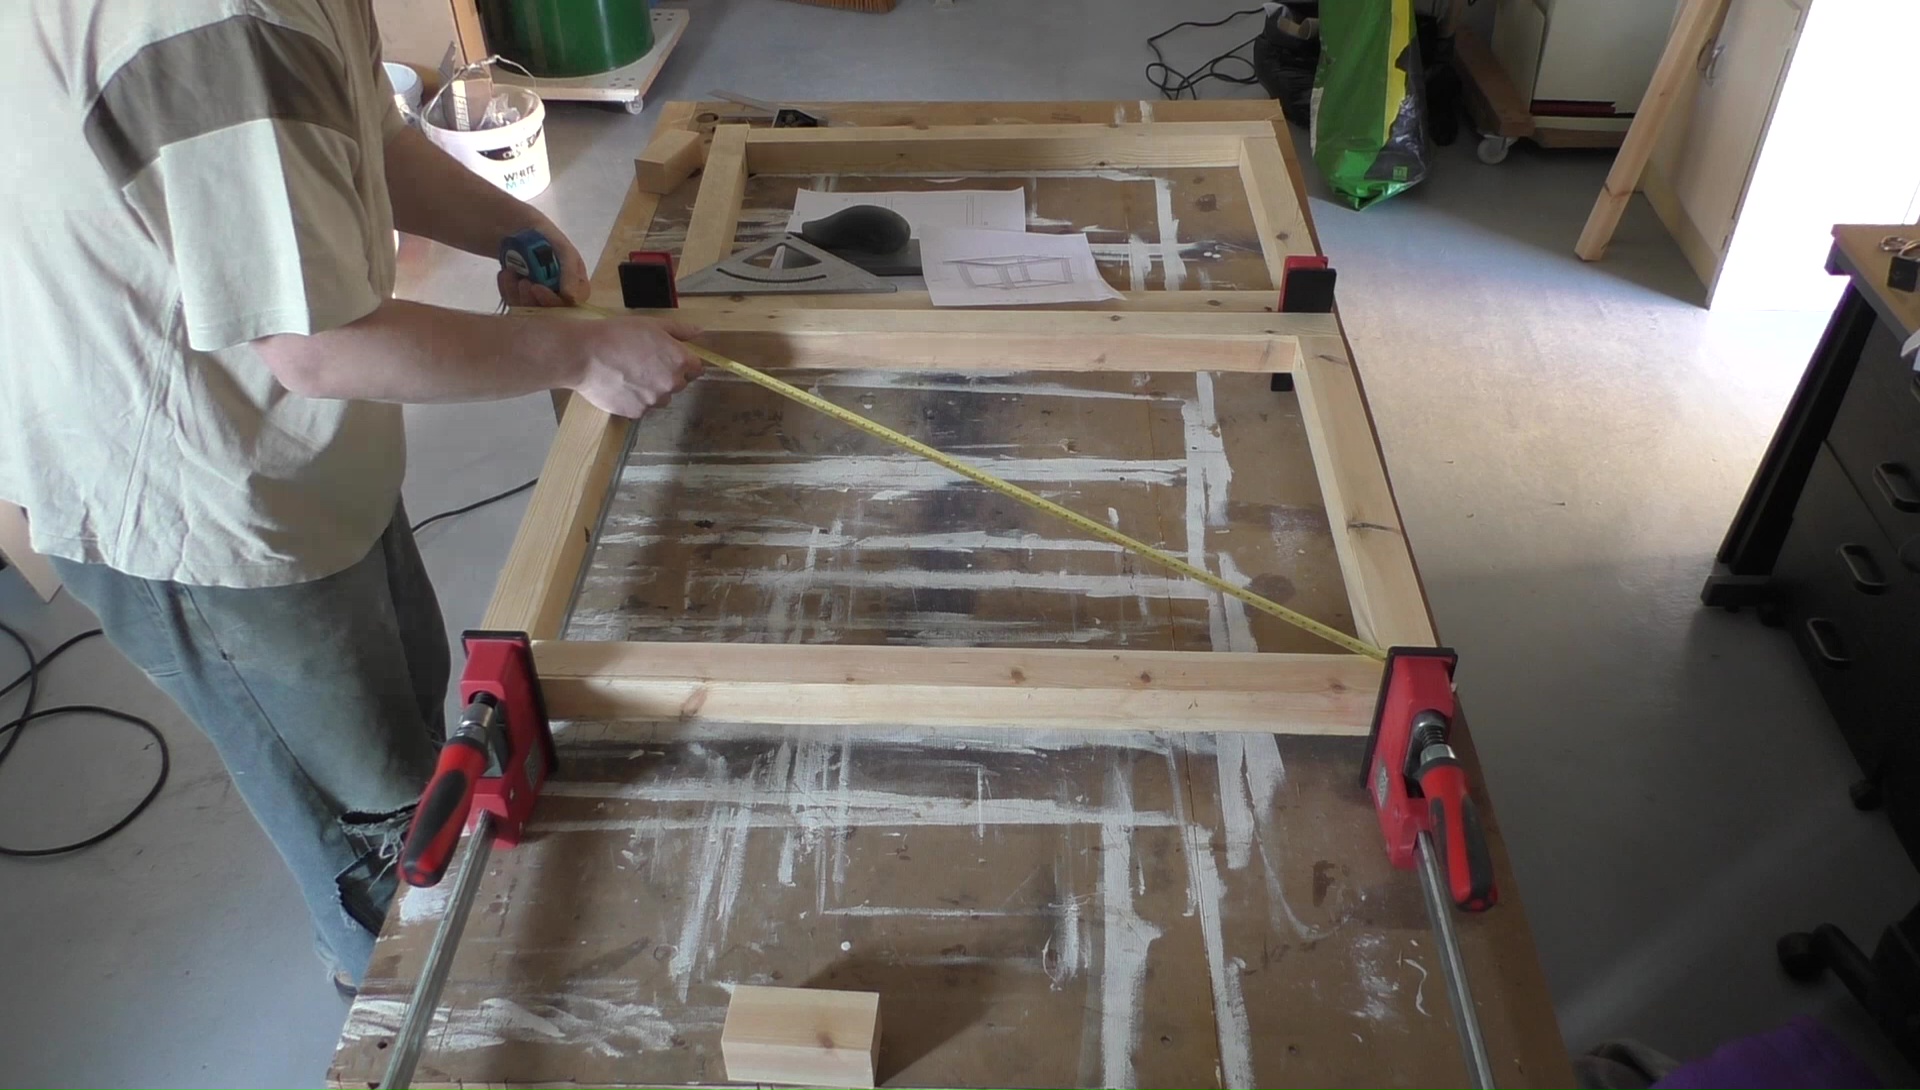
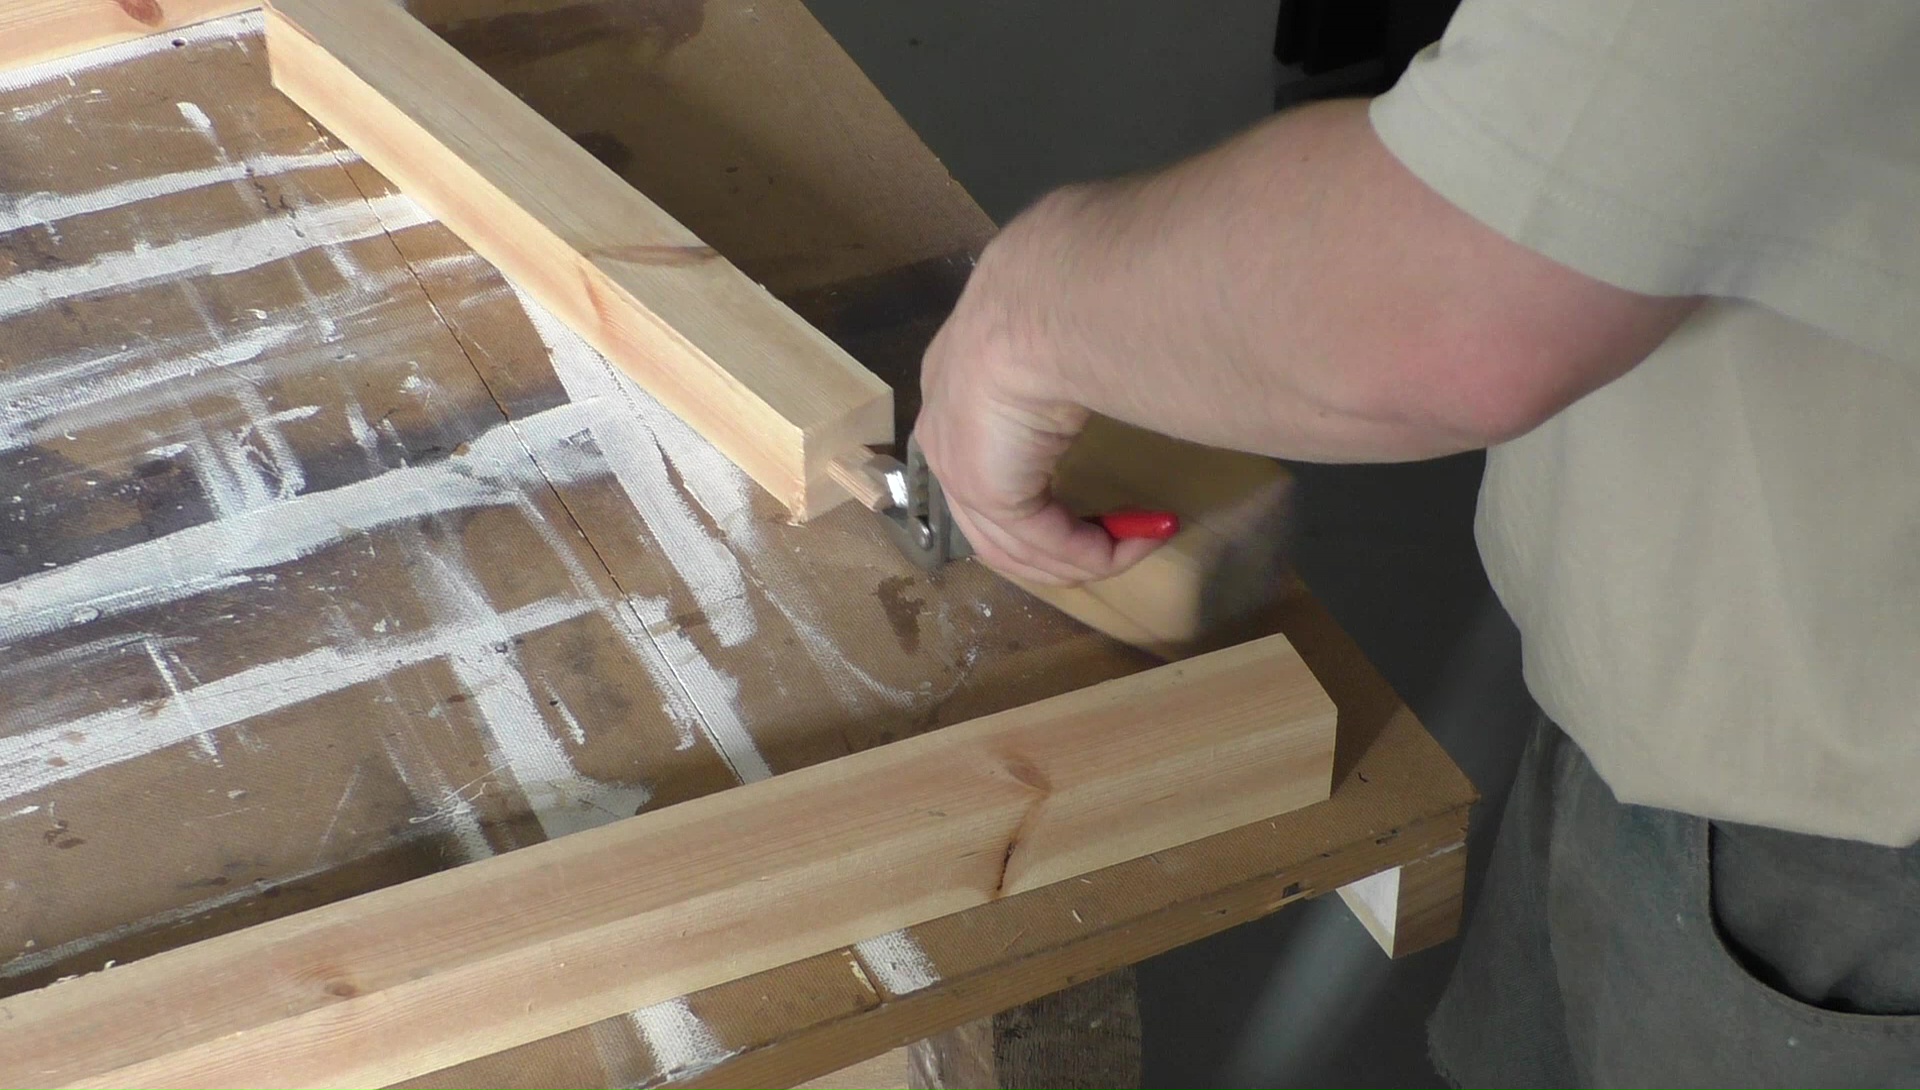
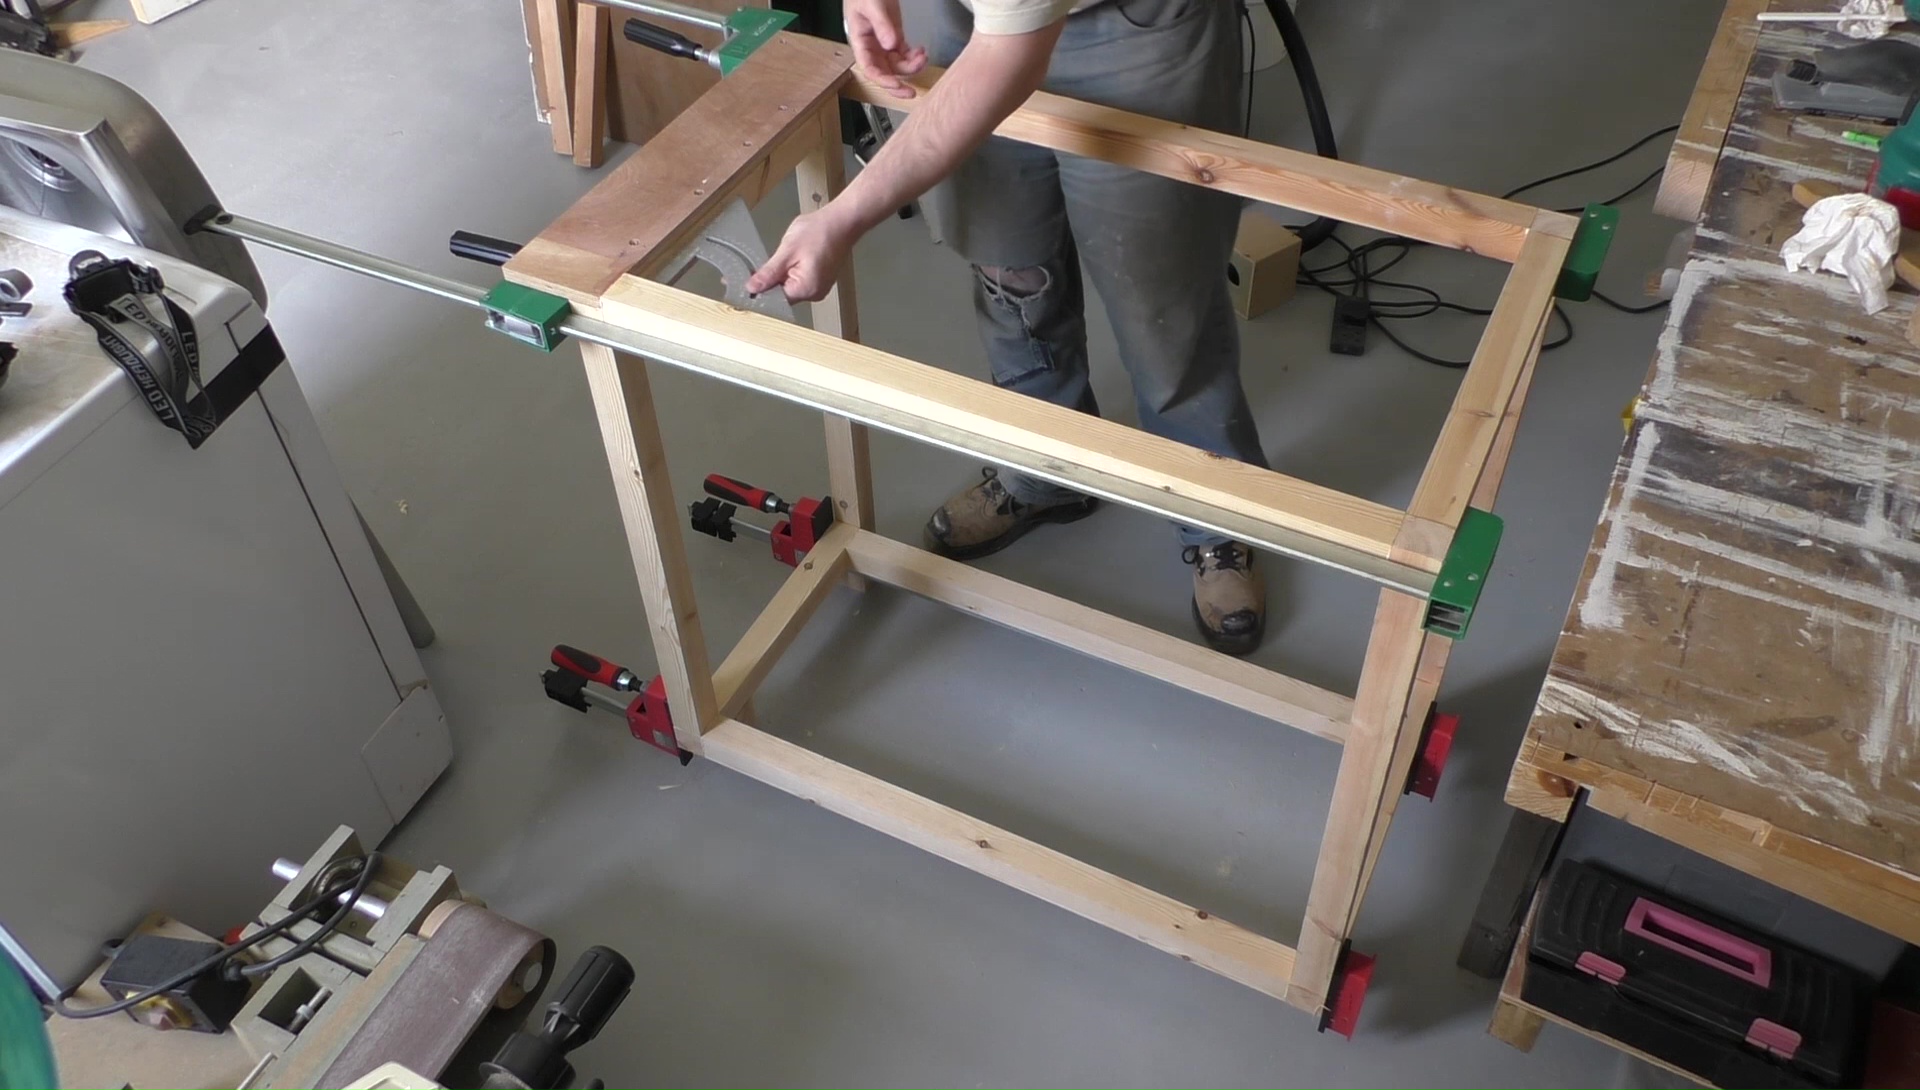
With all the pieces now the correct size it was time to give them a quick dry fit. With nice square edges on the timber this is as simple as just clamping everything together. Once I was happy everything would line up square I cut slots for dominoes and pushed everything together. At this stage I didn’t add glue just in case I wanted to take it apart again. It didn’t cause a problem but in hindsight I probably should have just glued the sides as this point.
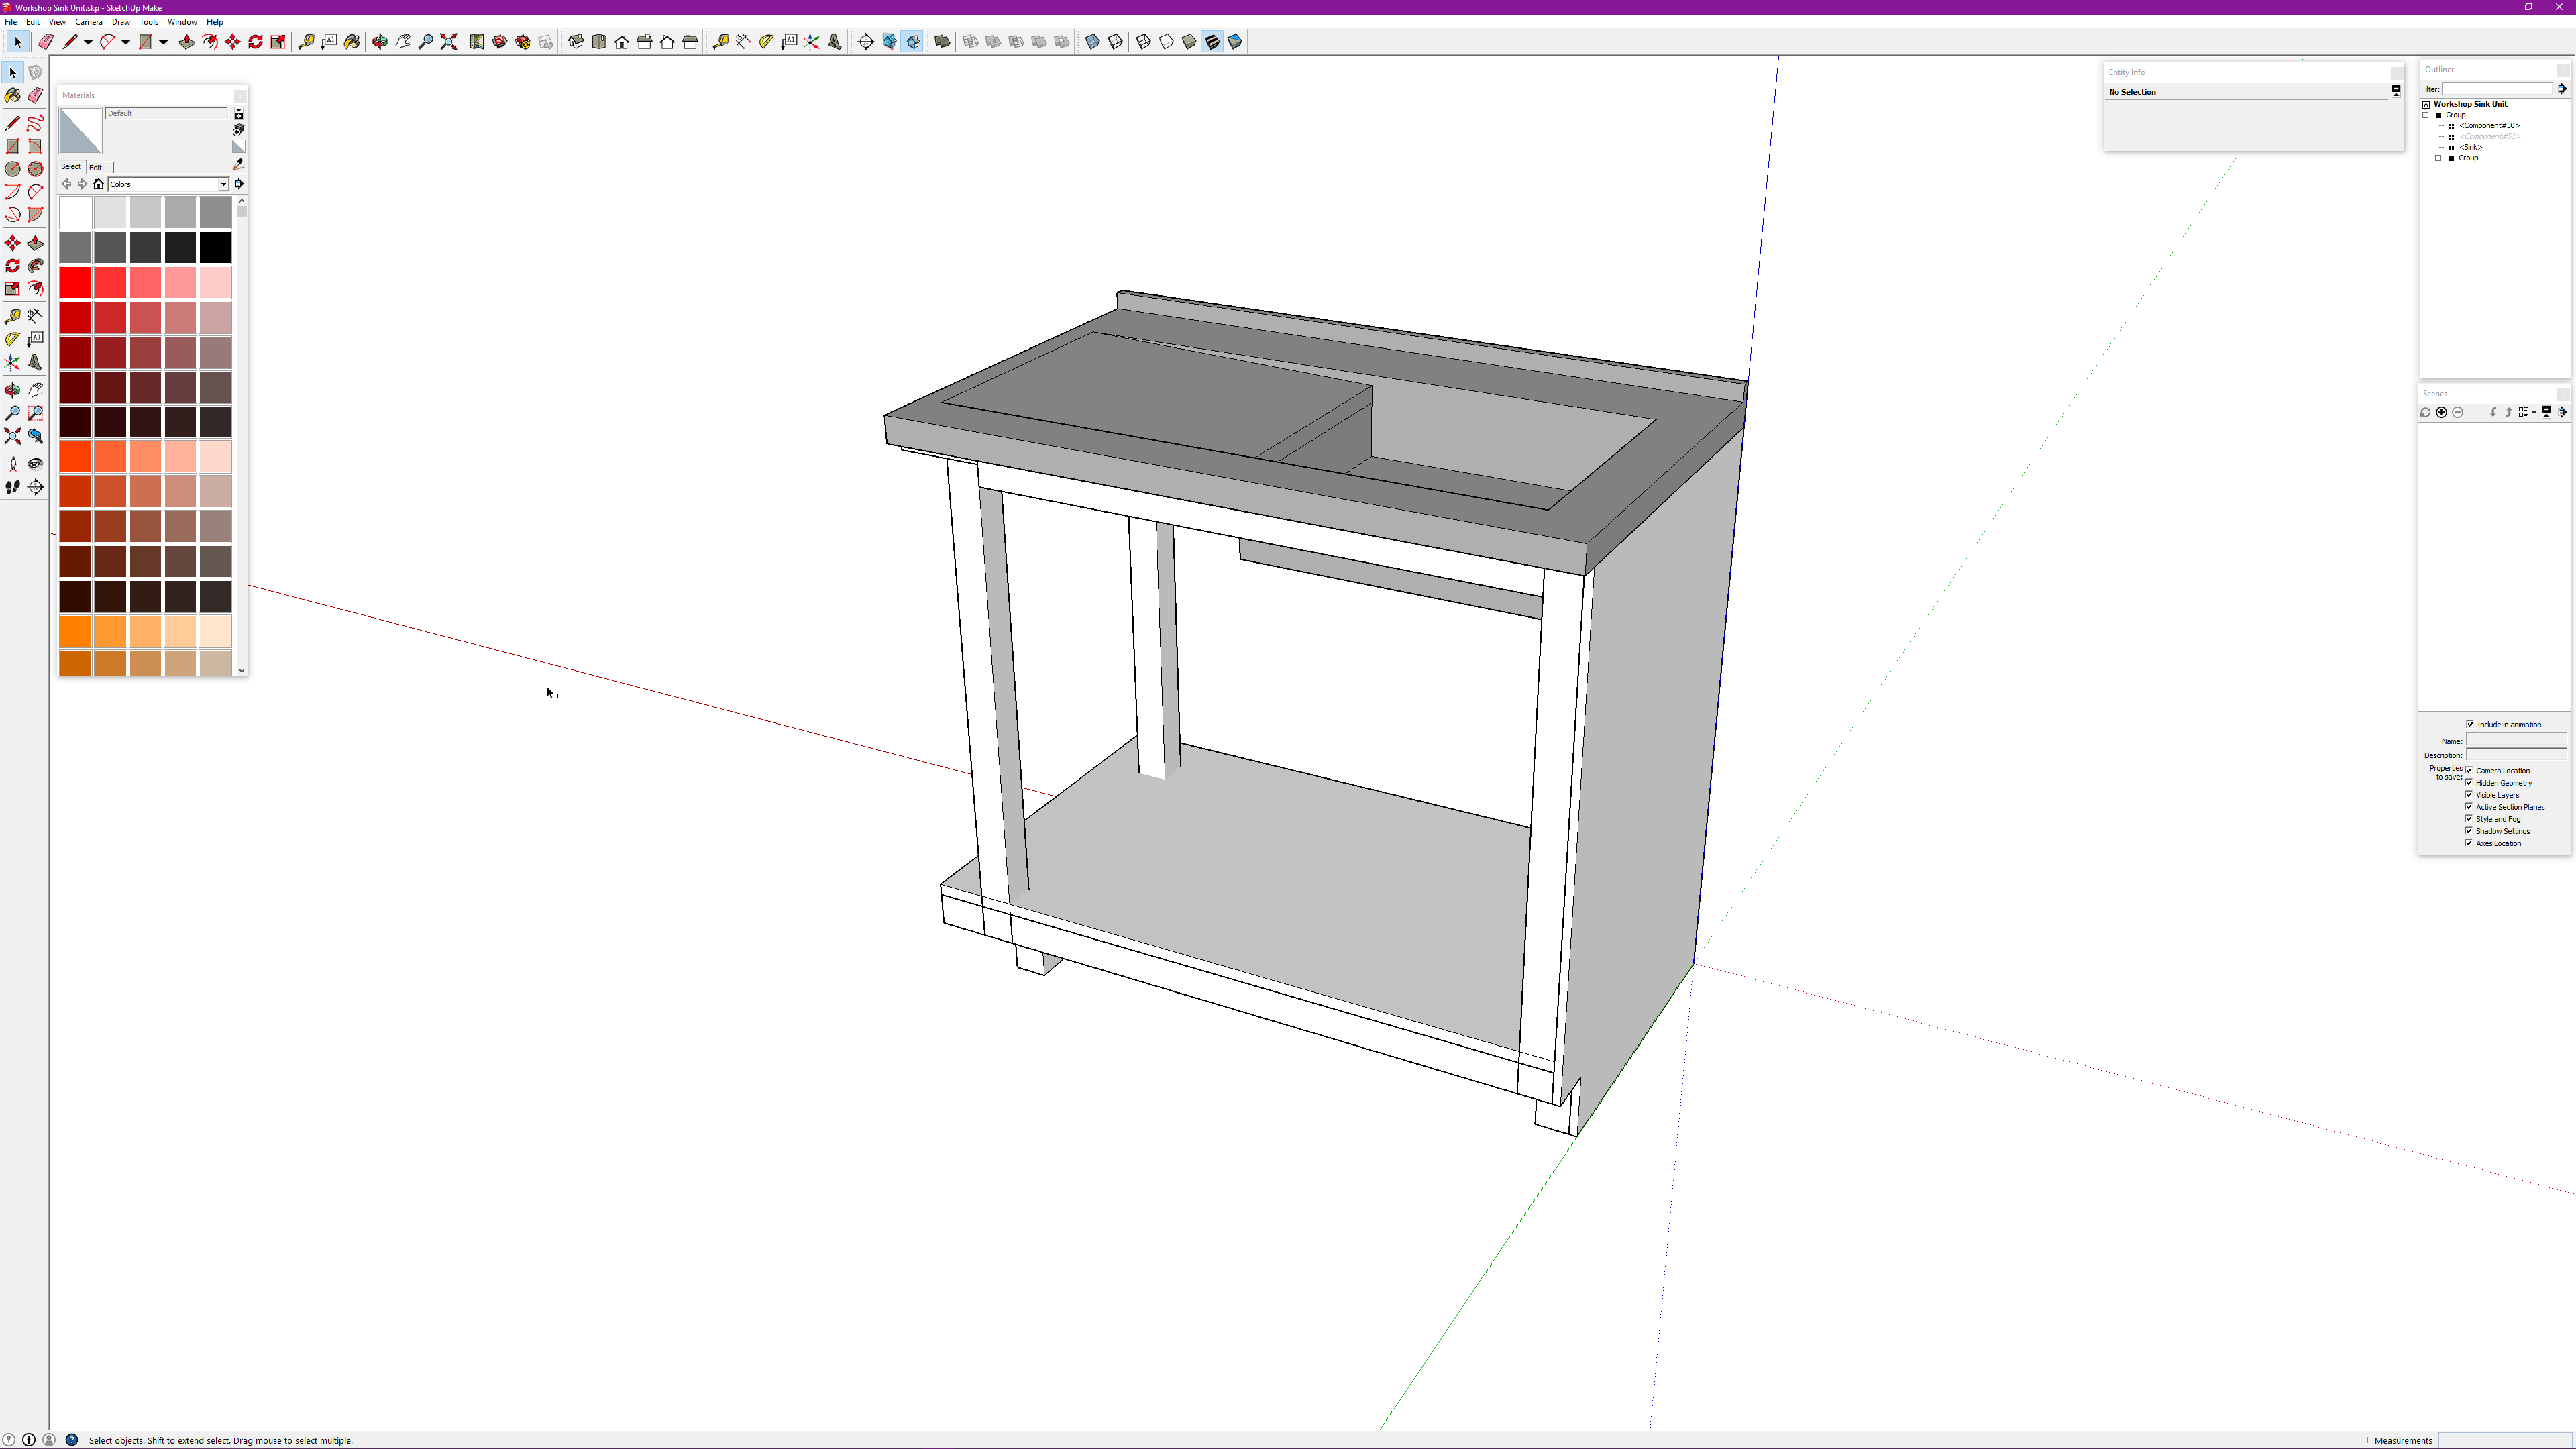
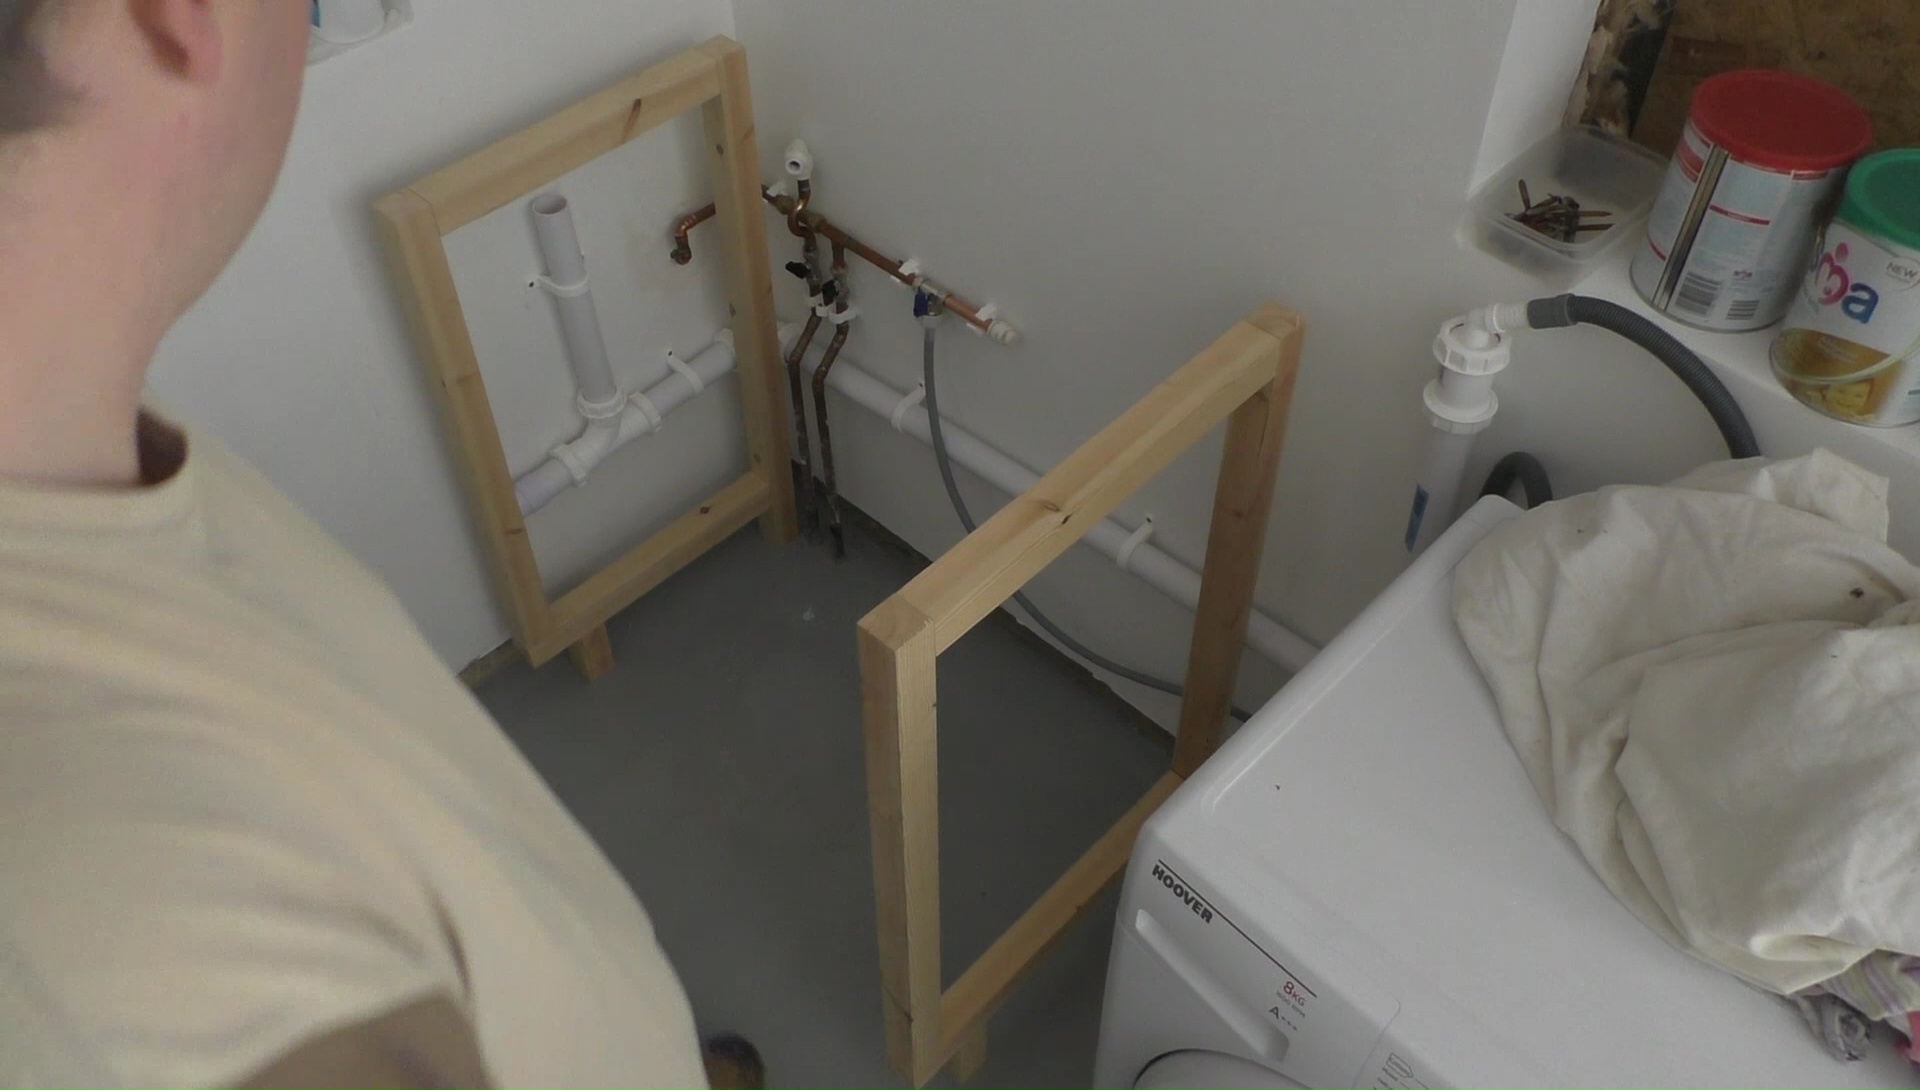
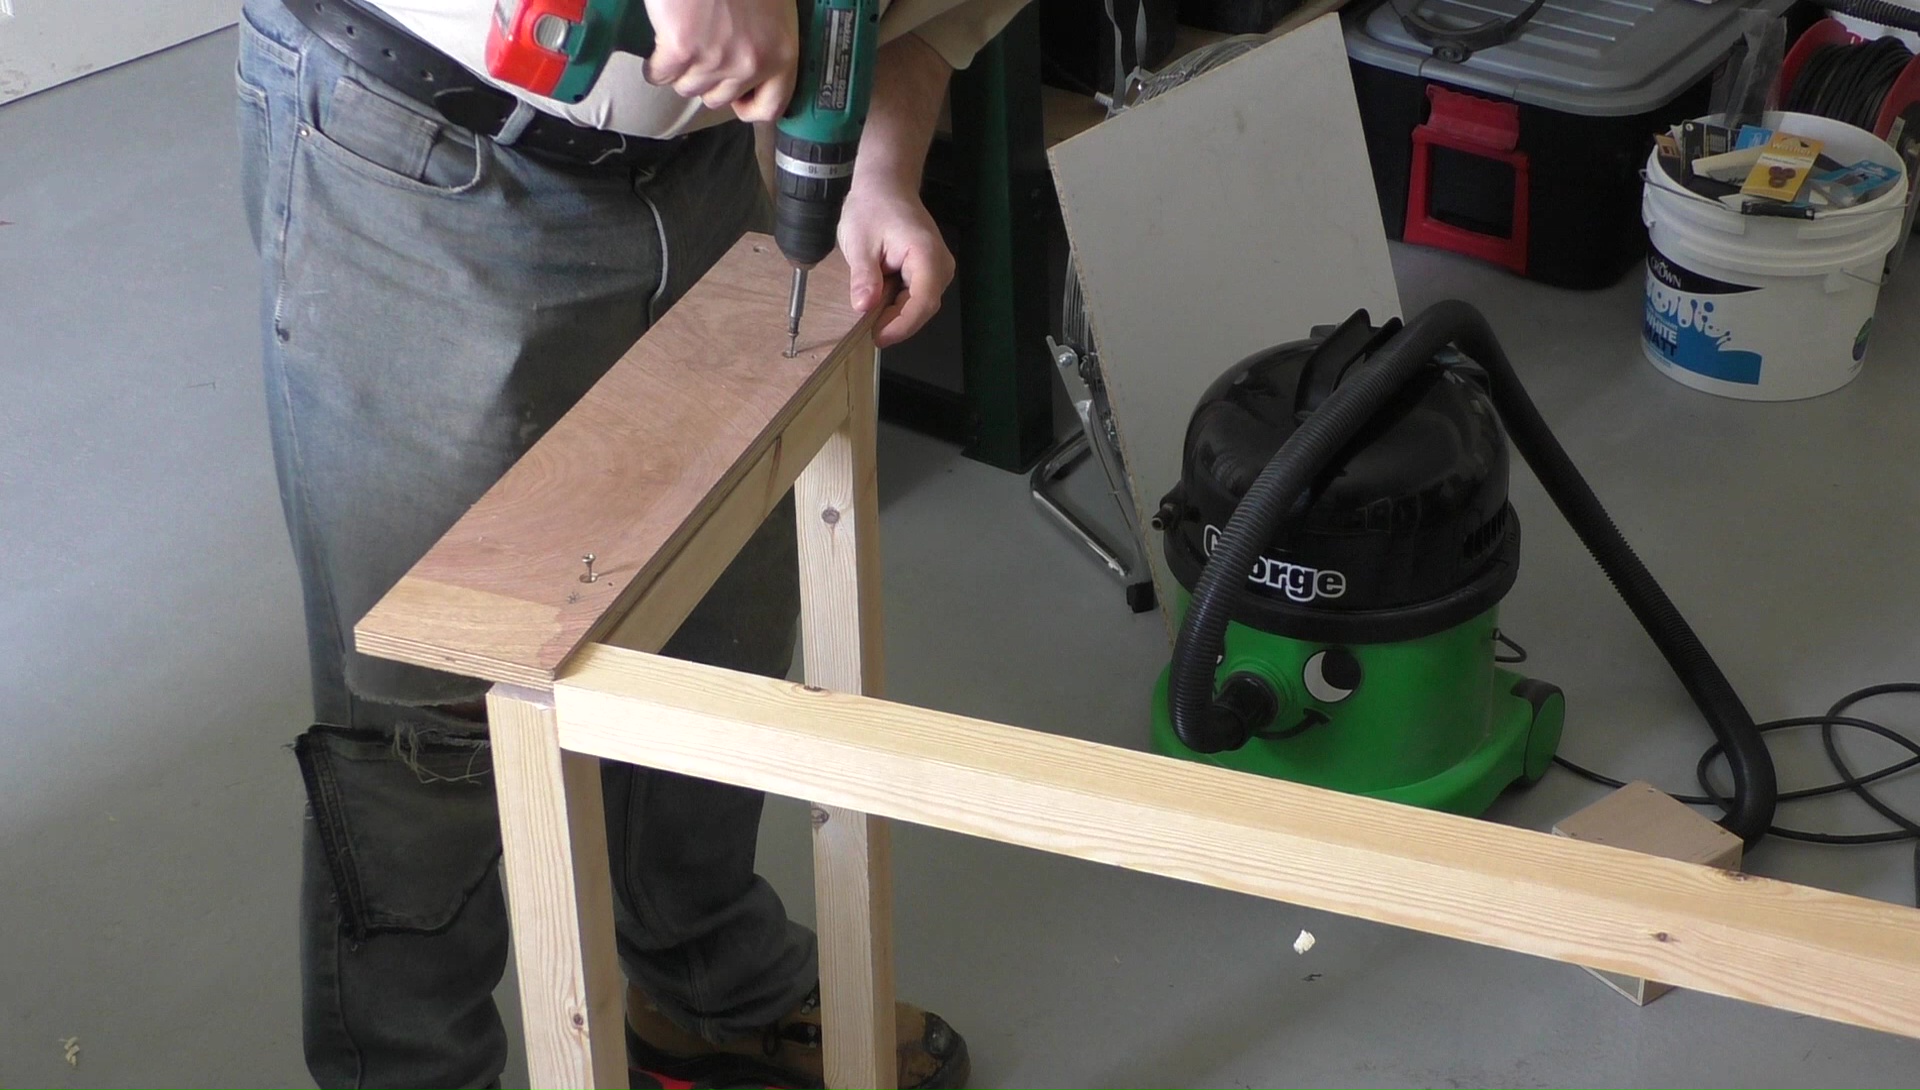
Cantilevered Sink Support
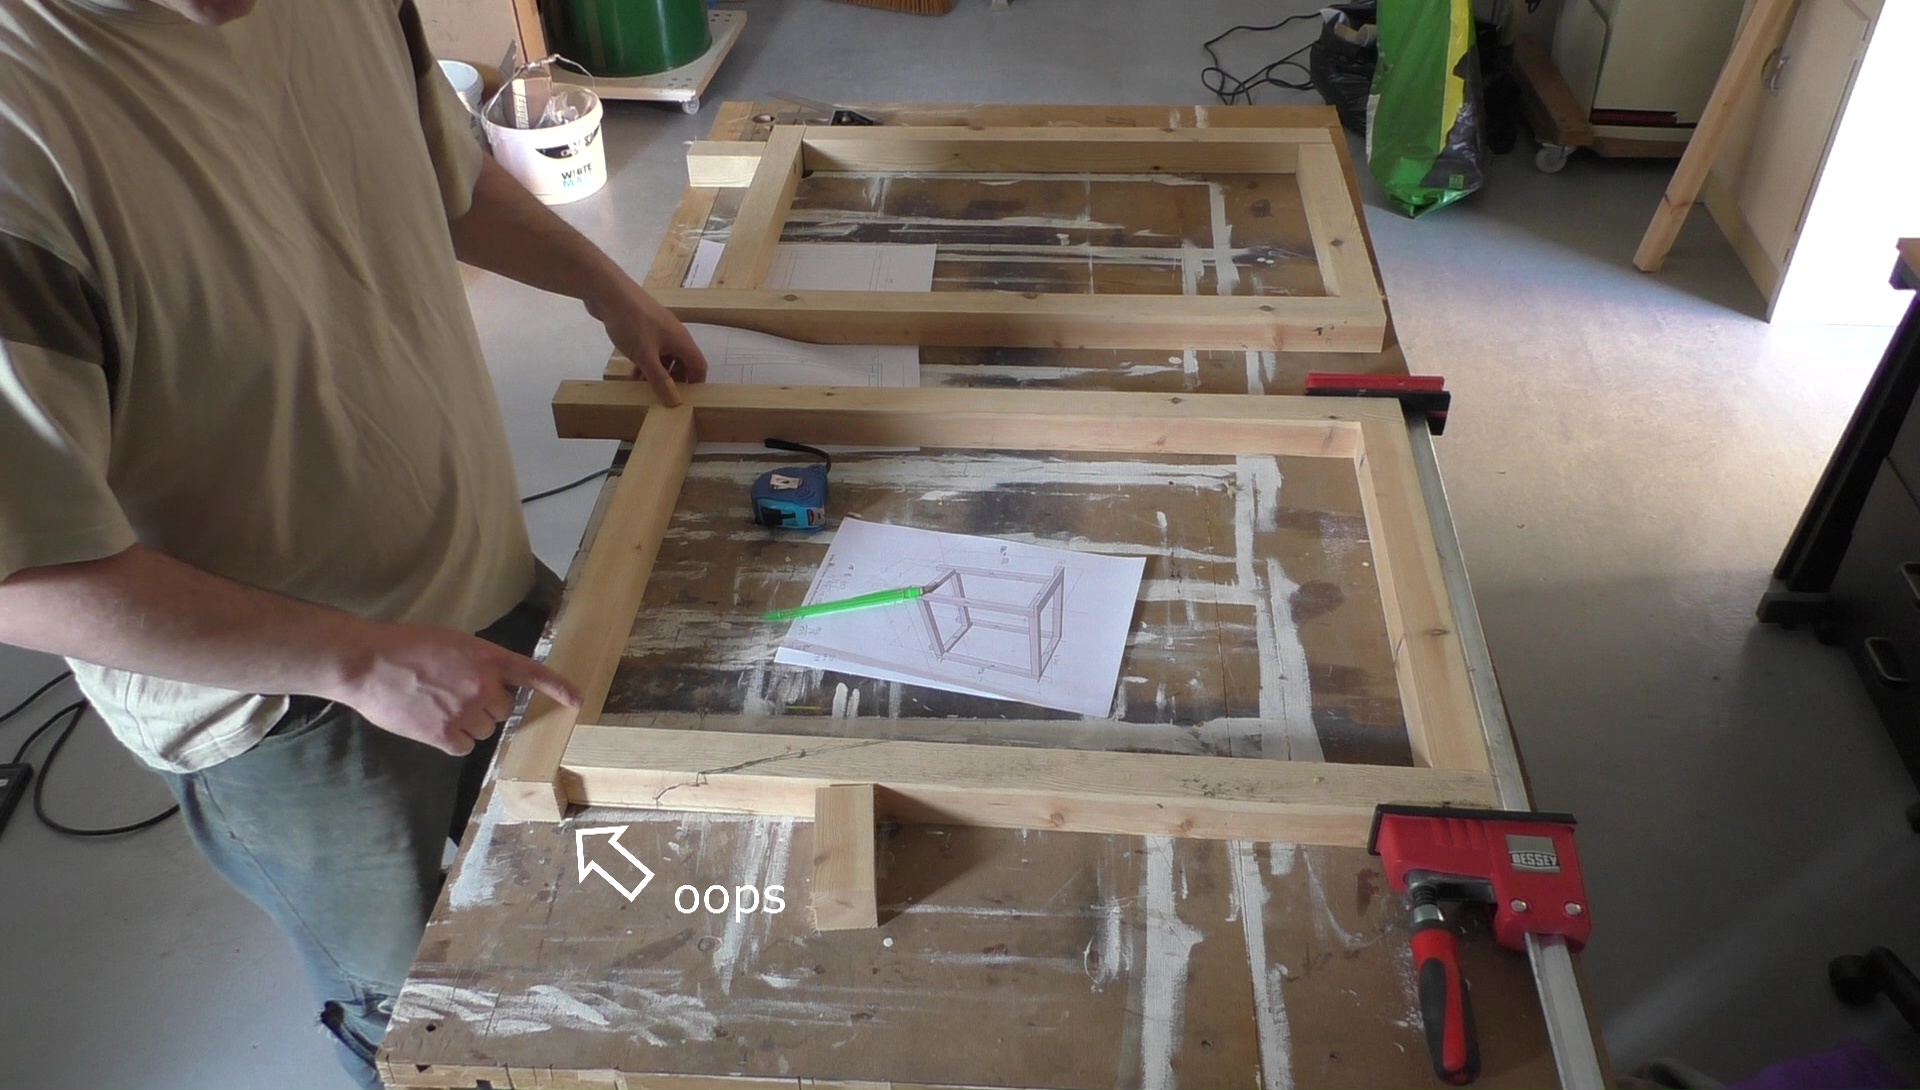
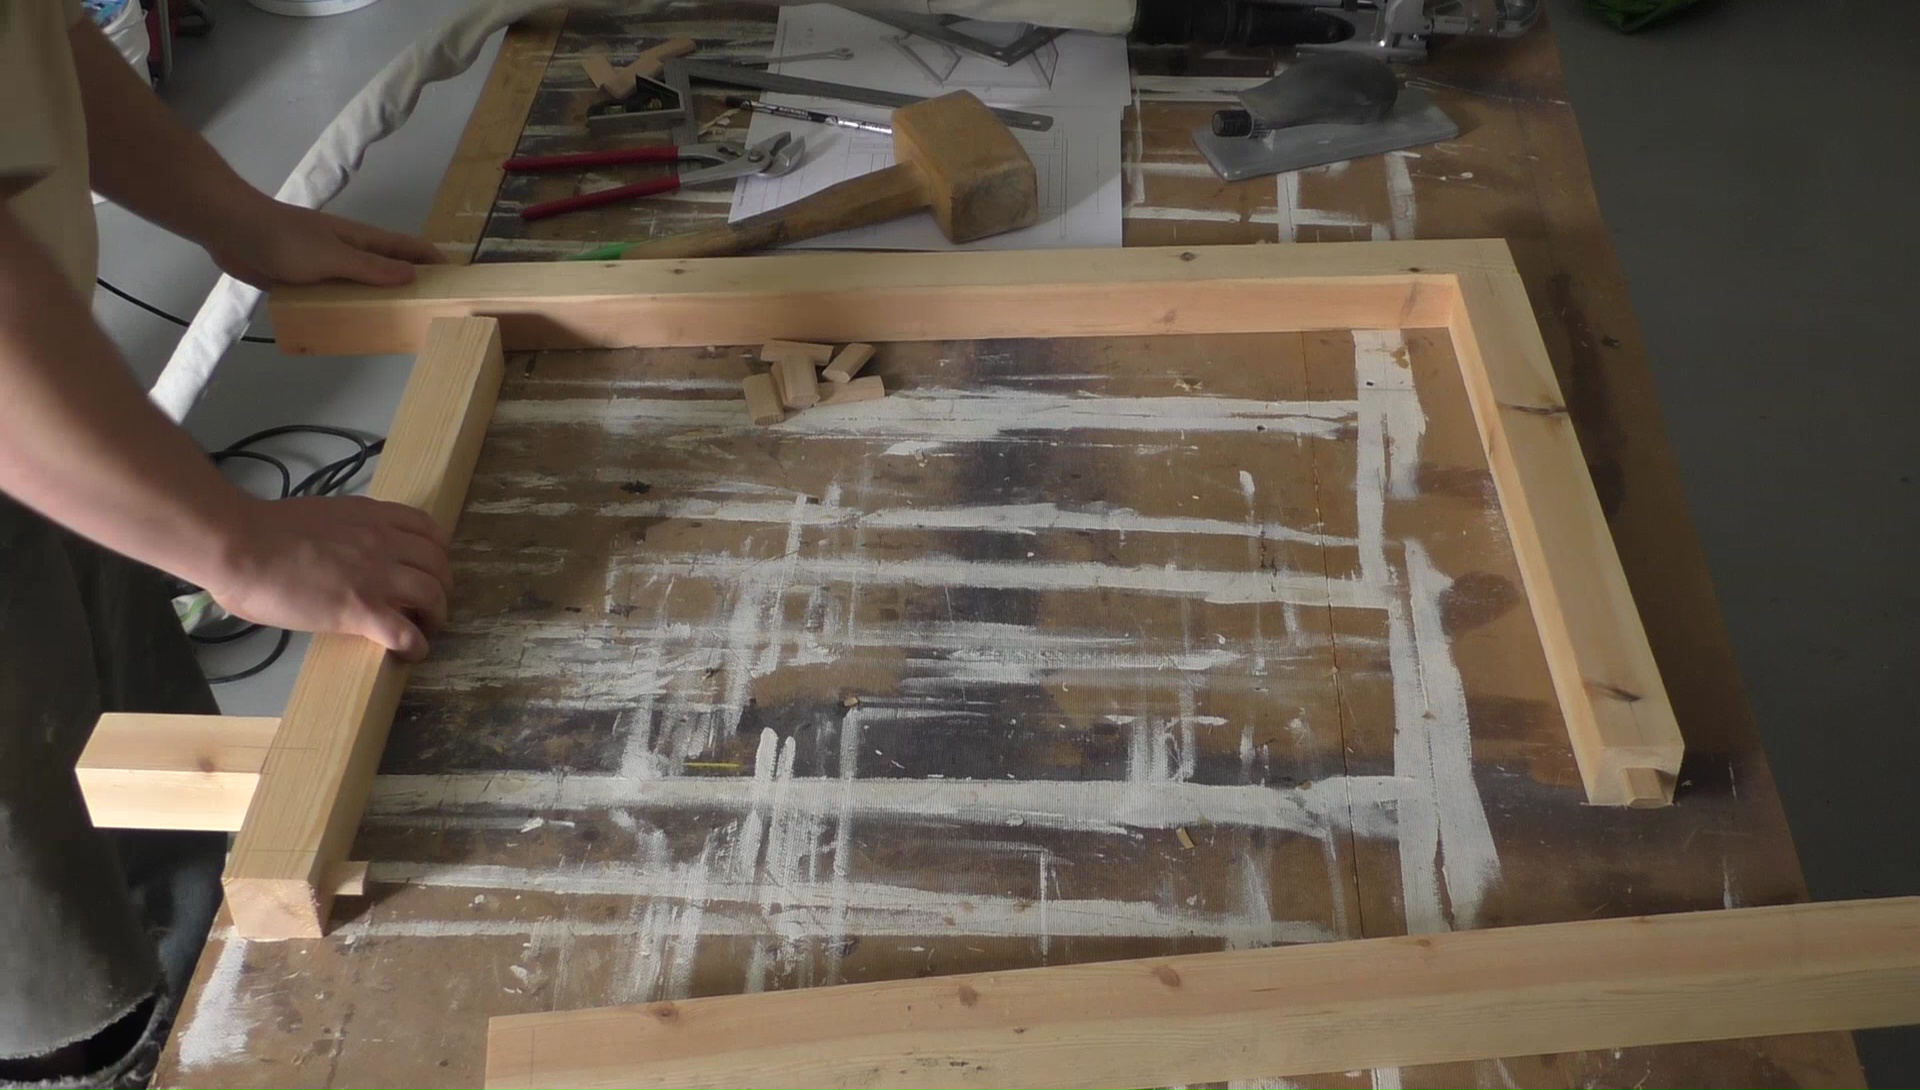
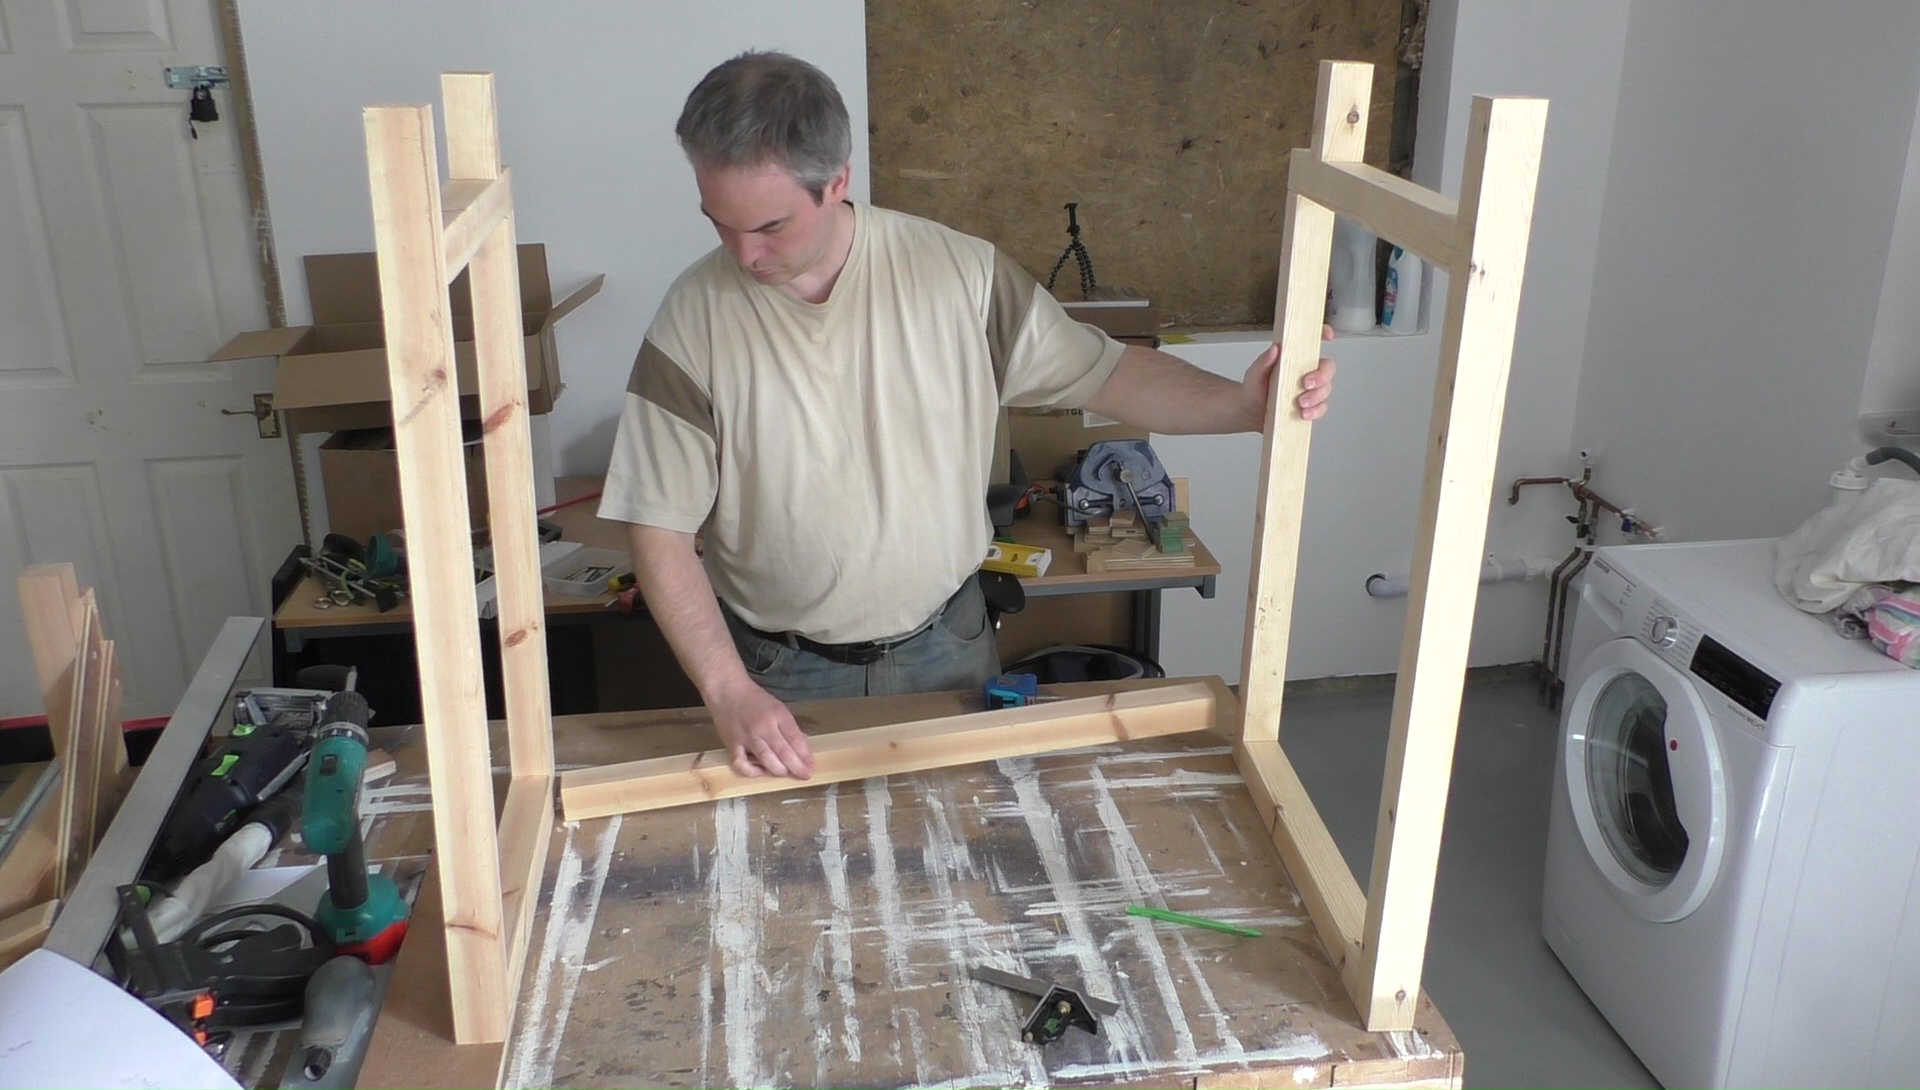
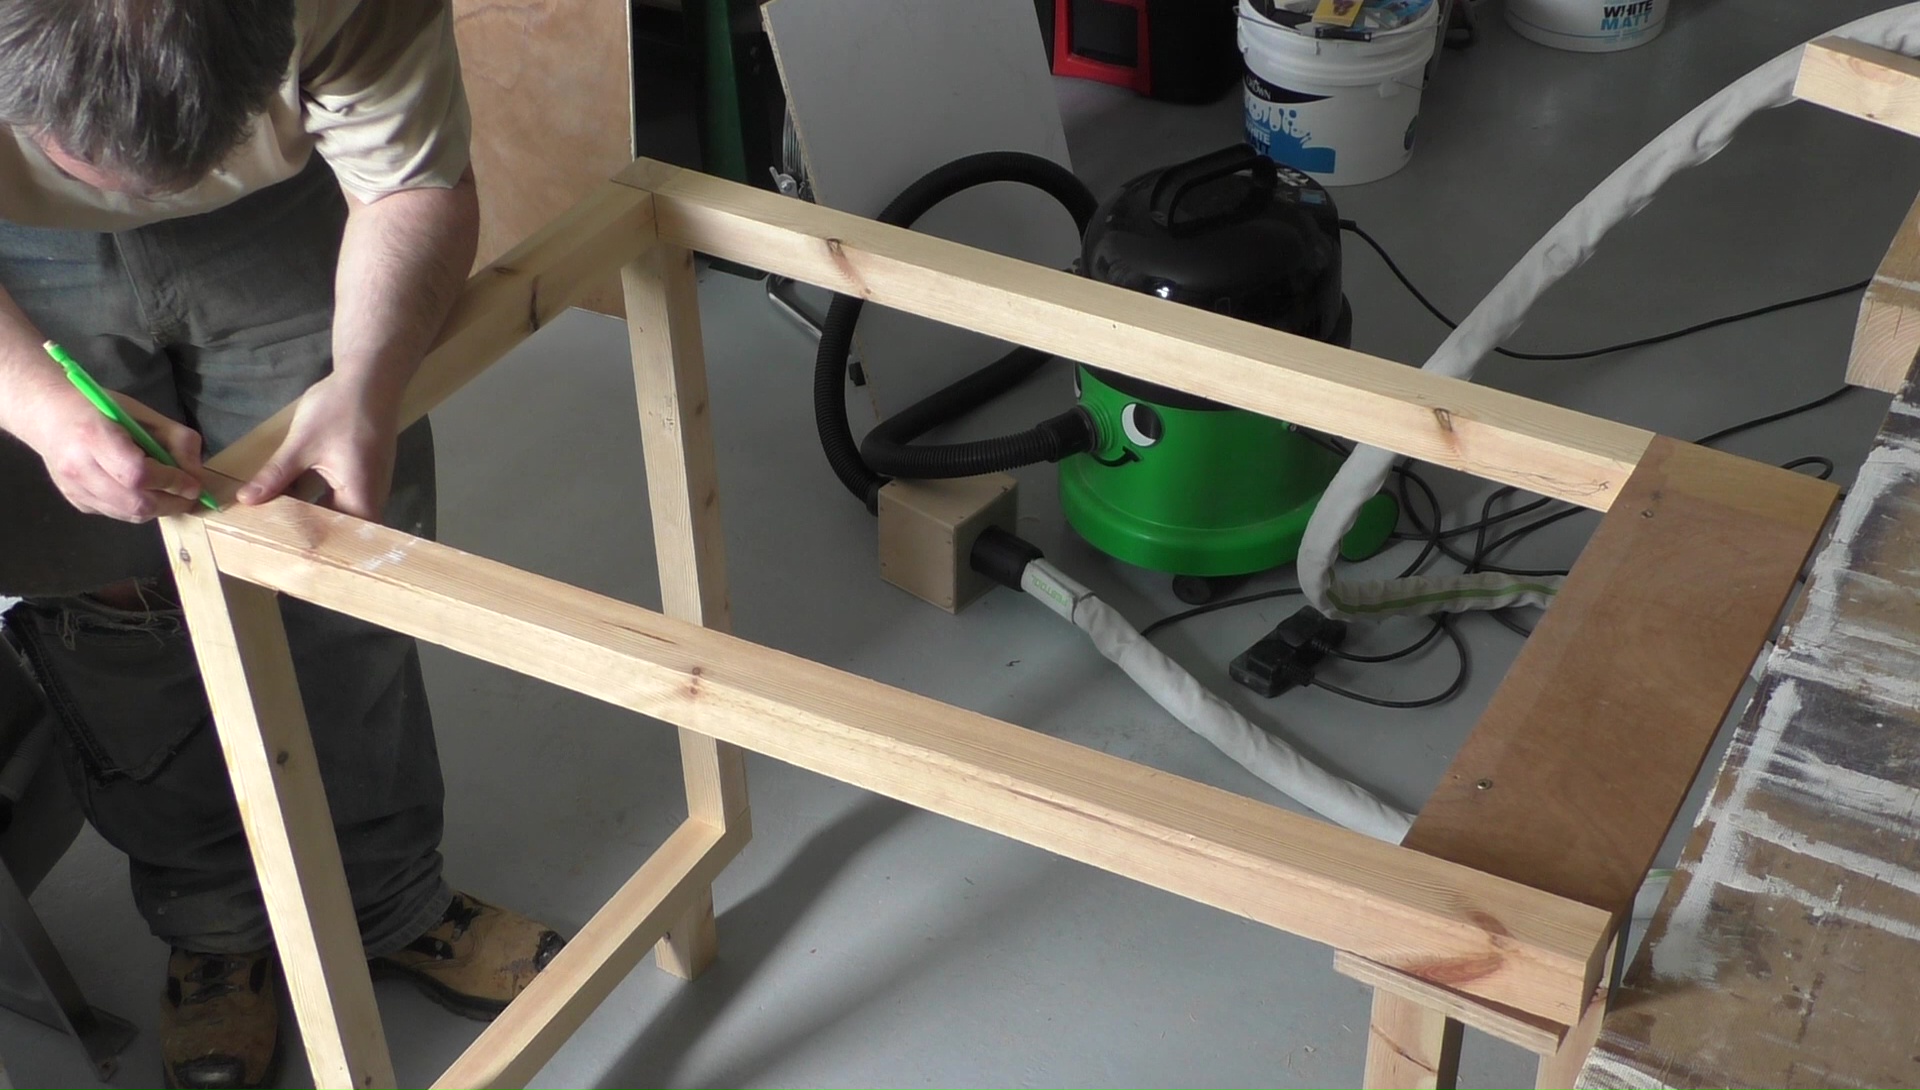
Now we come to the part where I explain why I’m building my own cabinet (other than just because I can). The waste pipe for my sink has to run along the back of the cabinet and the wall to the left. The type of sink I’m using is called a sit on sink and it needs to be supported all around the edge. If I’d used a commercial kitchen cabinet I would have needed to move the cabinet 100mm away from the wall on the left side which would leave a gap. Obviously I could have filled that gap with kitchen work surface but I wanted the sink hard up the corner. The solution is to build my own cabinet and add a small cantilevered support section to the left hand frame.
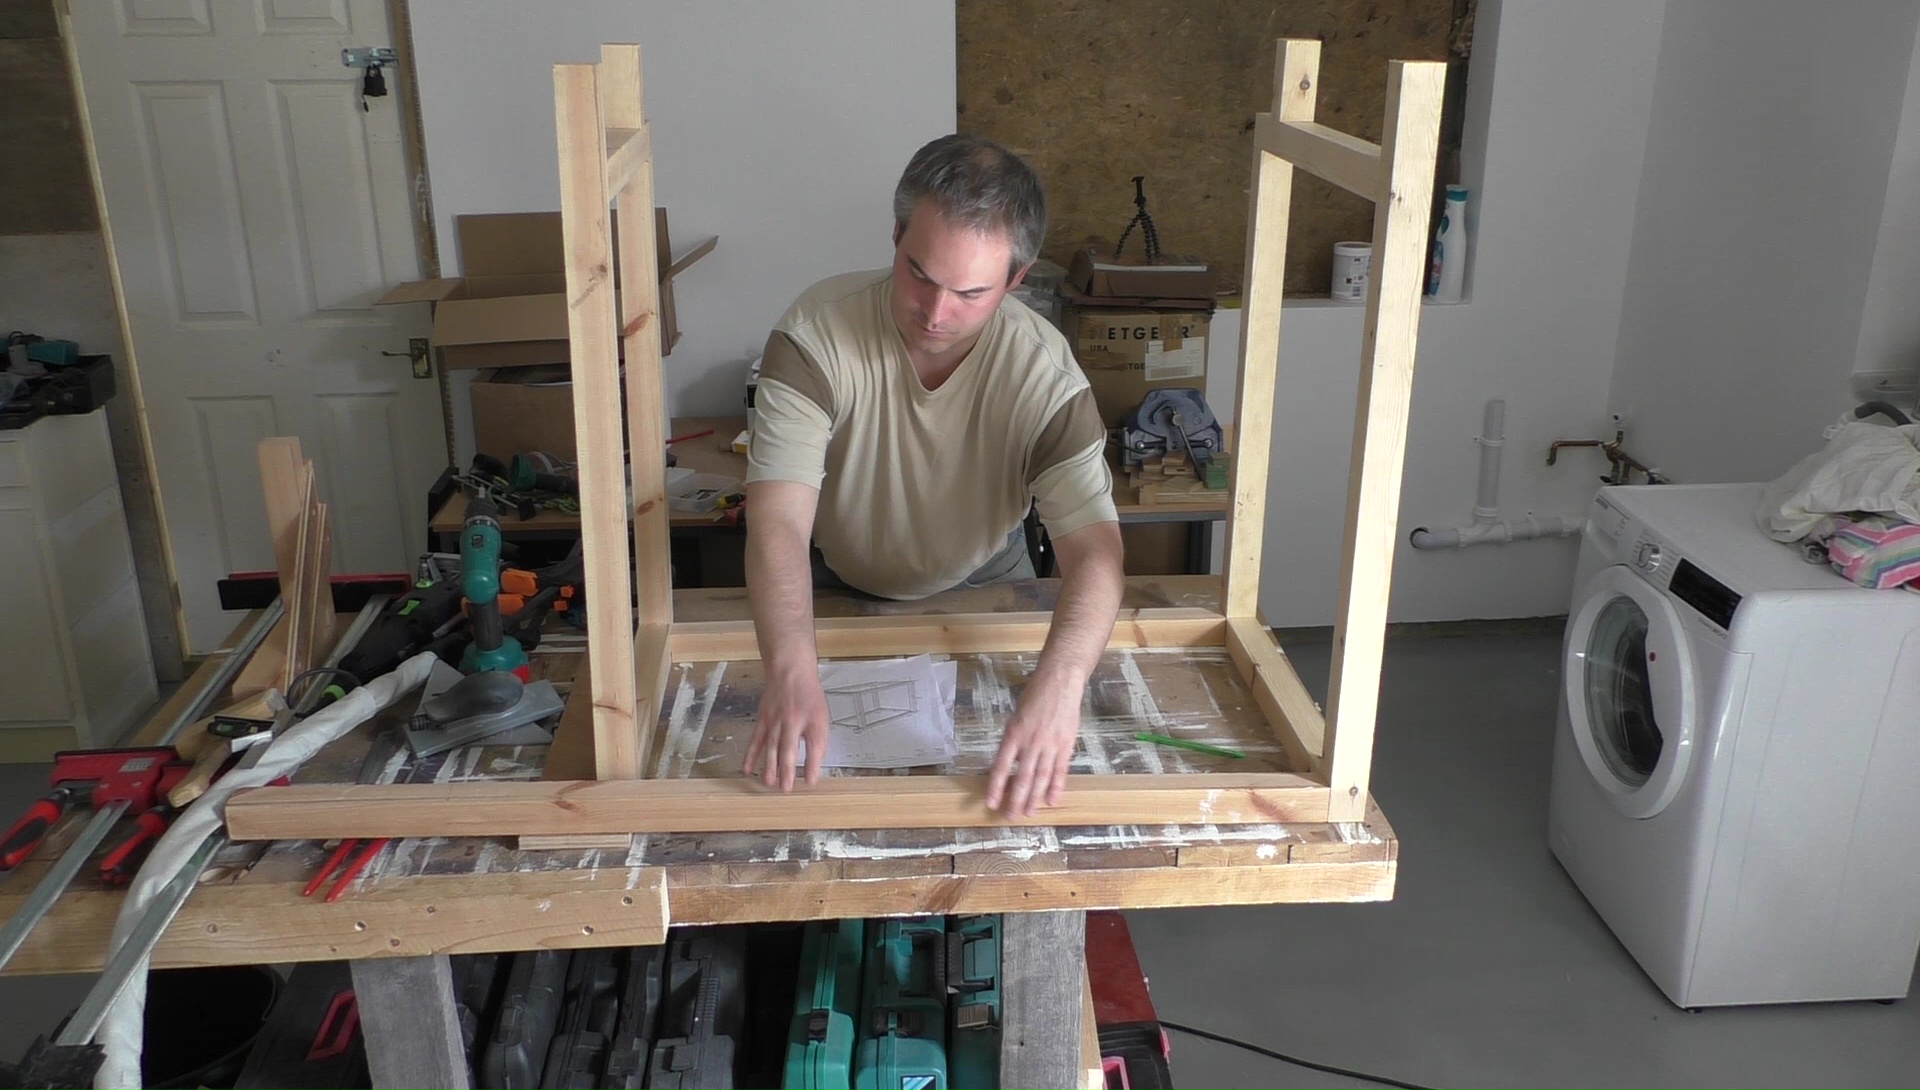
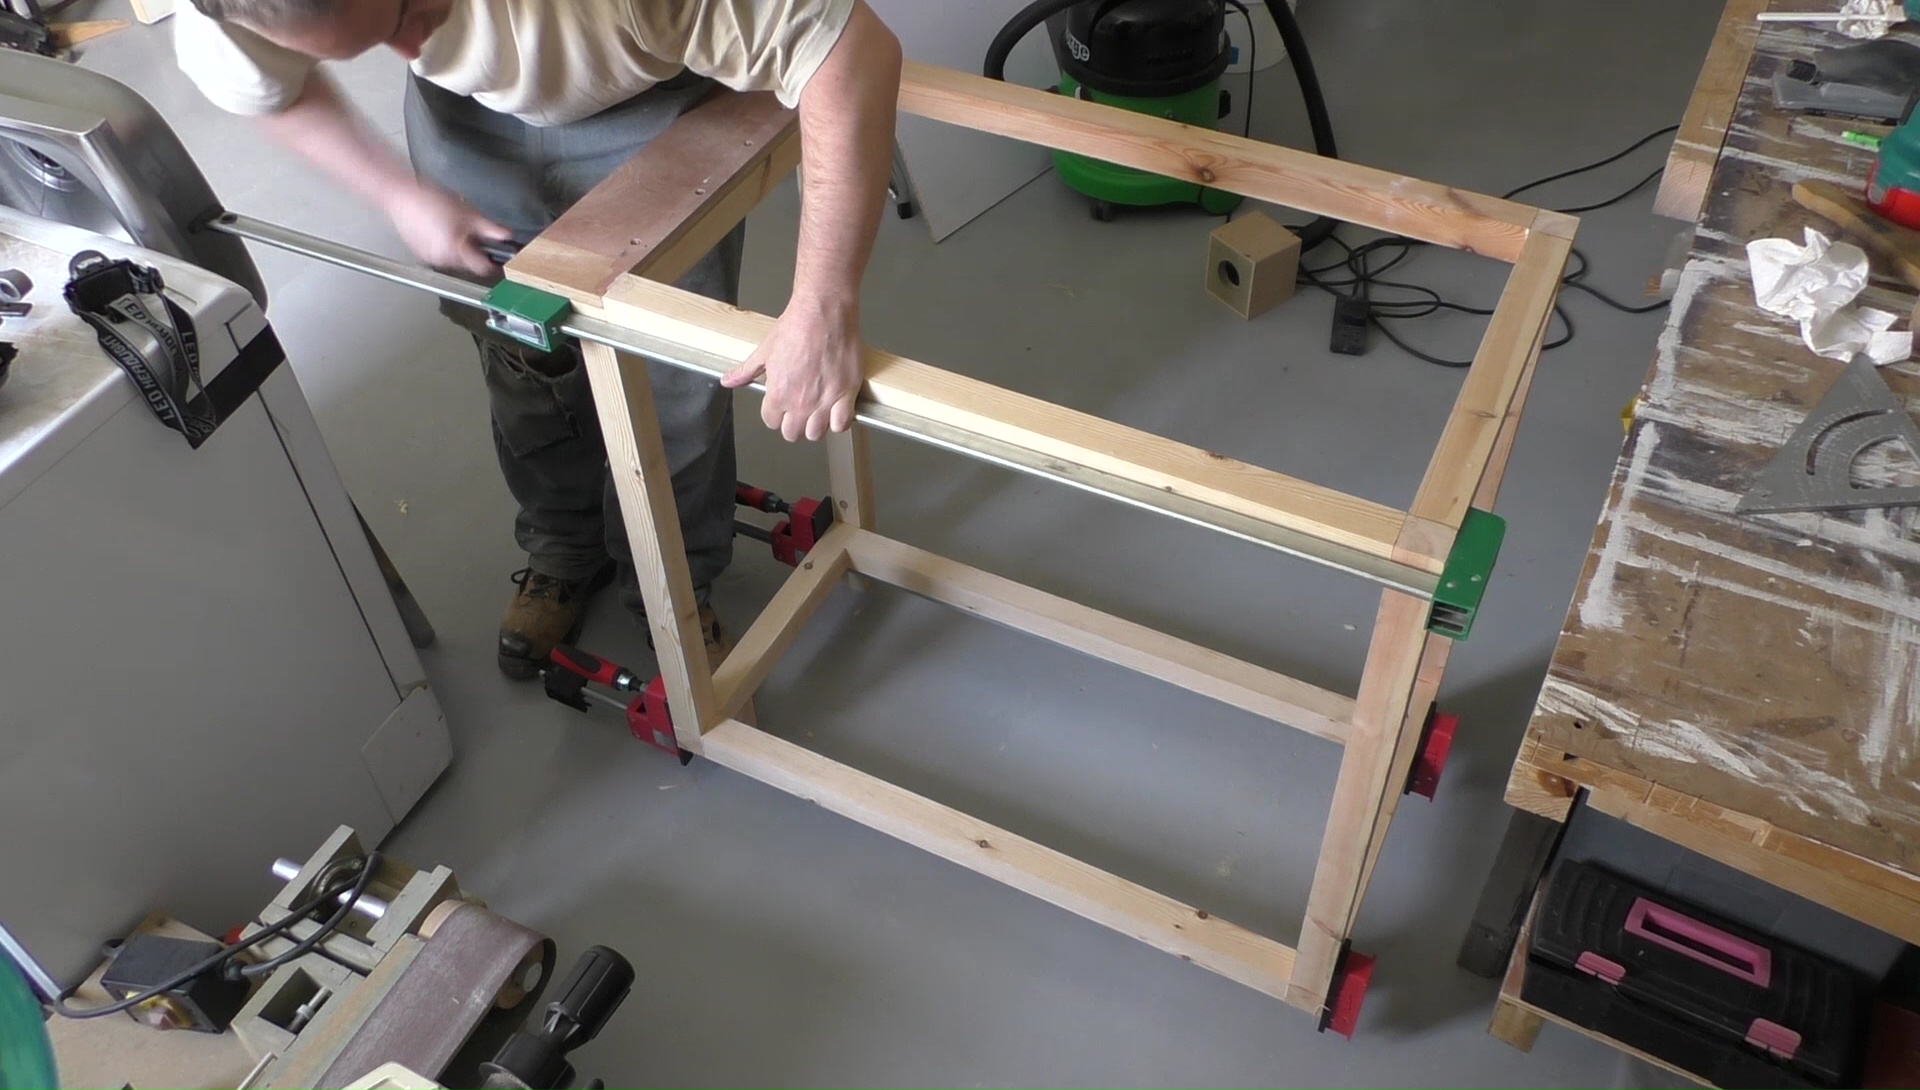
Since the left hand frame has to include the cantilevered support it needs to be shorter by the thickness of the support. The plumbing goes behind the left hand side so it’s also smaller front to back. I stood the frames in their finished locations as a sanity check. Note that I reconfigured the waste plumbing behind the the right hand frame so that it would be completely within the cabinet. For the cantilevered support I’ve just used a piece of 18mm WBP ply. Once it’s glued and screwed down it’s more than strong enough.
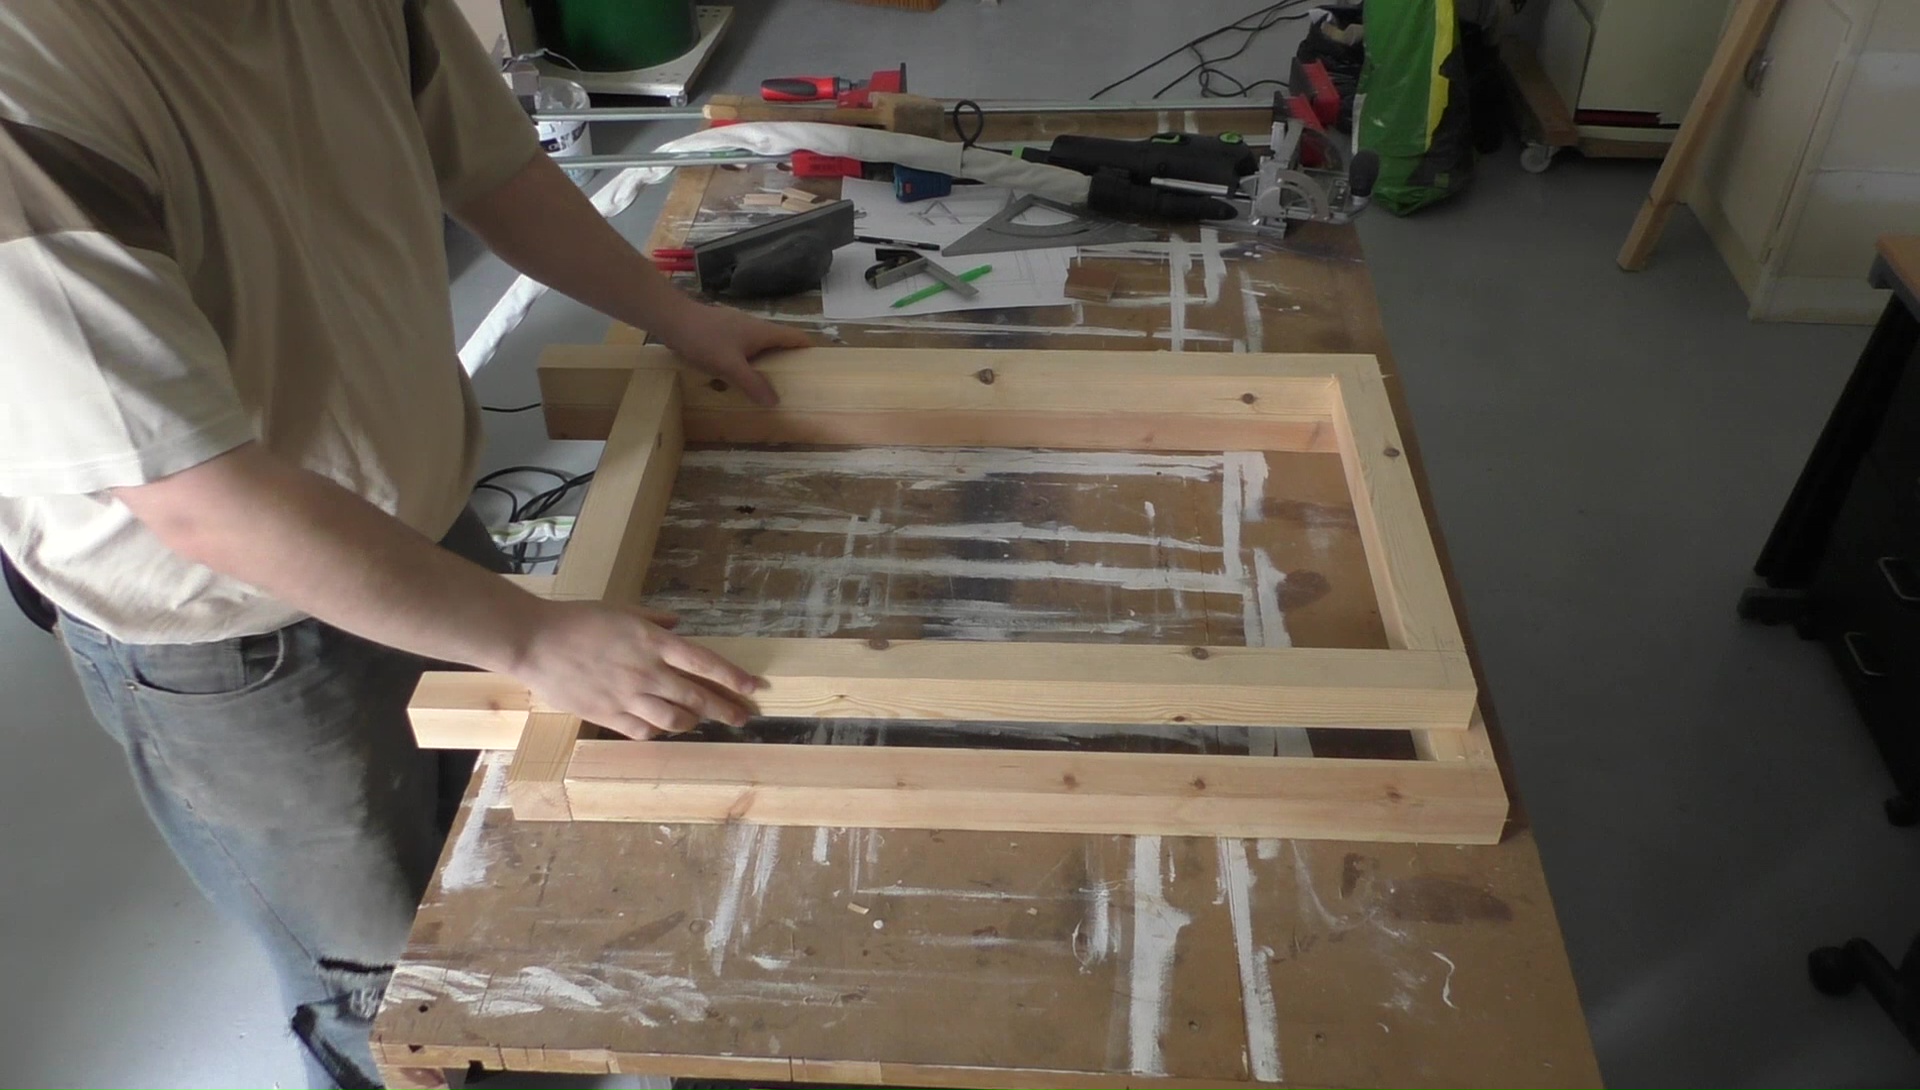
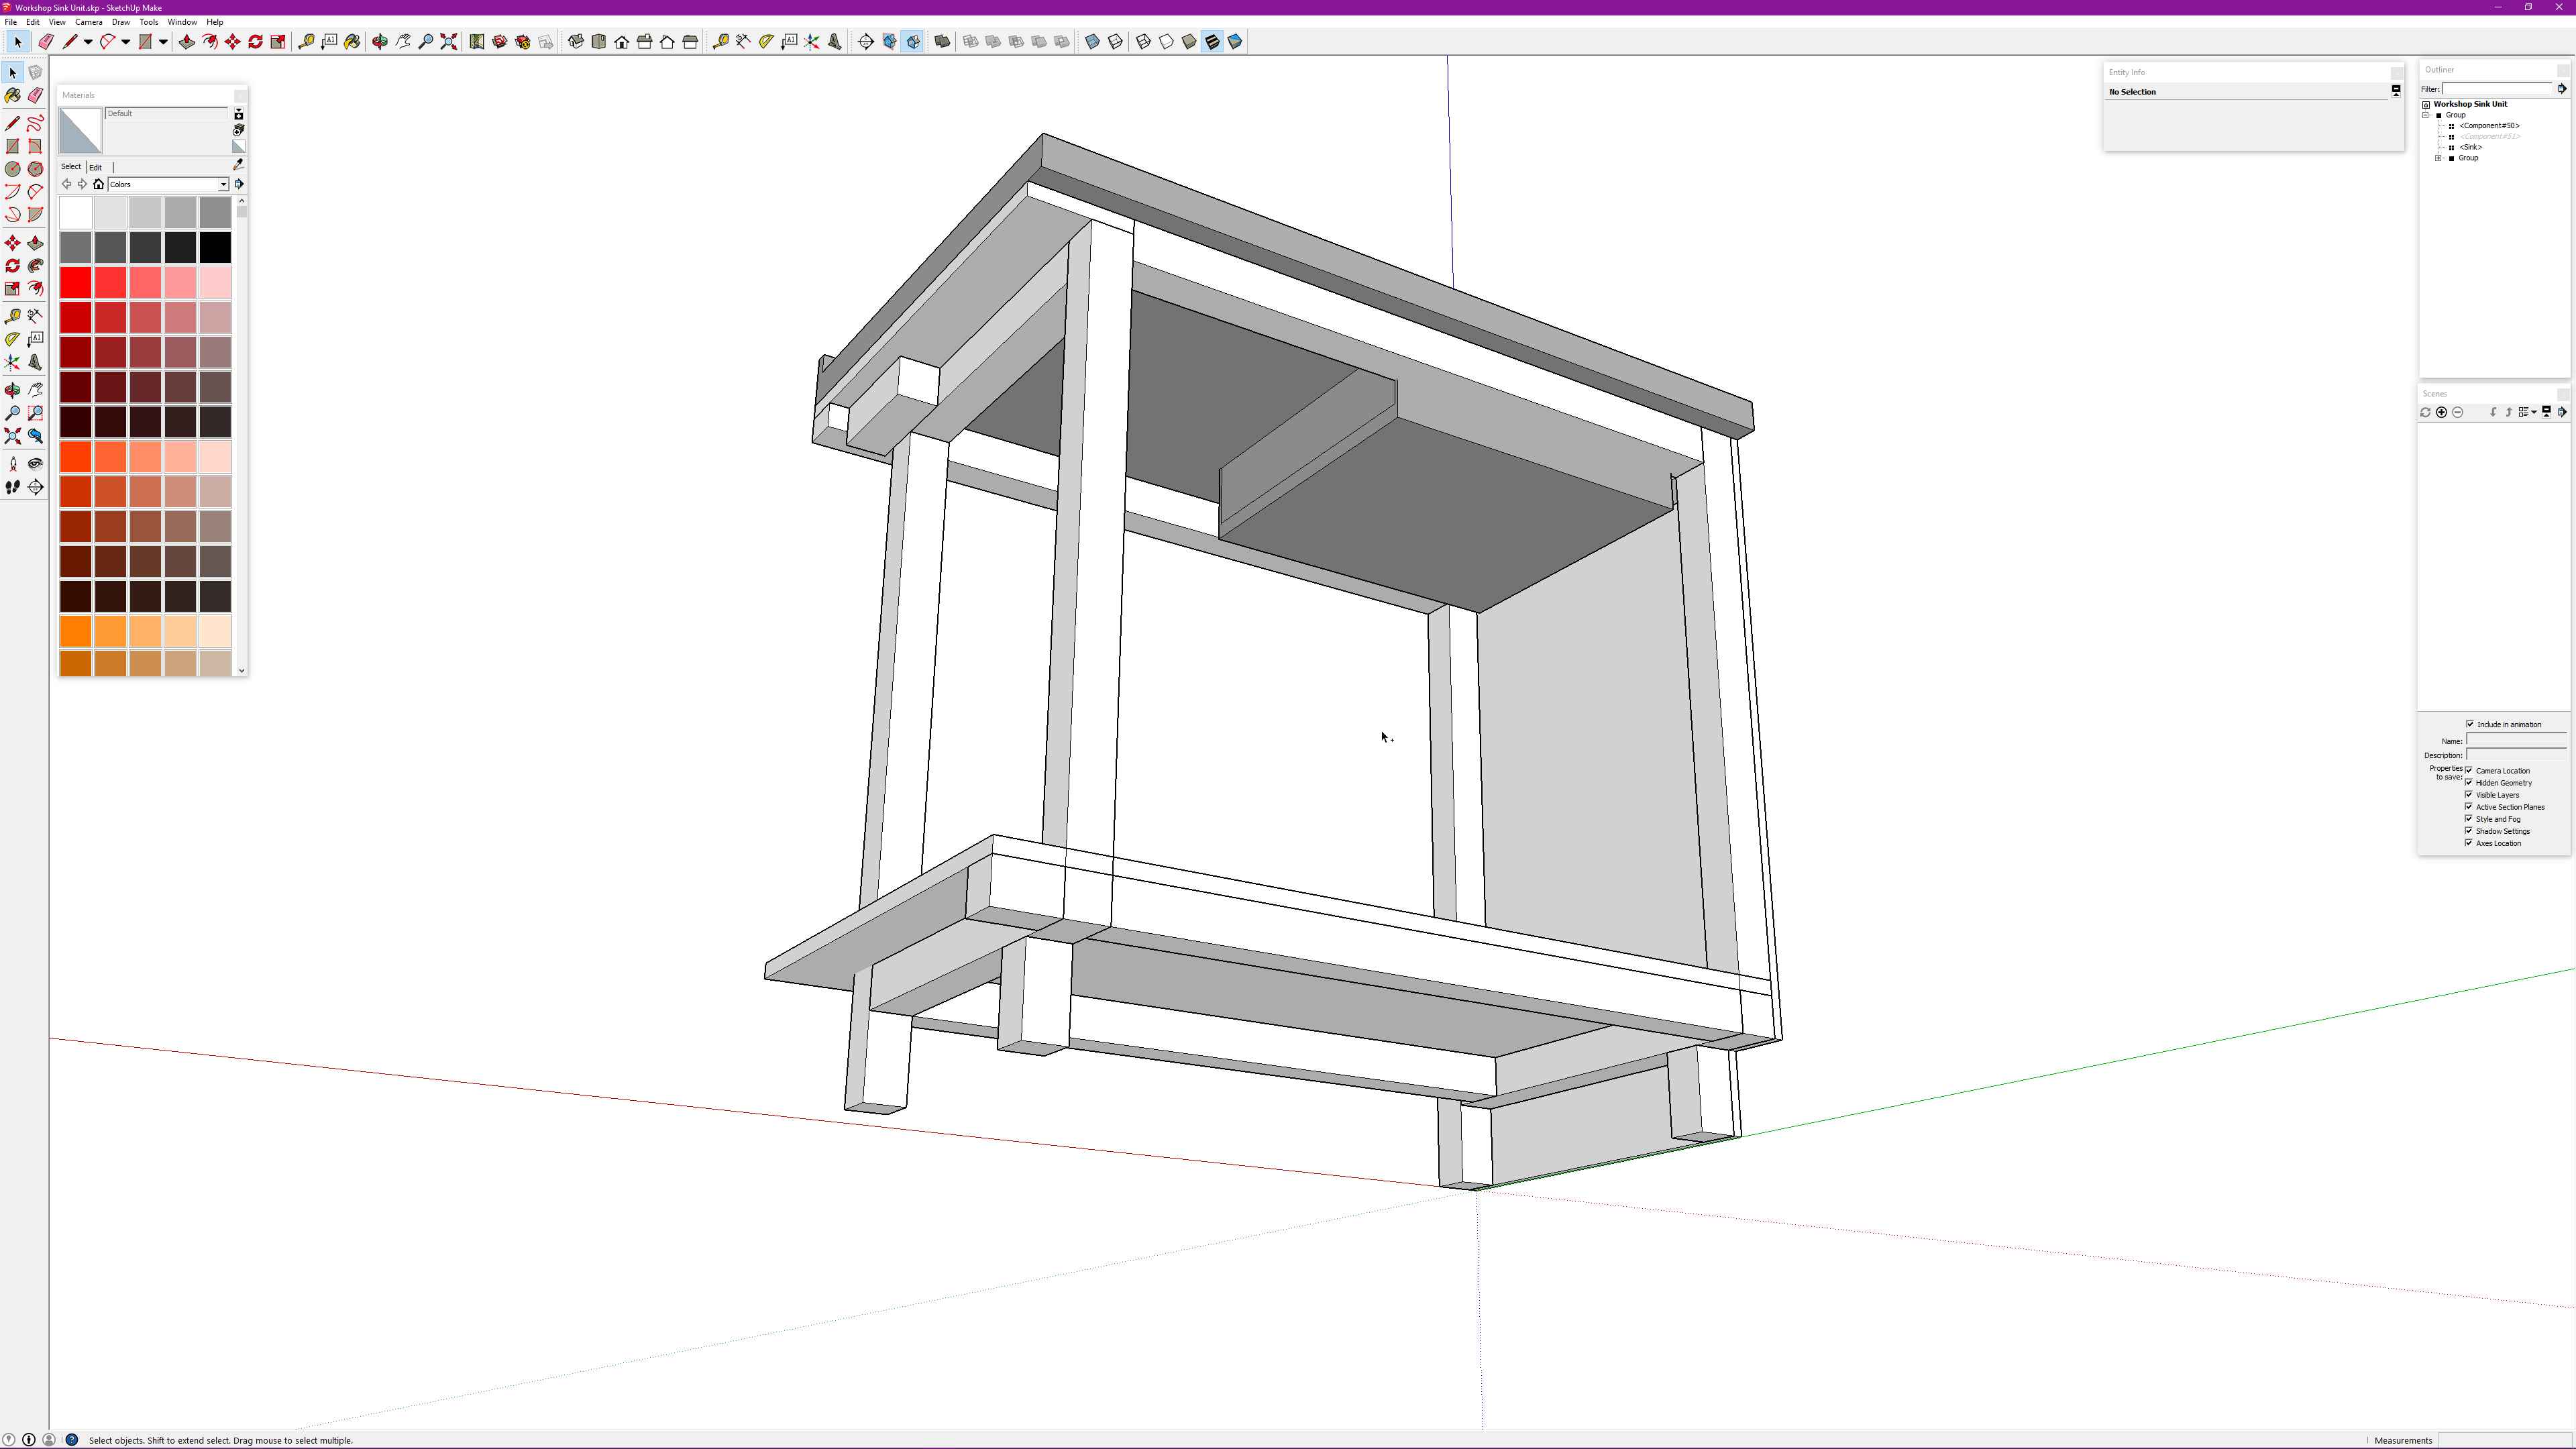
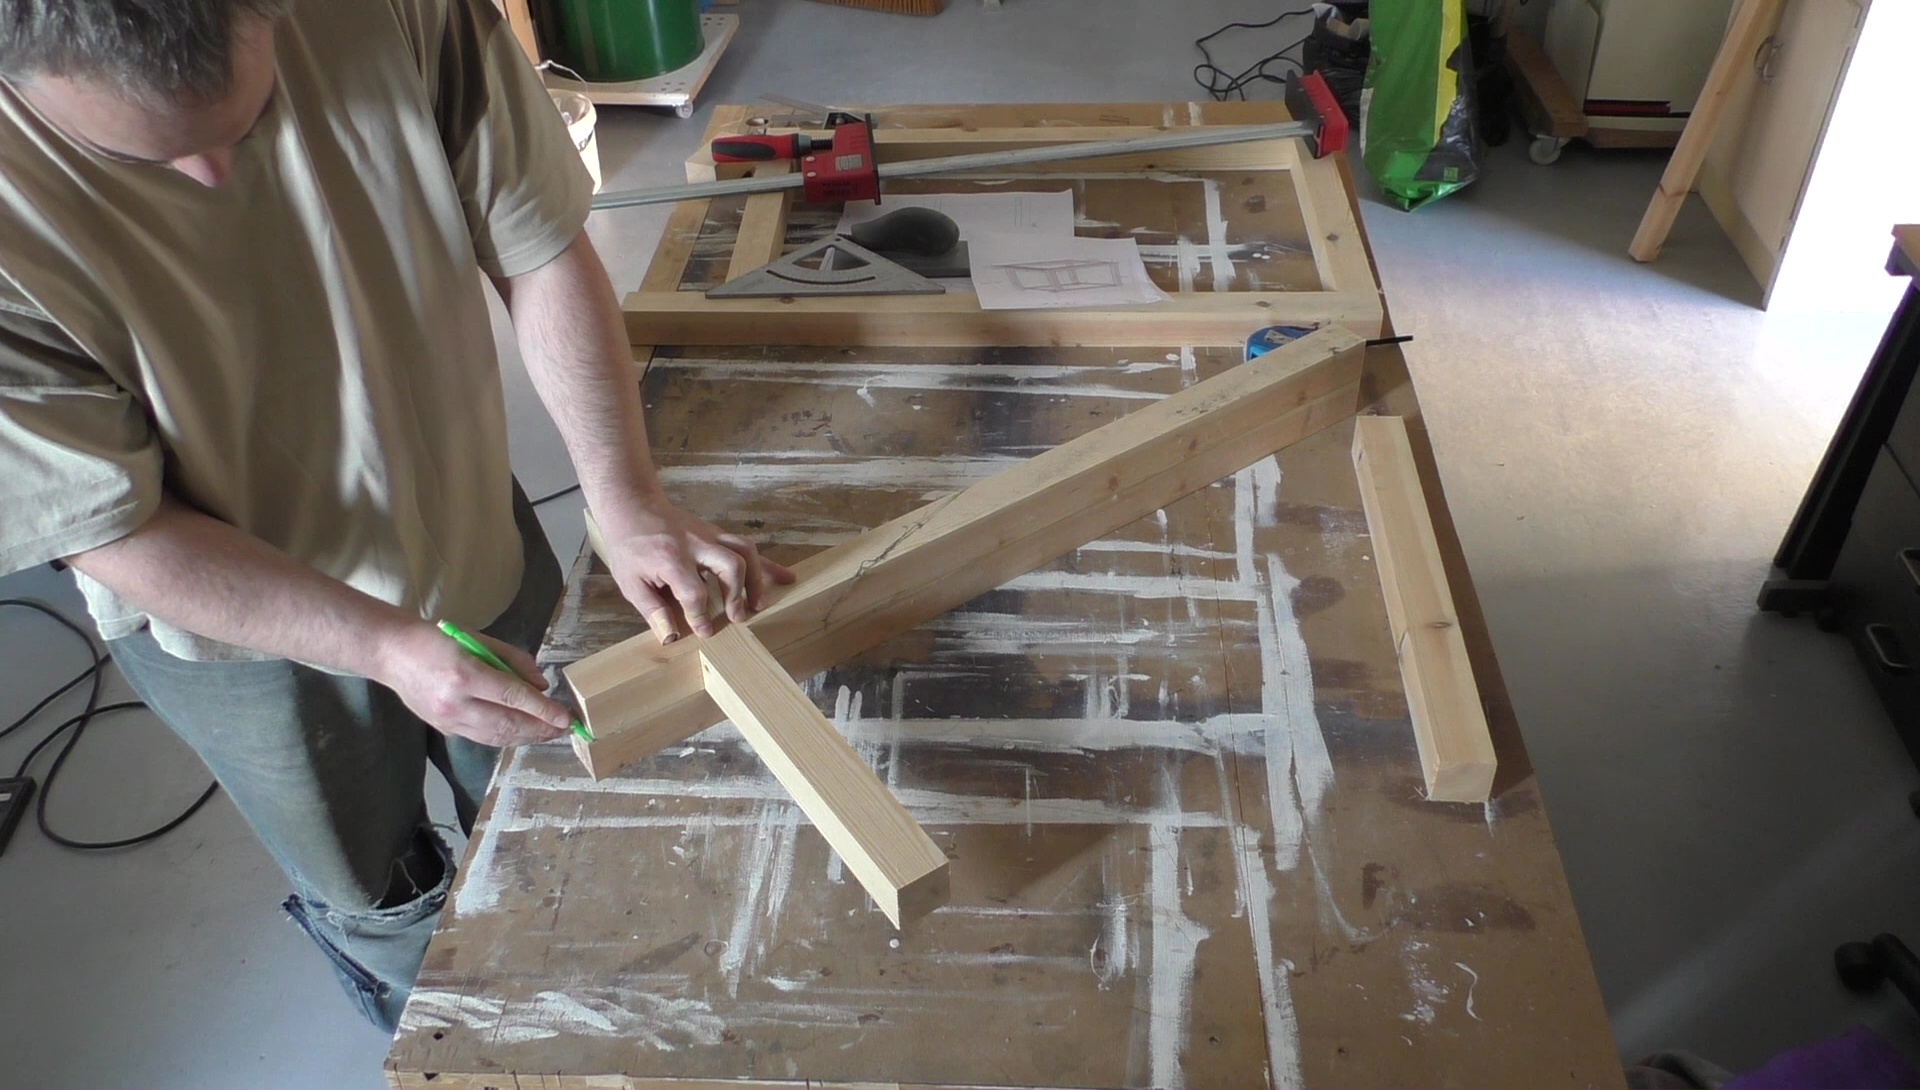
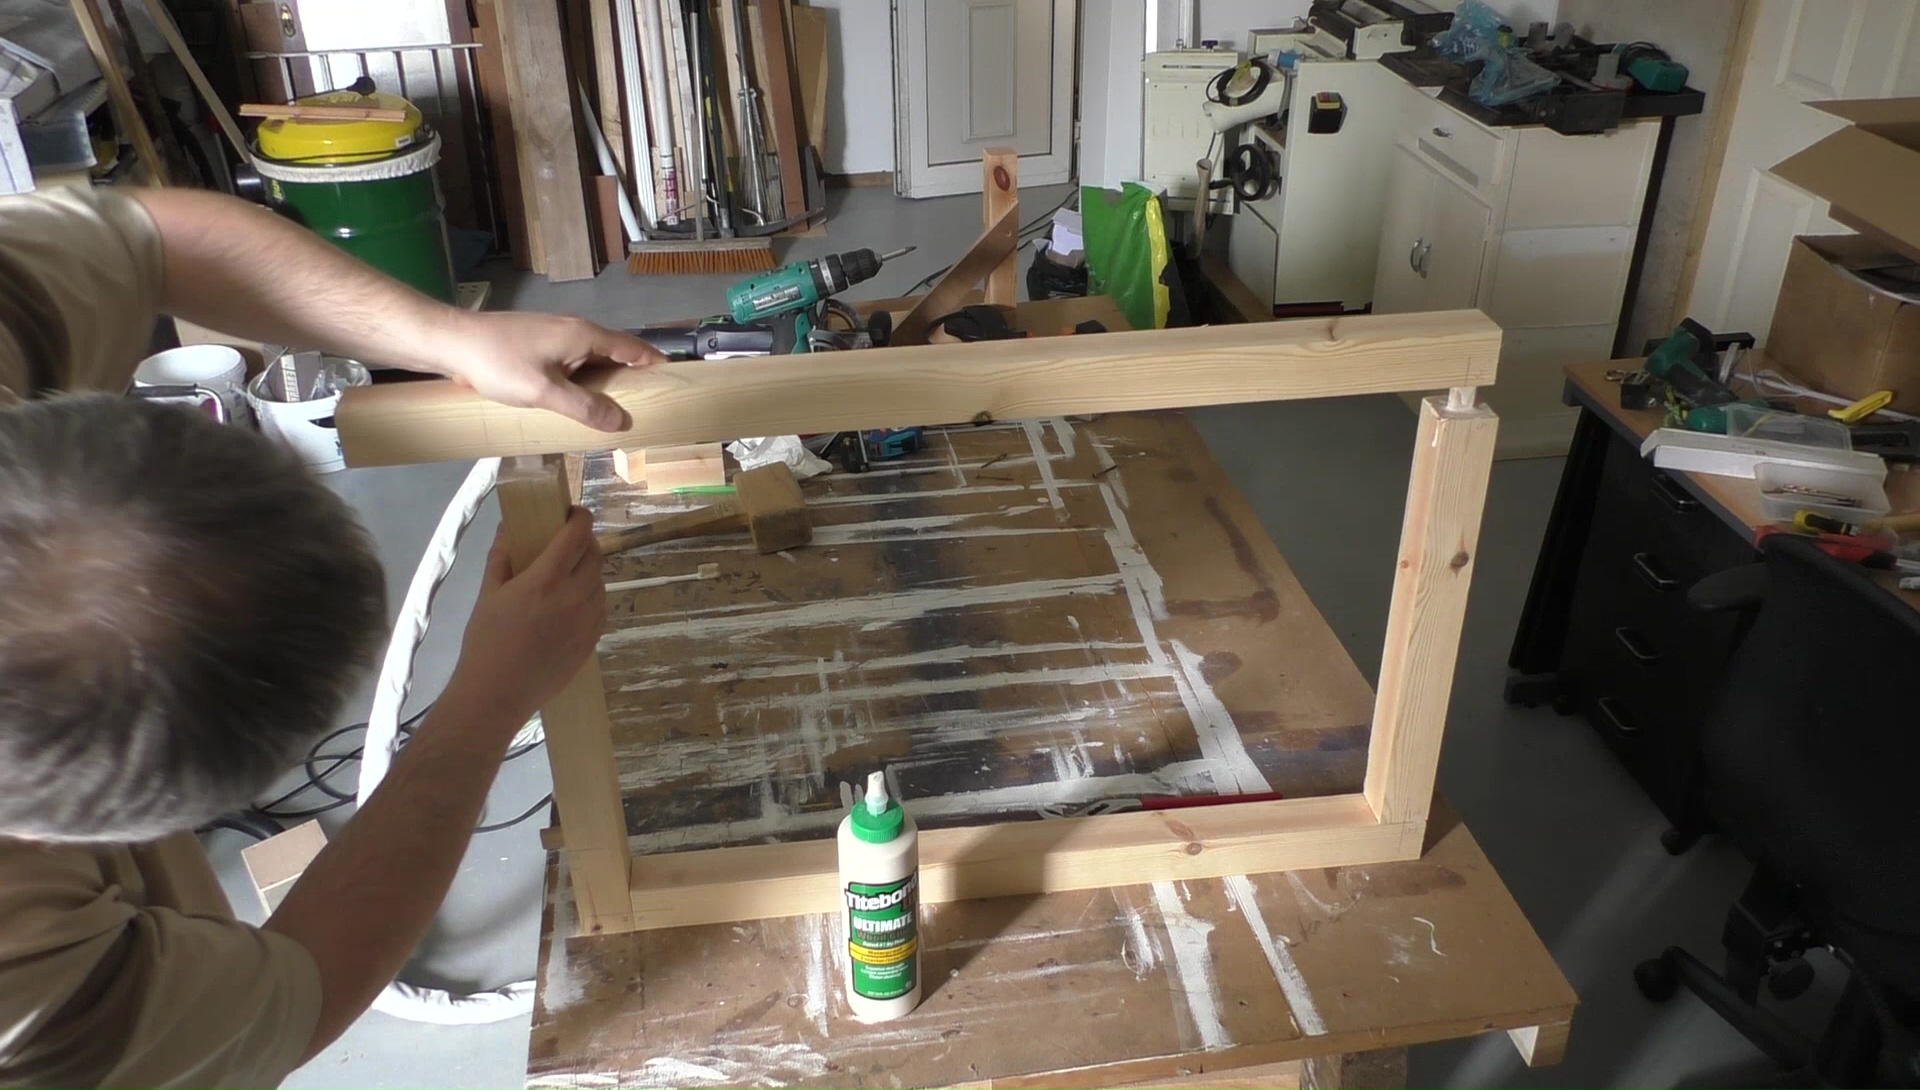
Rails
With the sides made it’s time to cut the rails which will determine the width of the cabinet. Three of the rails are the same length but the fourth goes under the cantilever so is somewhat longer and needs a notch in it. The length of these rails is critical as it determines whether the sink unit gets proper support. To make life a little harder on the right hand side the sink will actually partially rest on the cover that will go over the side frame so the thickness of that needs to be taken into account. As with the sides of the frame everything was dominoed together and dry fit.
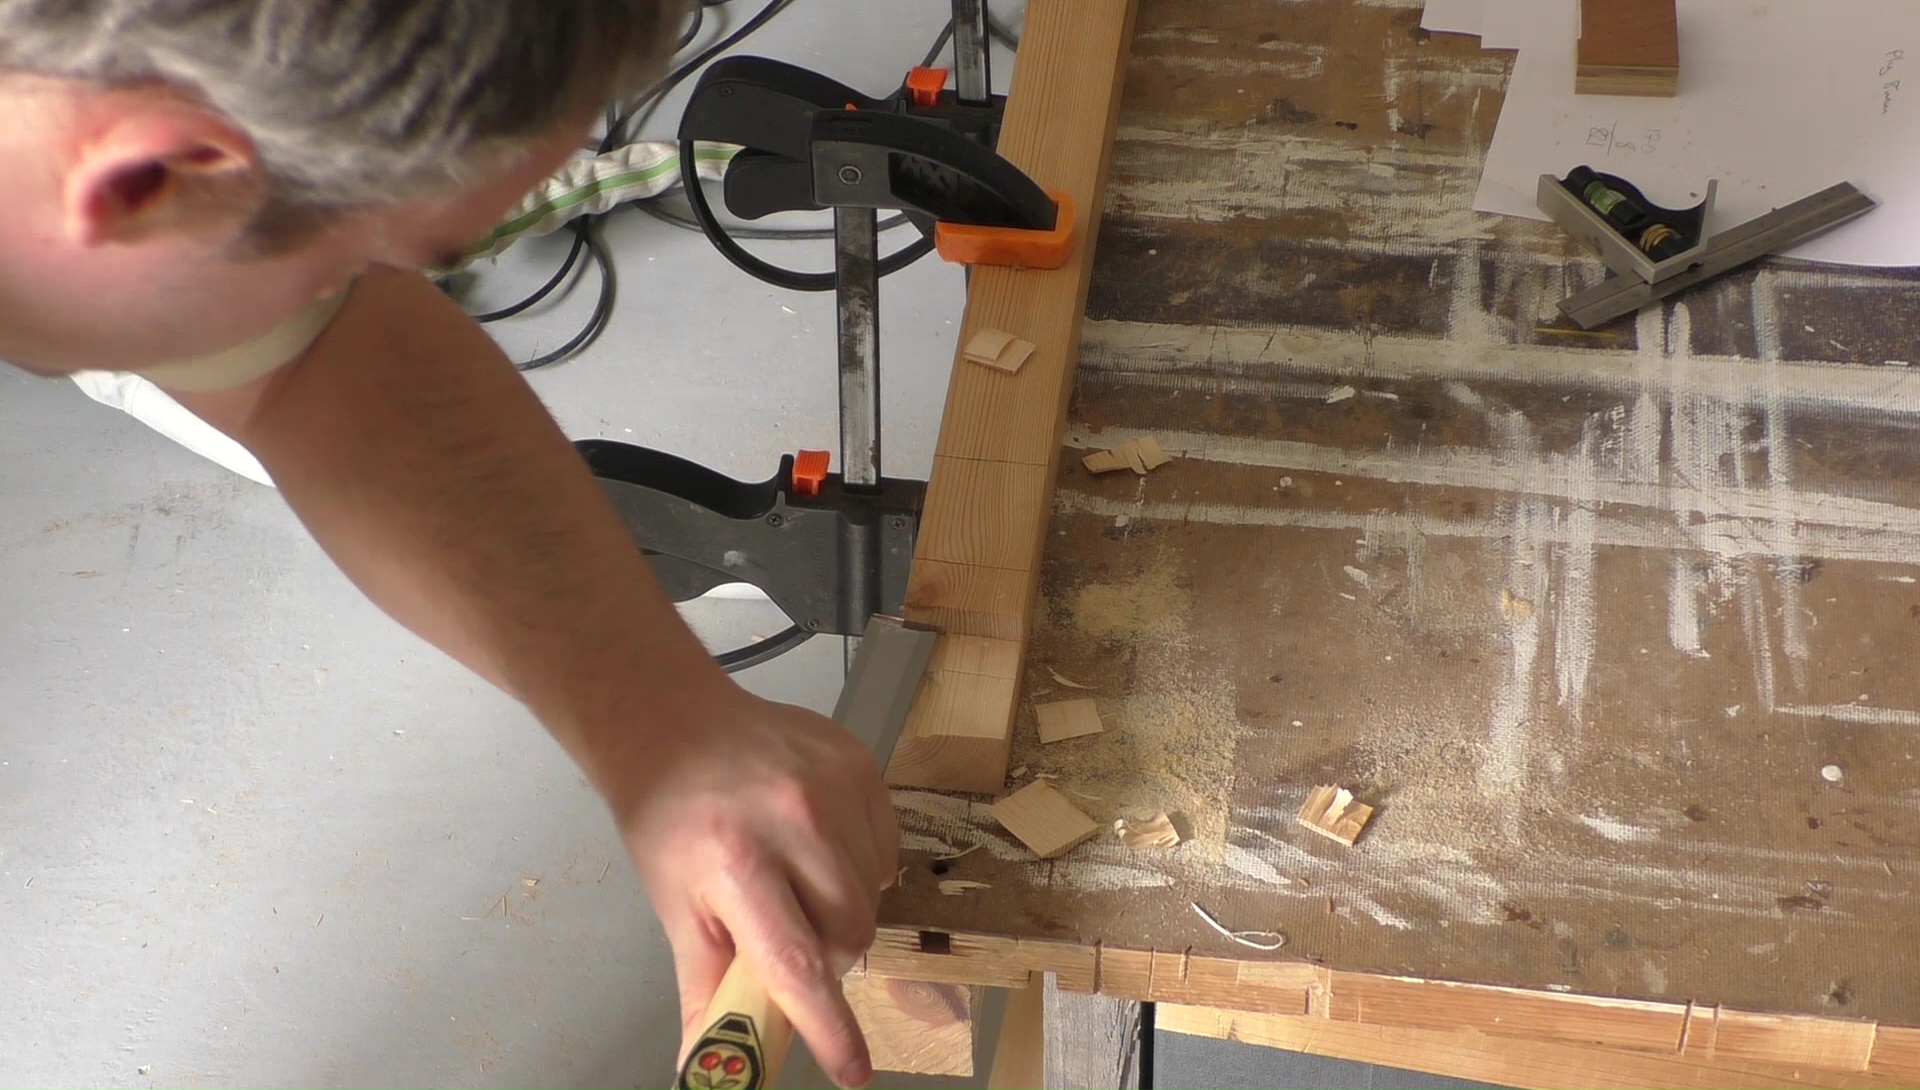
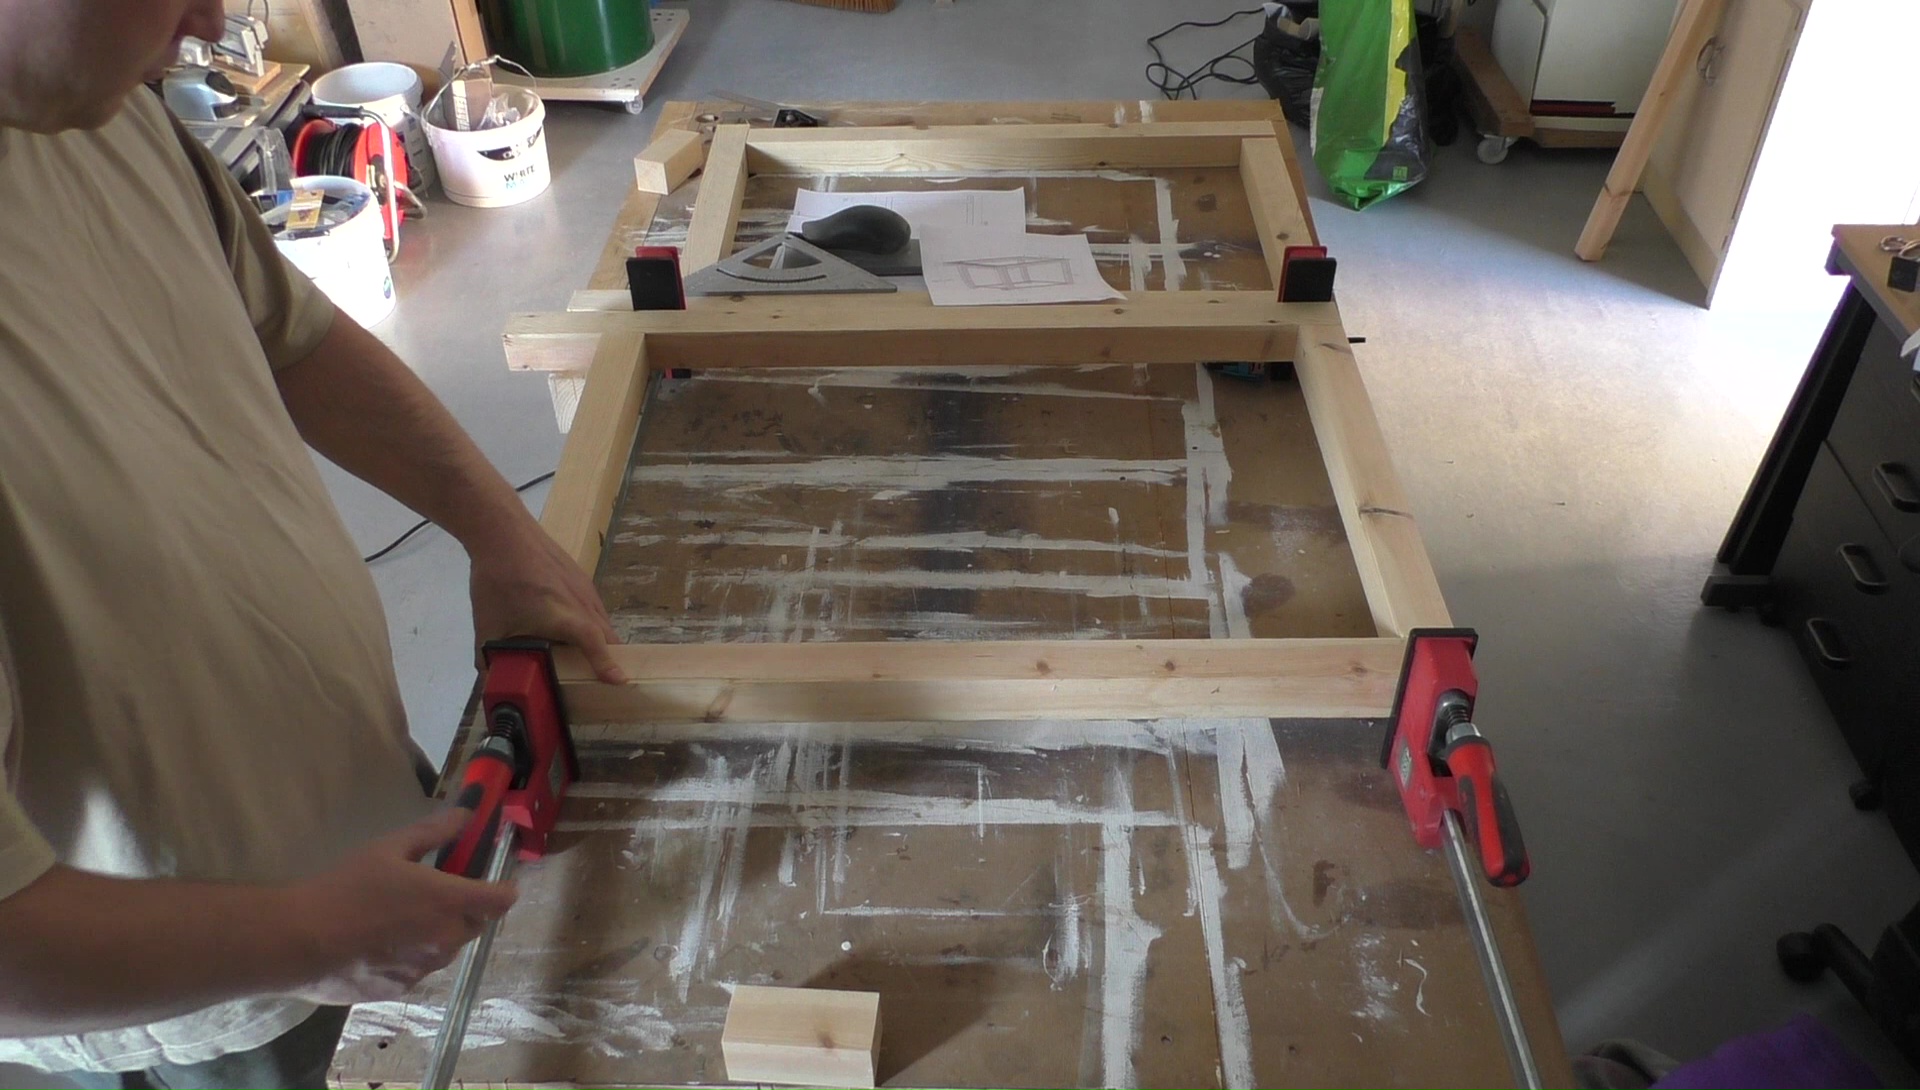
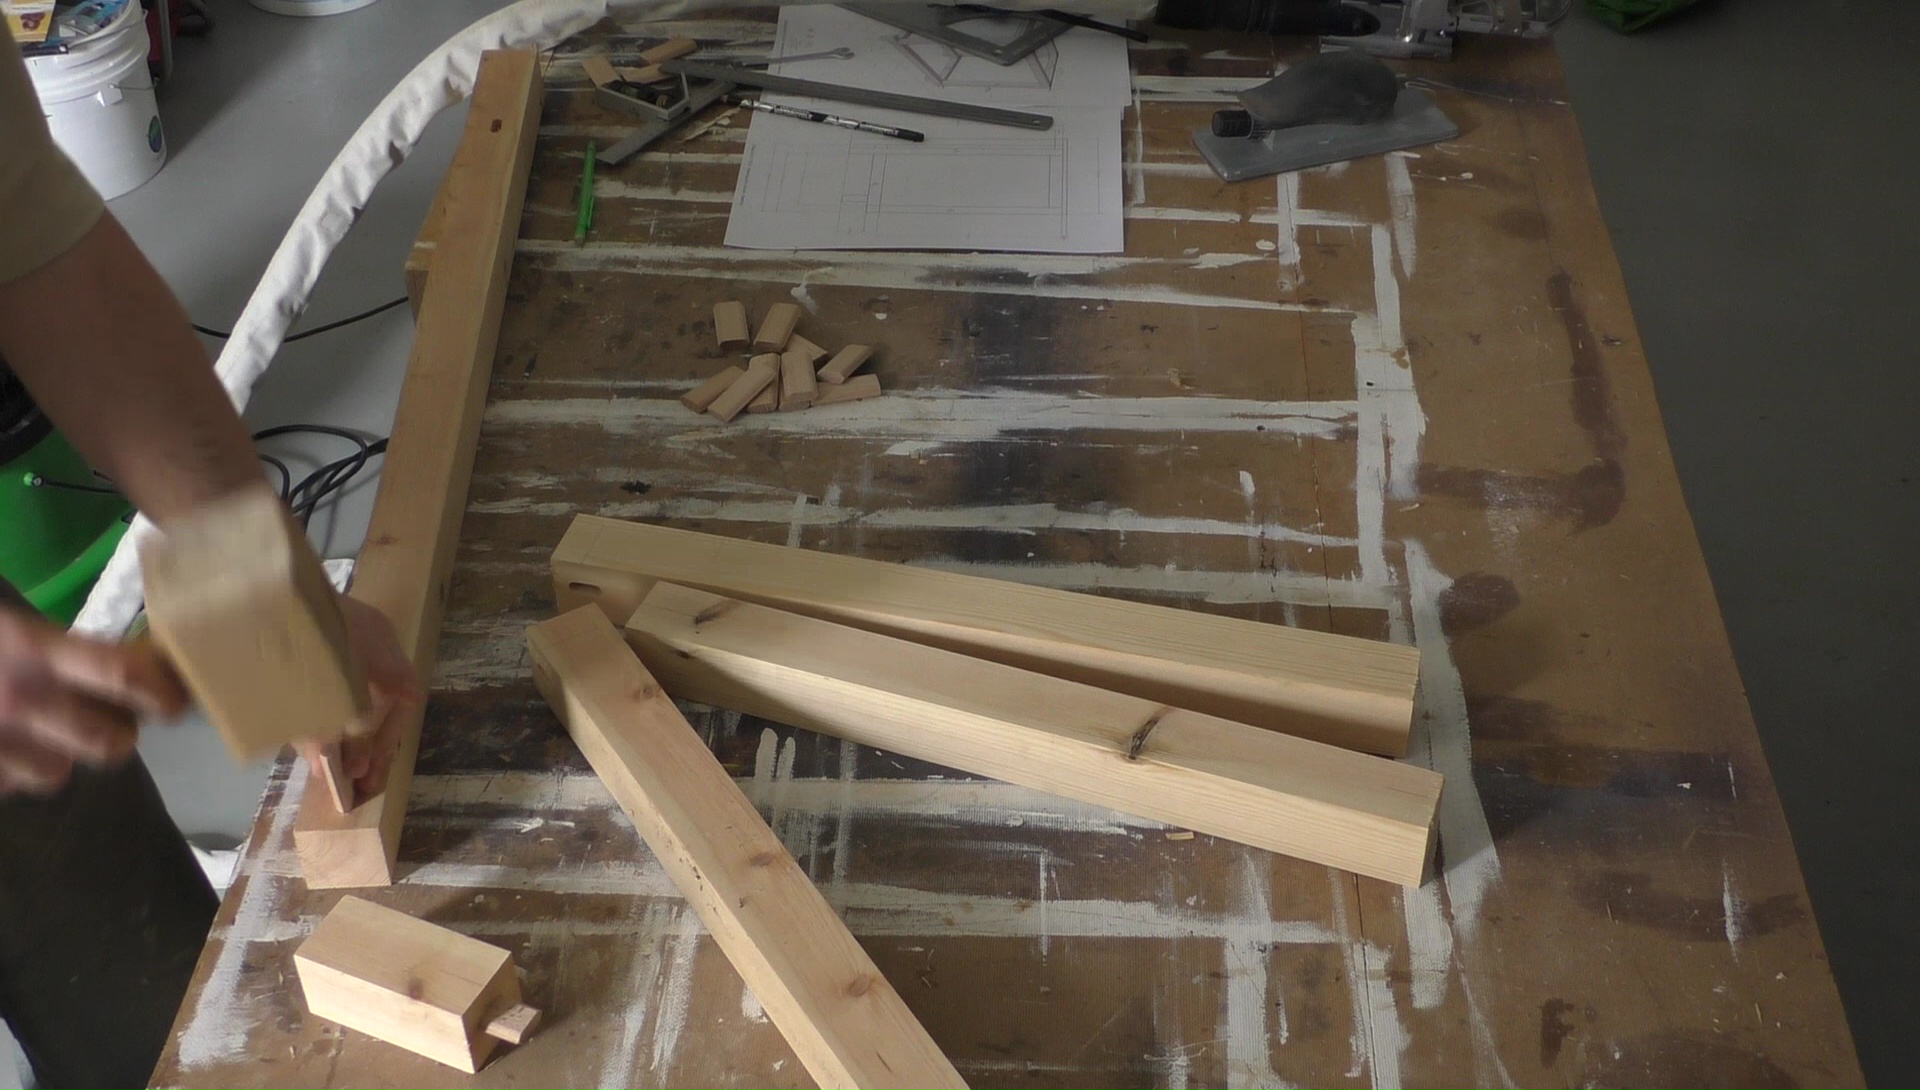
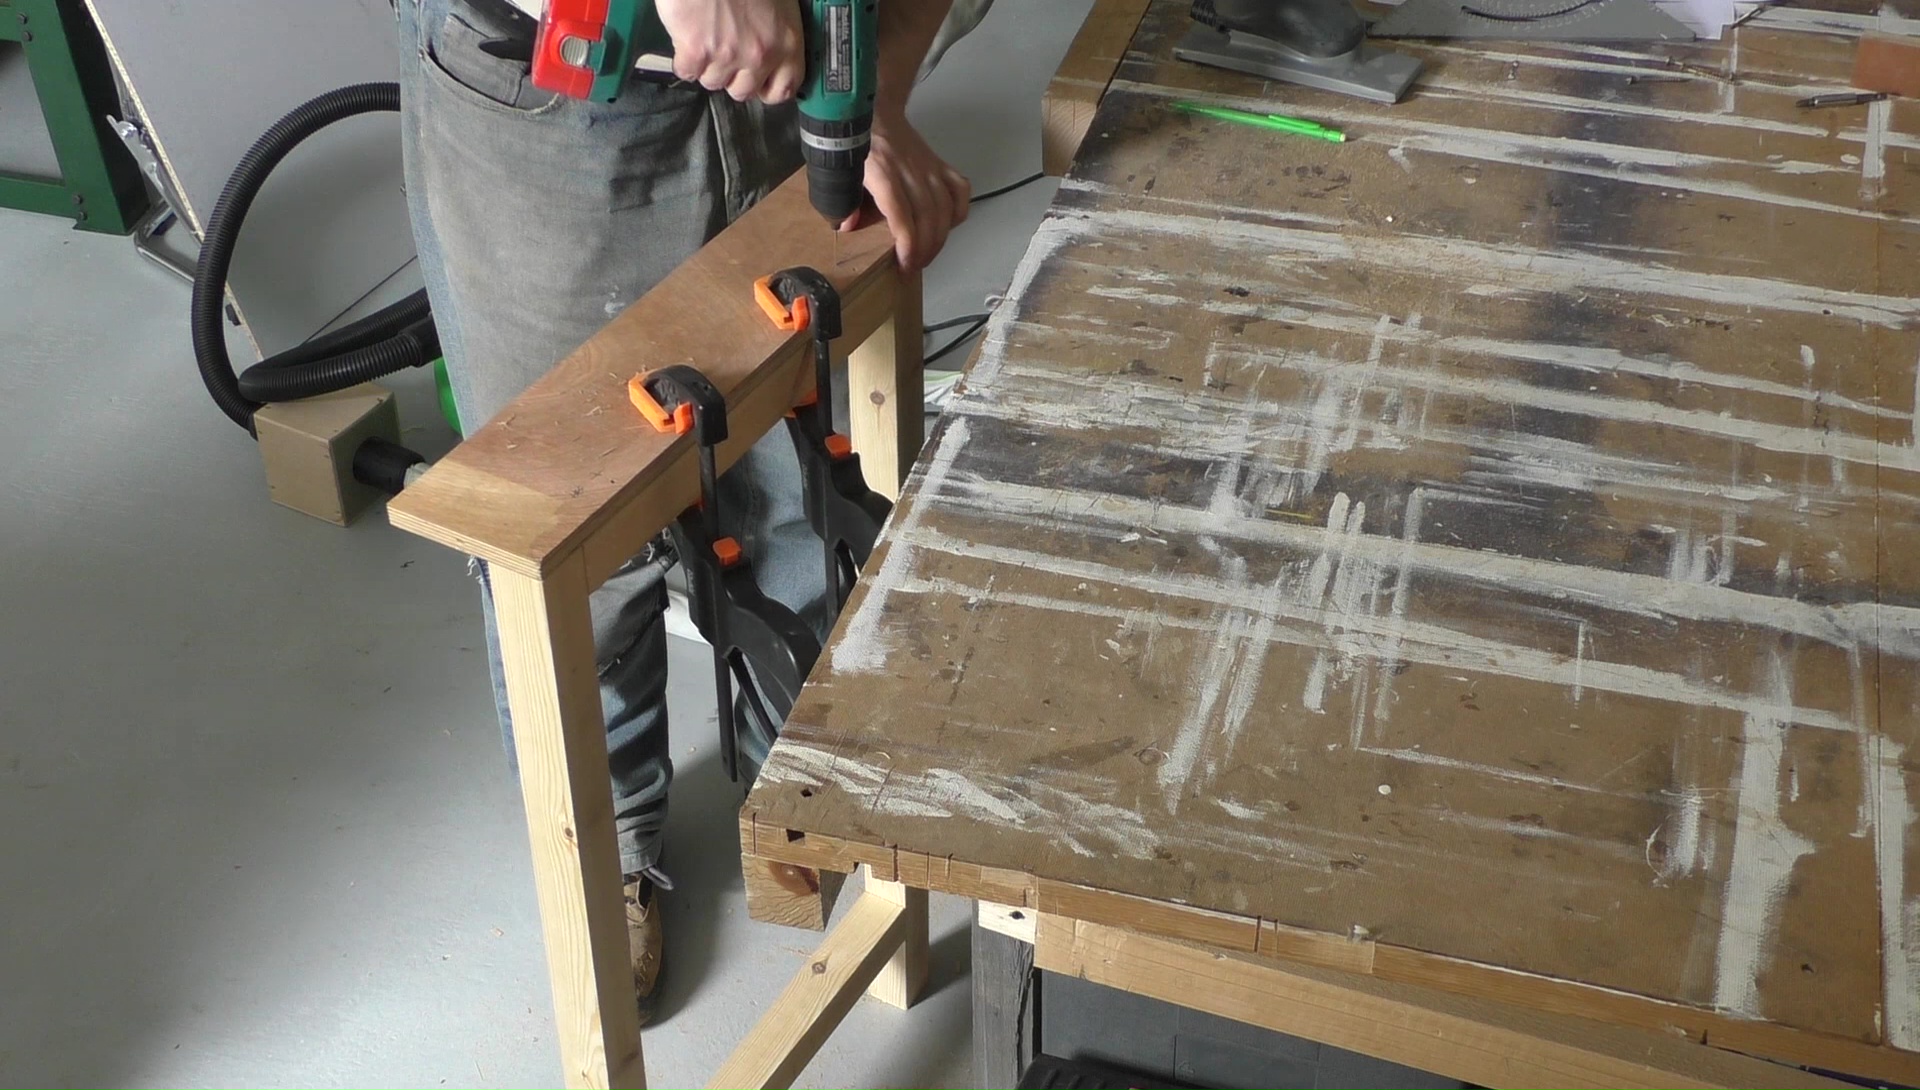
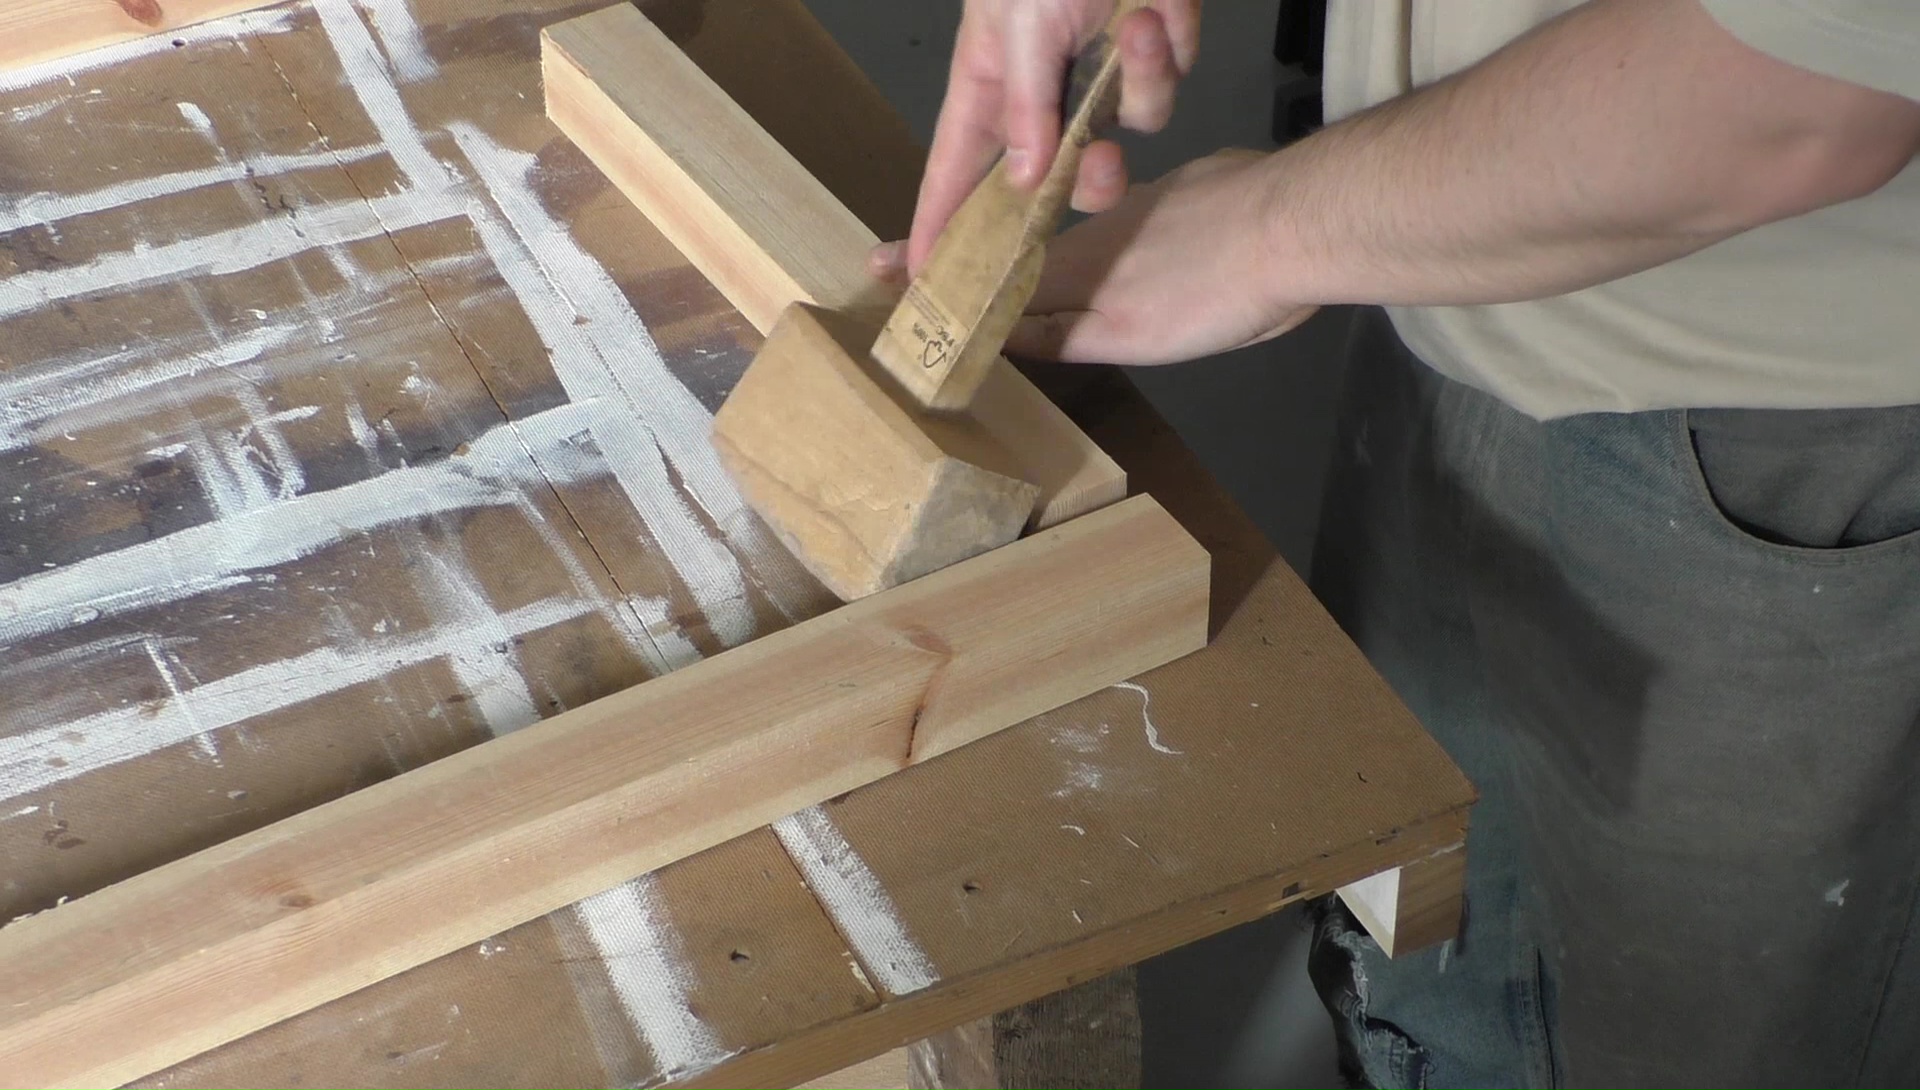
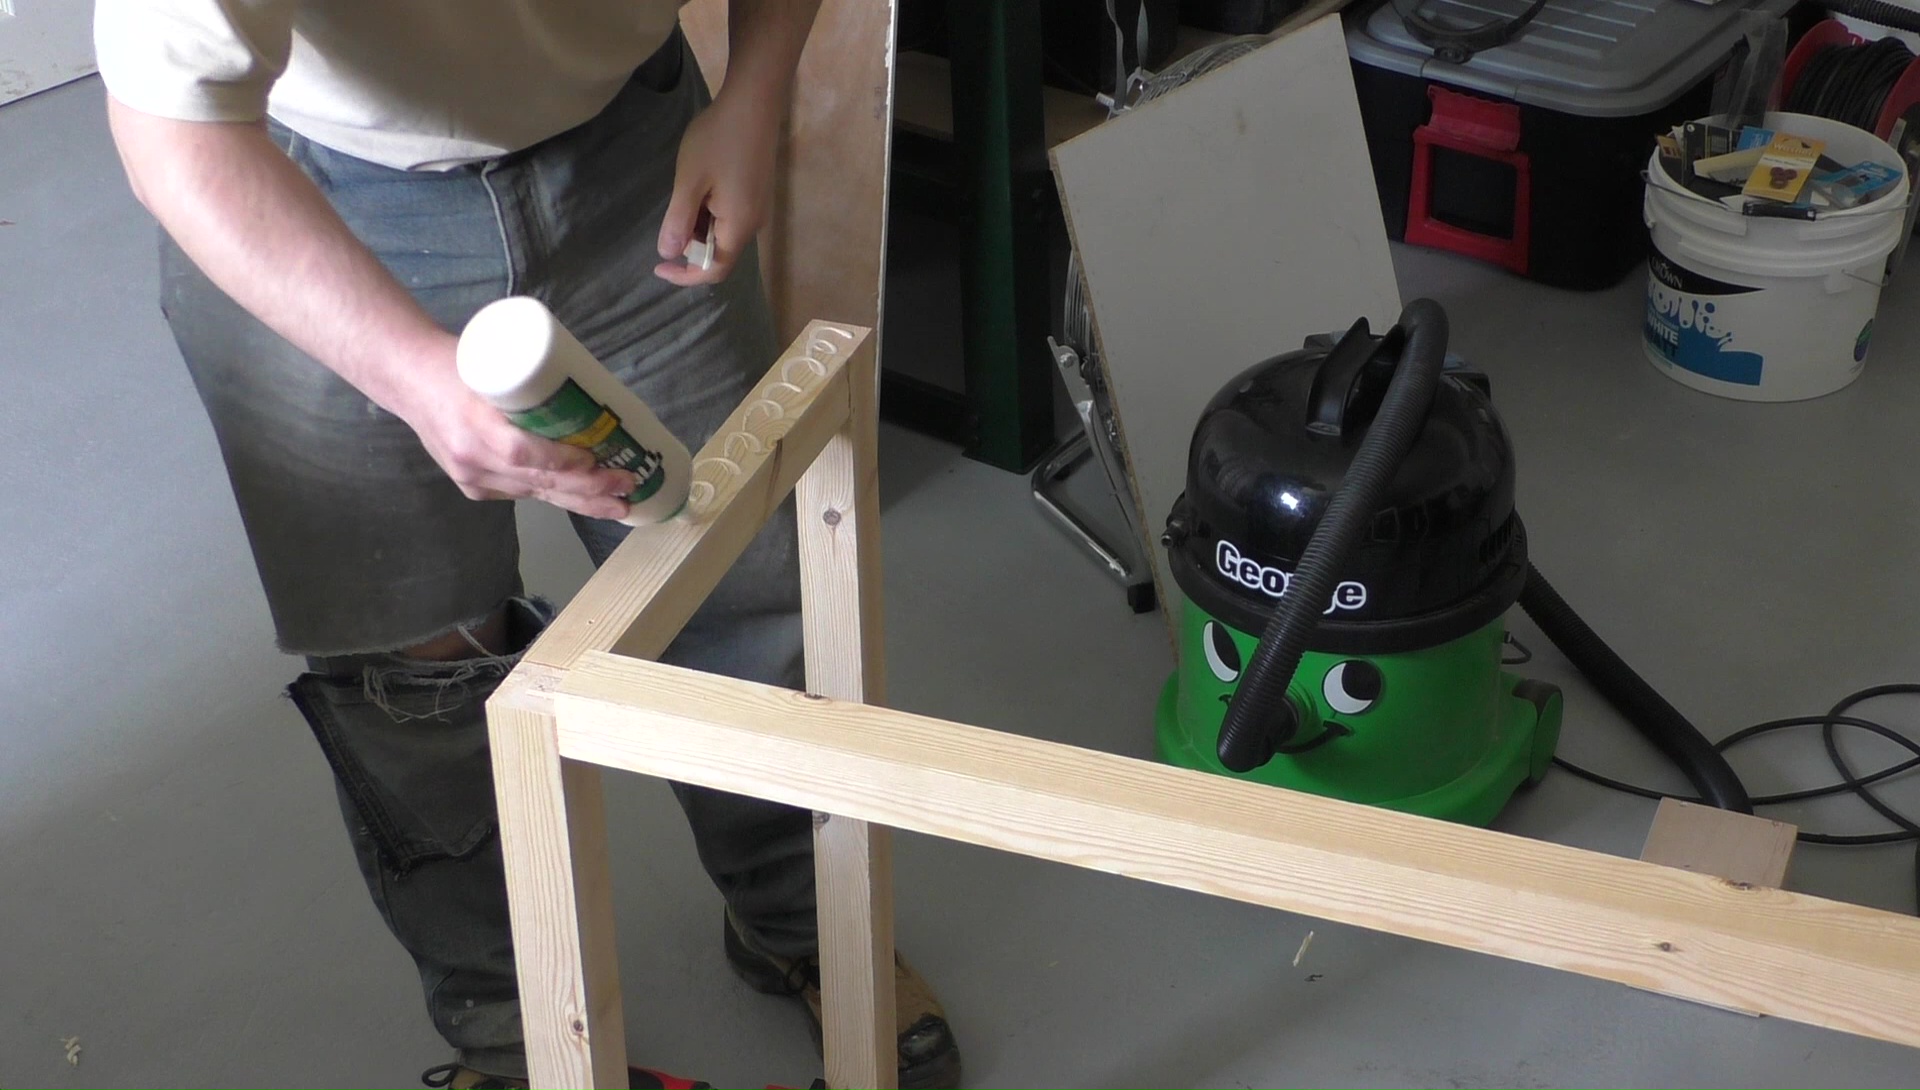
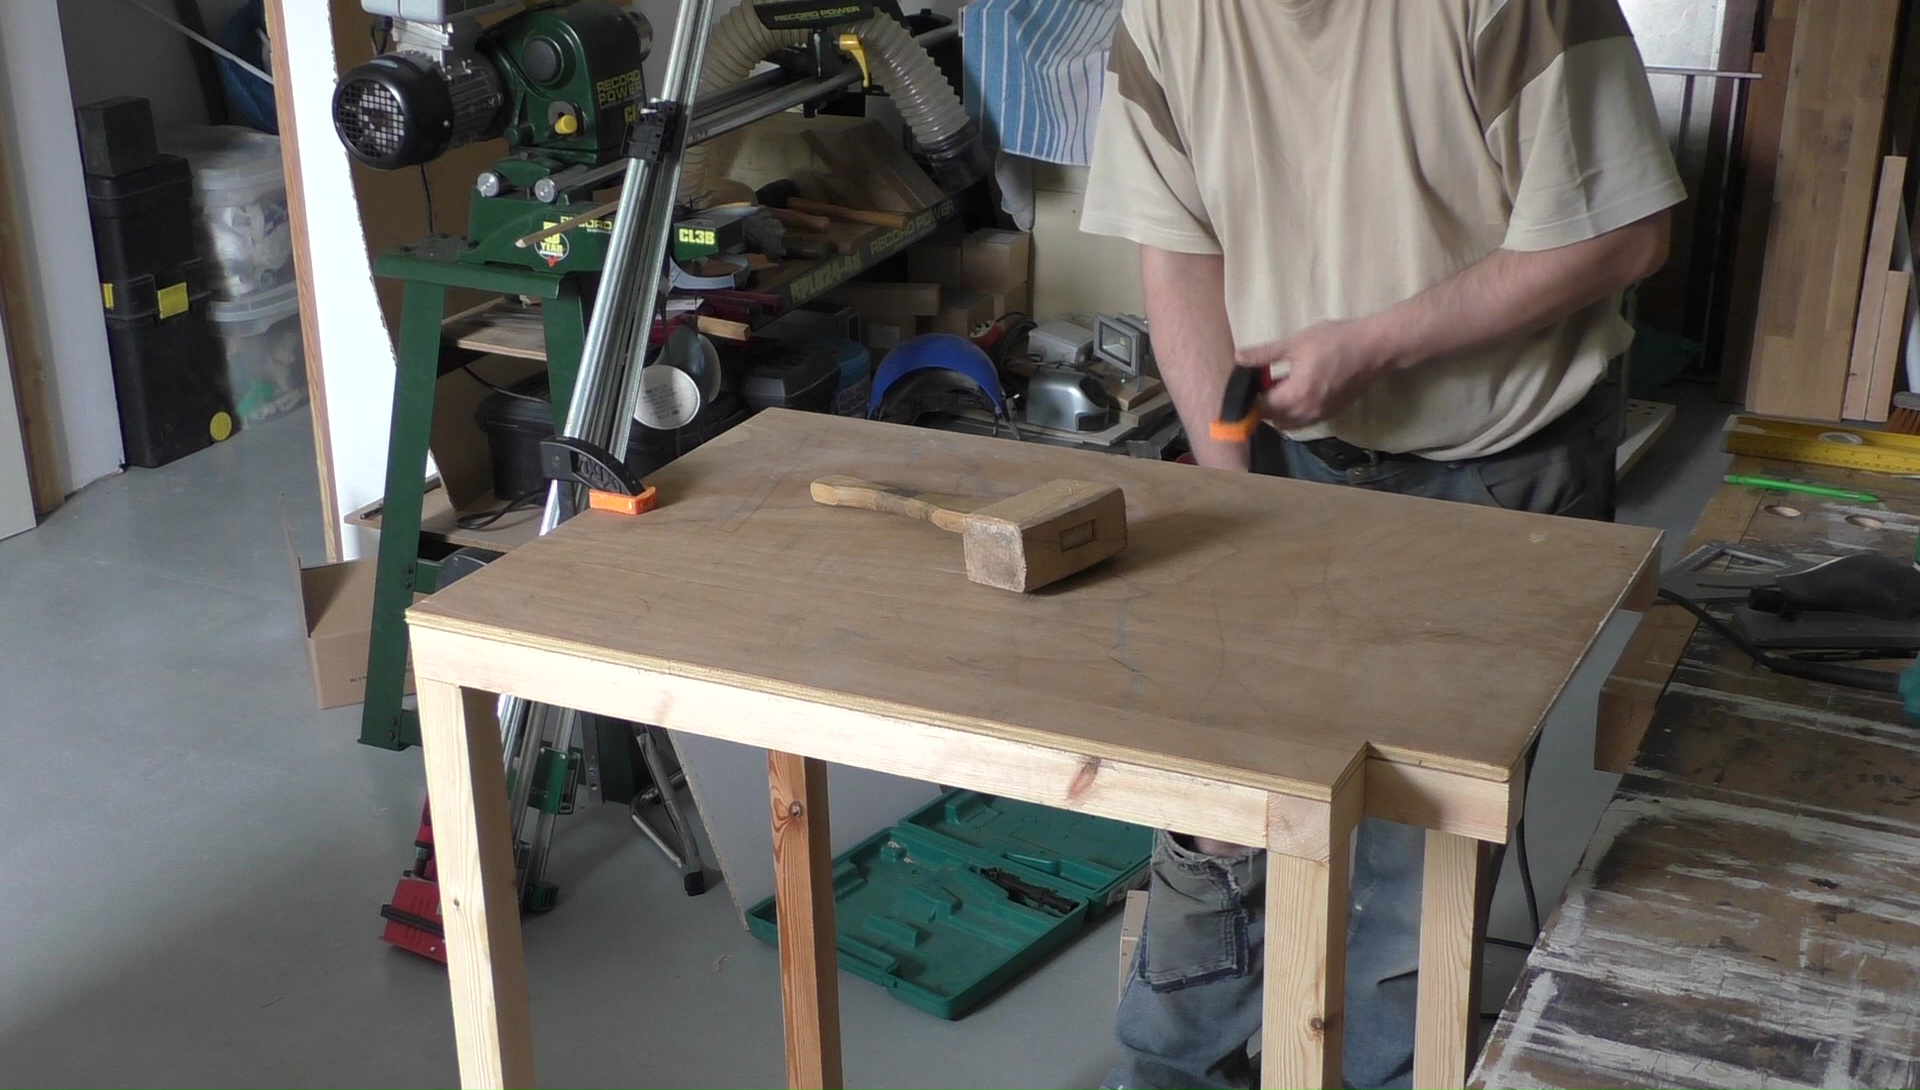
The Big Glue Up
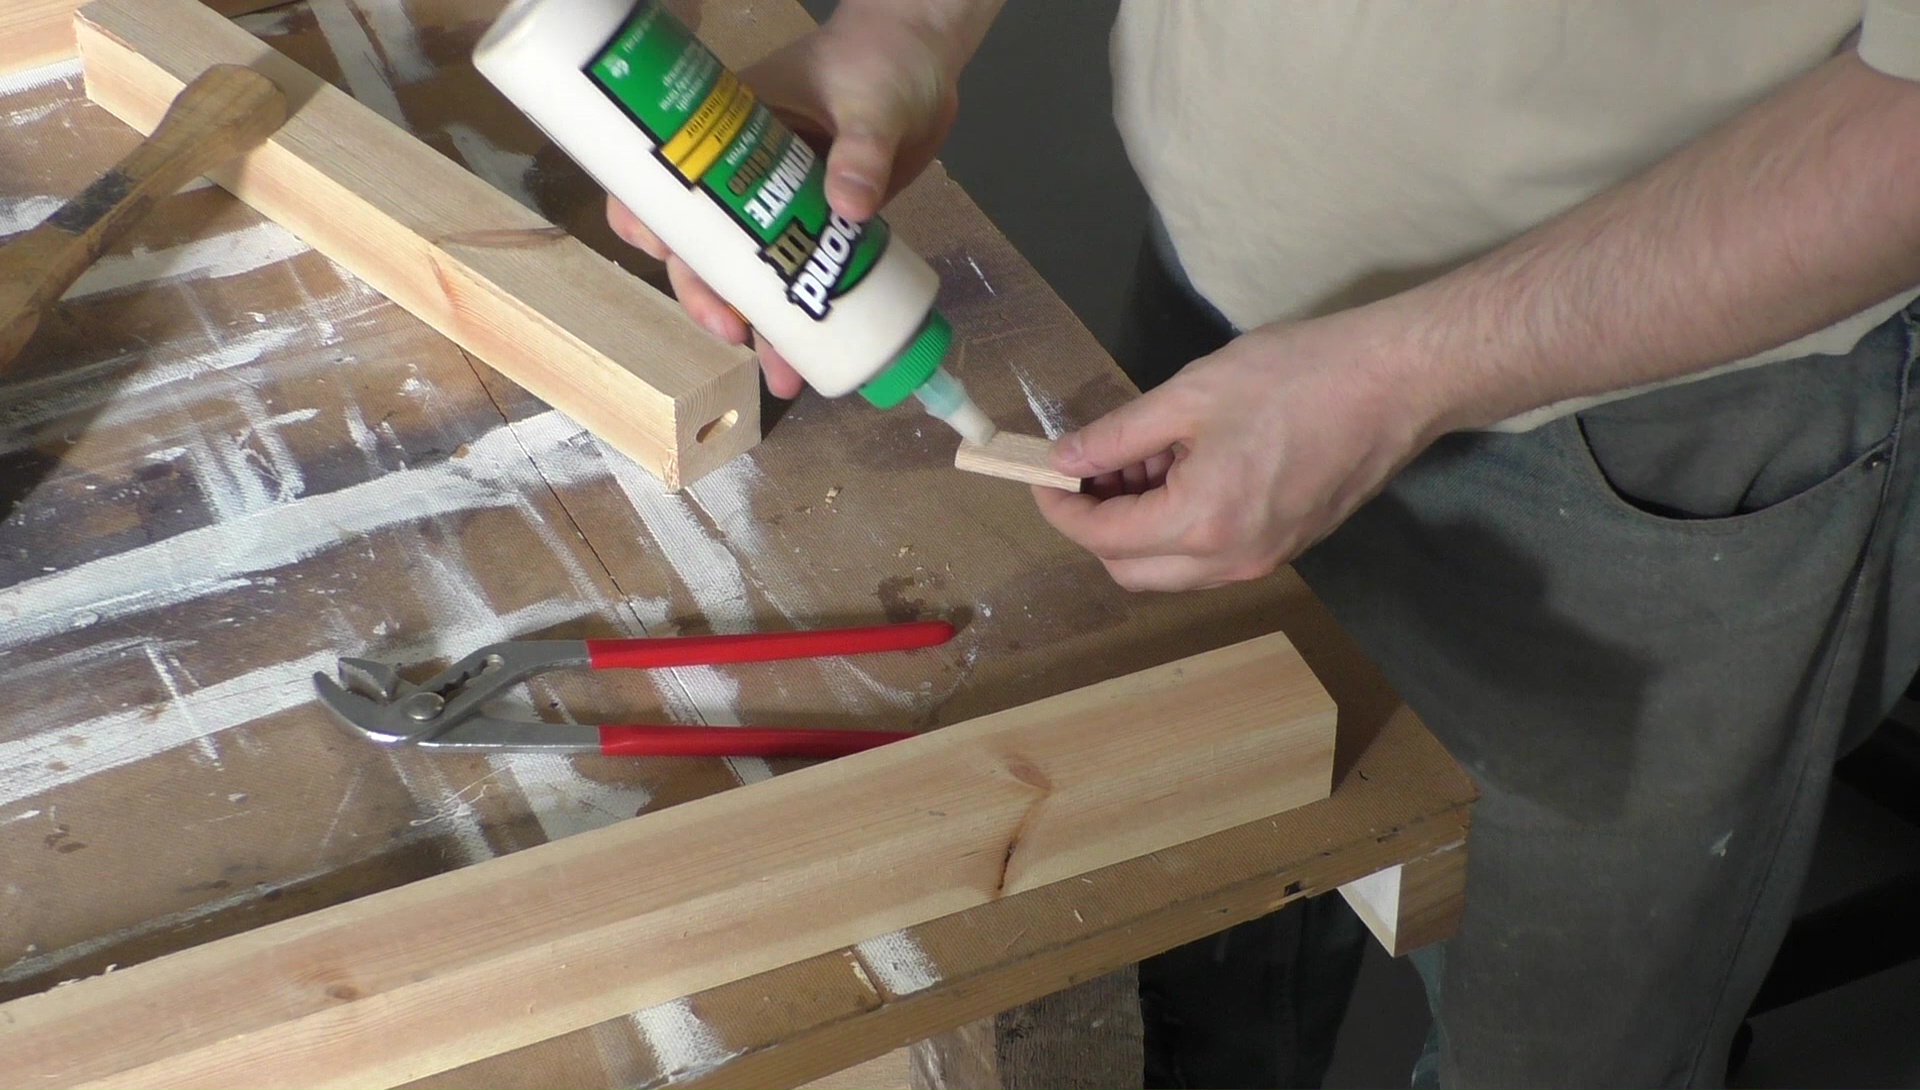
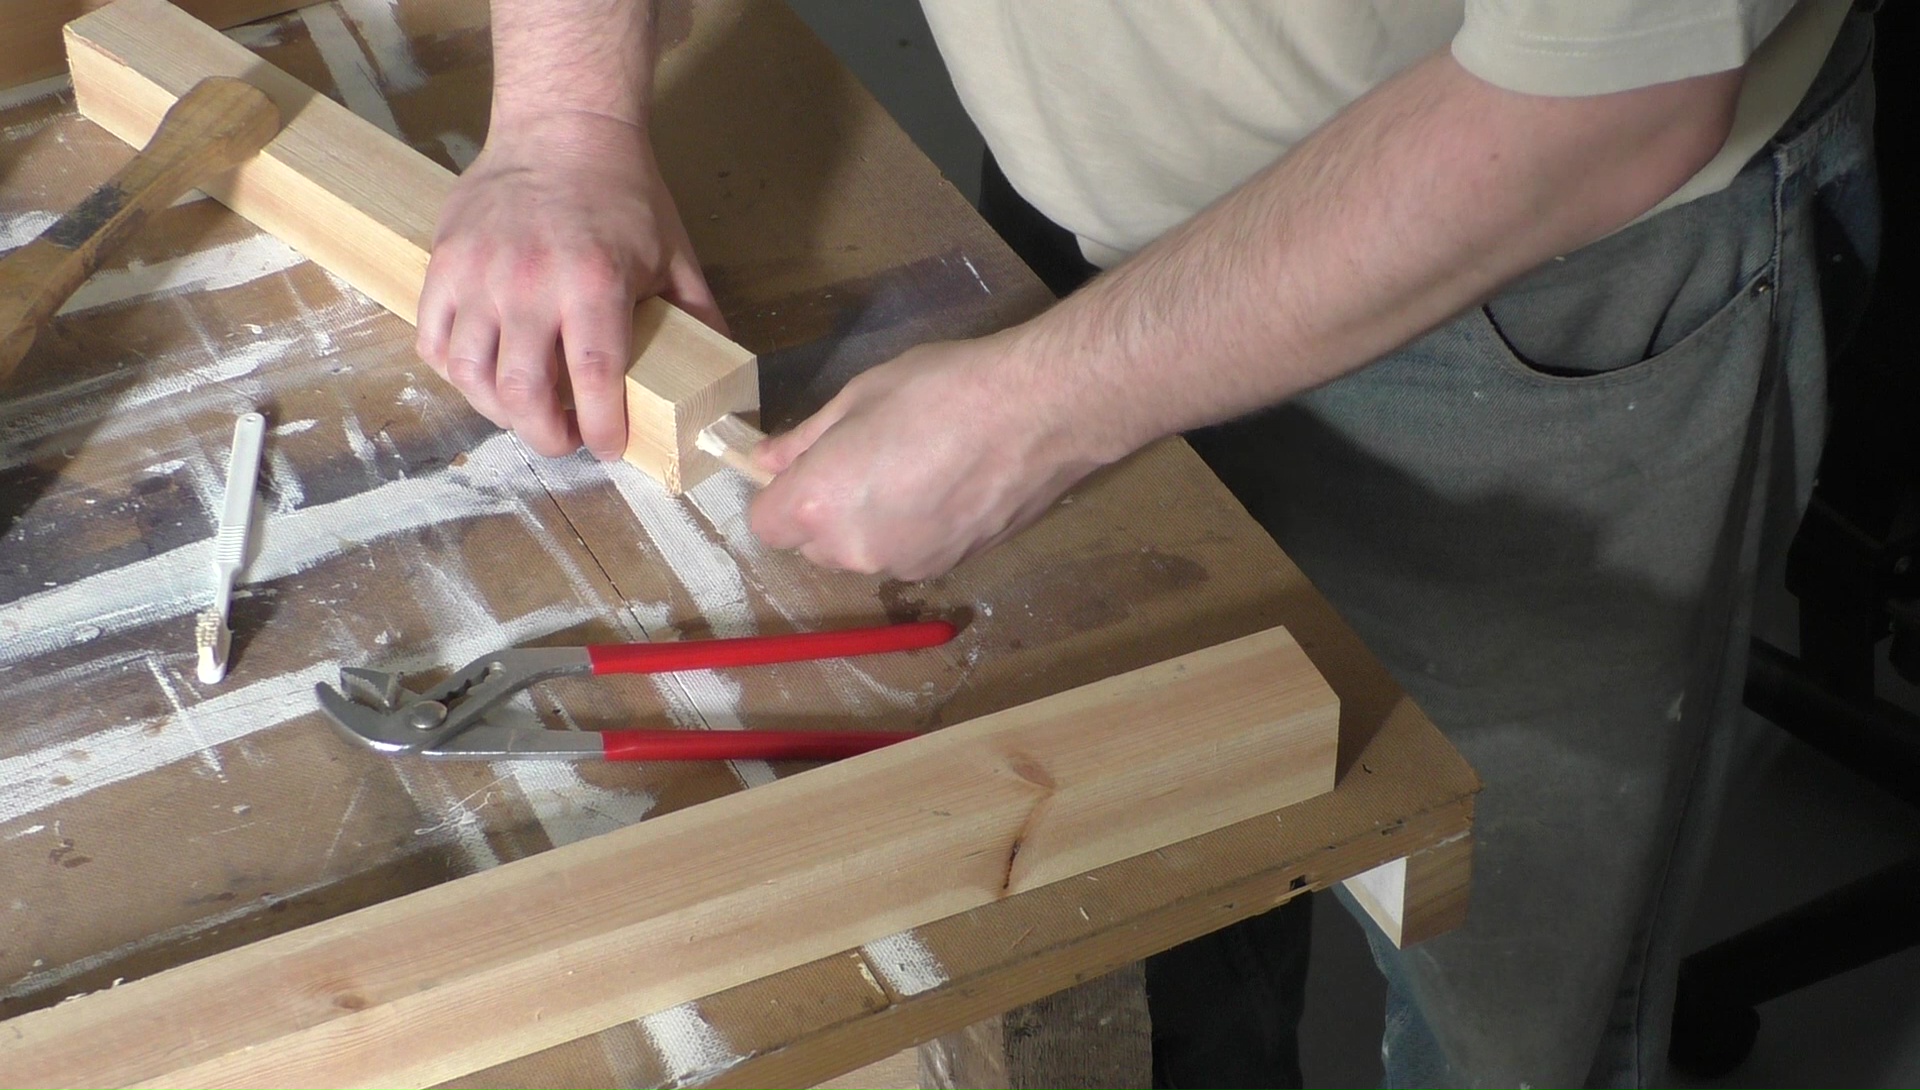
Since everything seems to be square and the right size it’s time for the big glue up. I tapped everything apart with a mallet and then glued the sides back together. Once they were dry I glued the rails in and the cantilever on then checked everything for square again. So far so good.
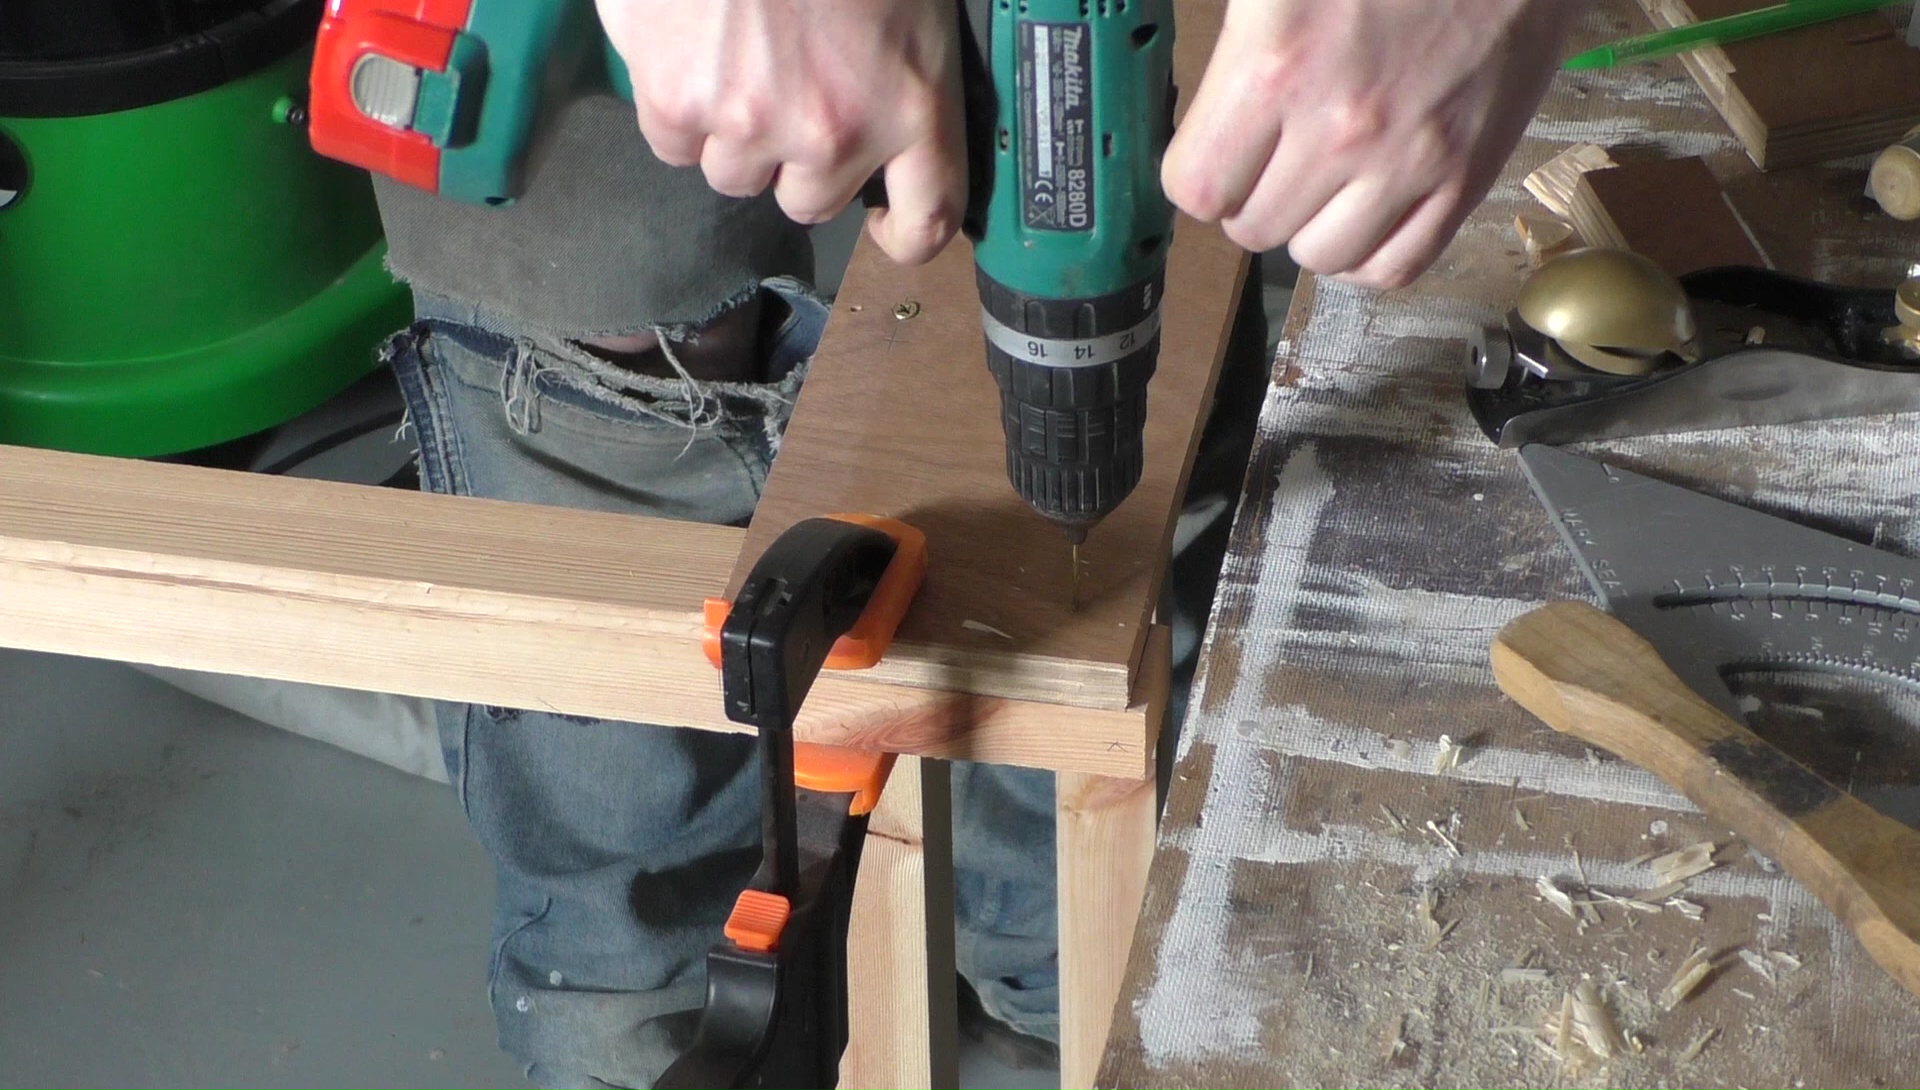
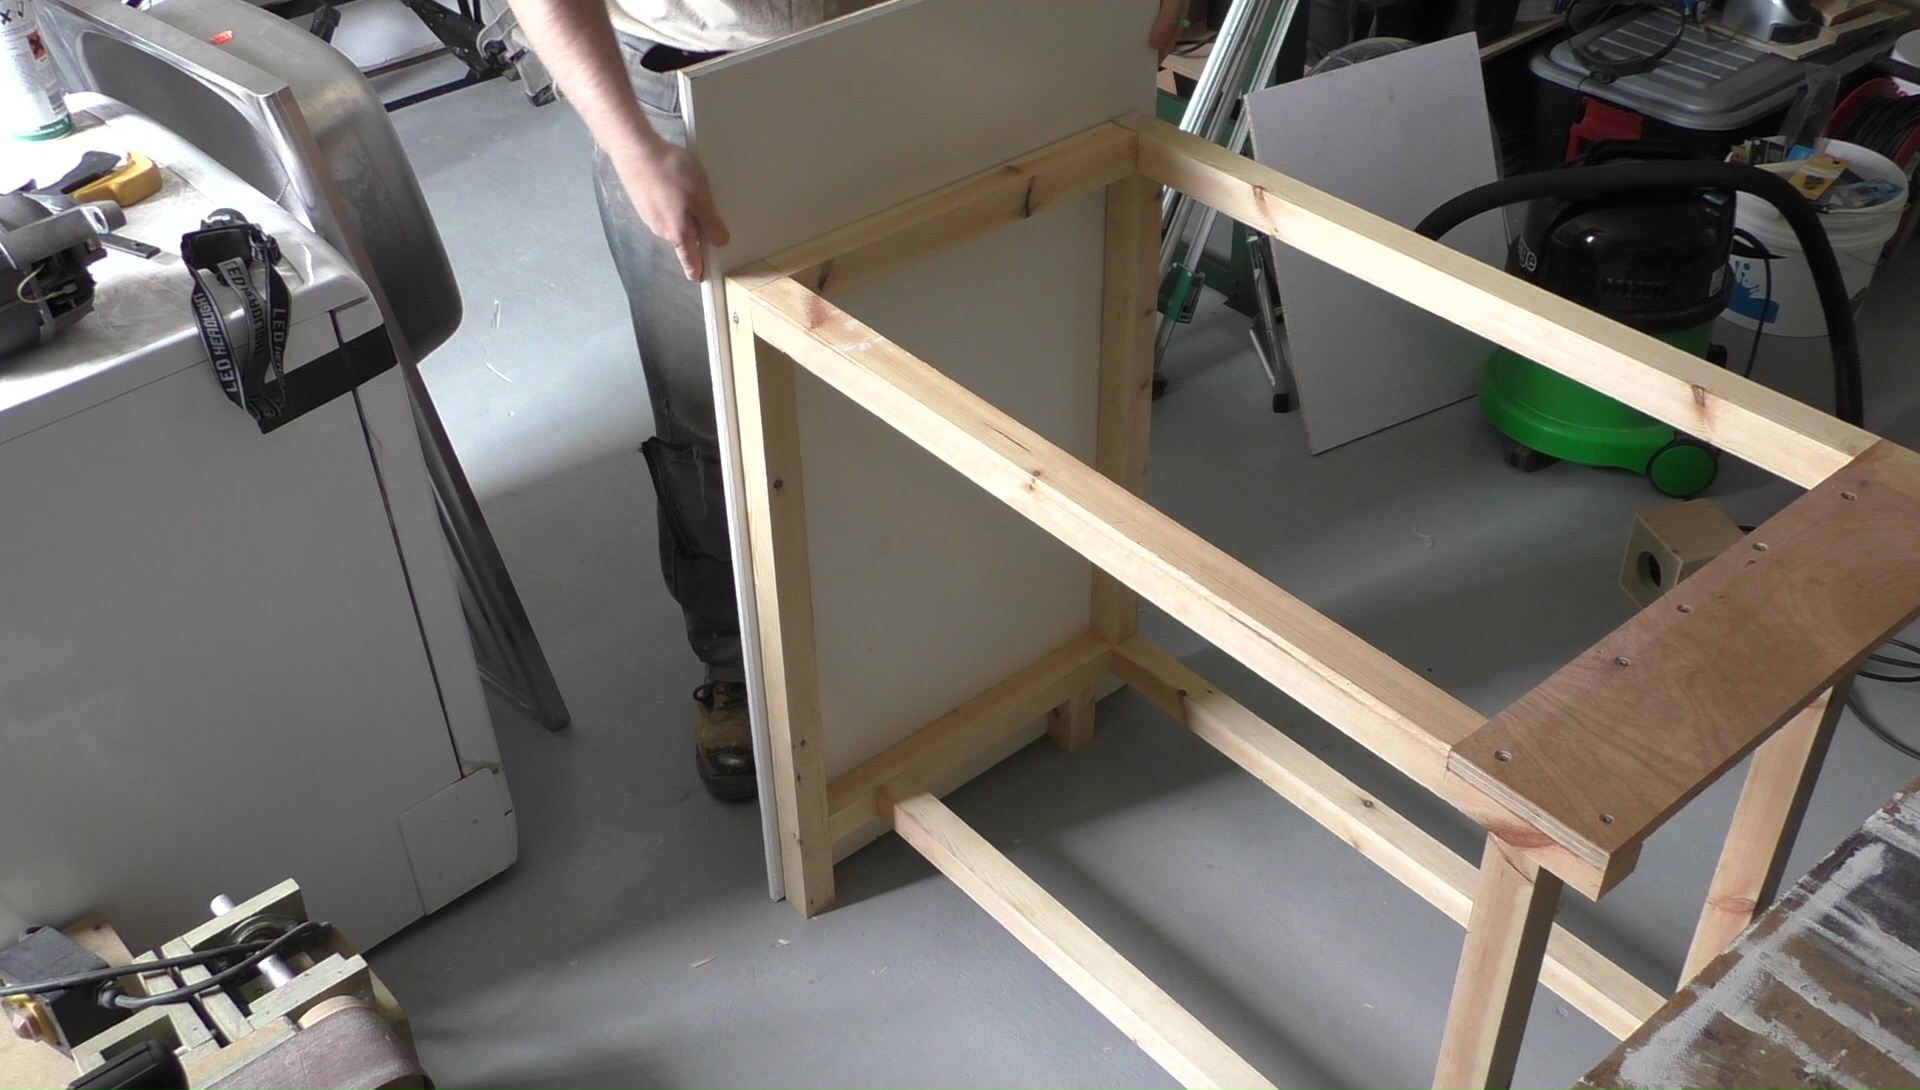
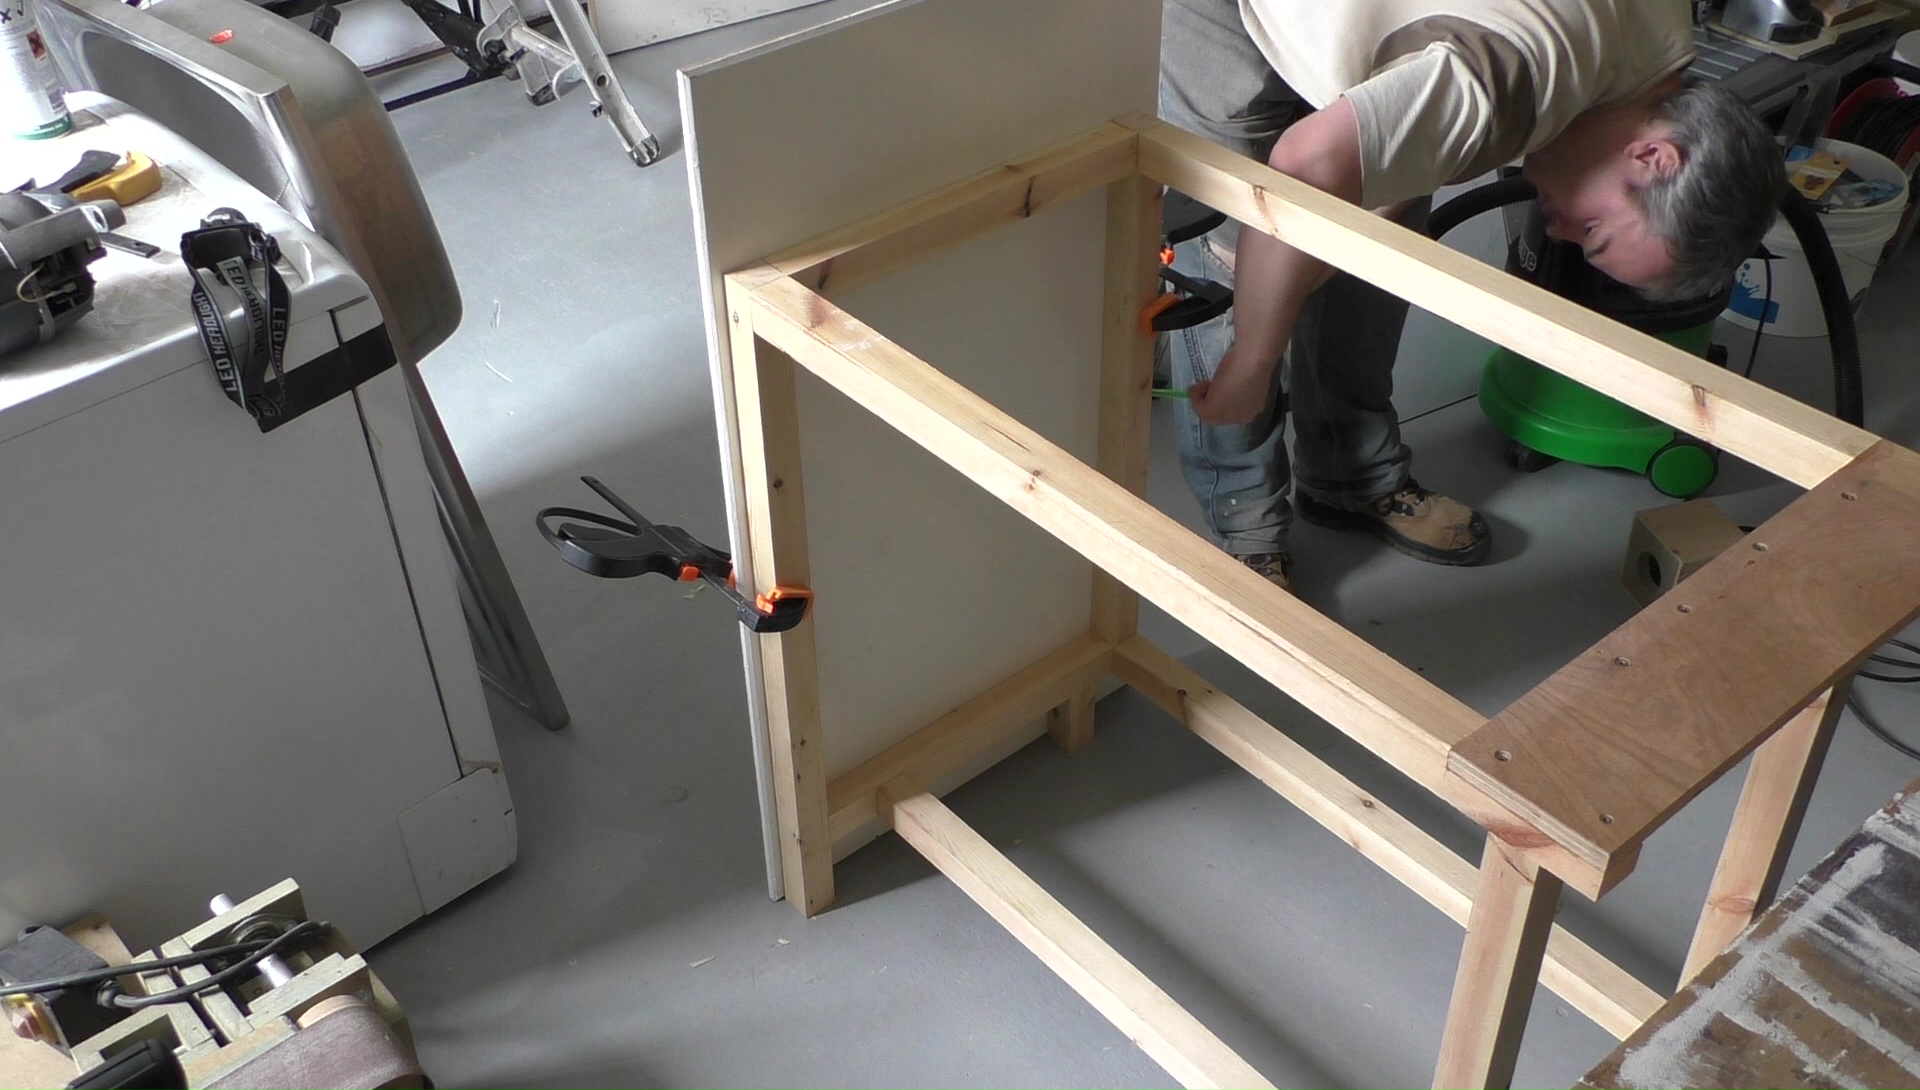
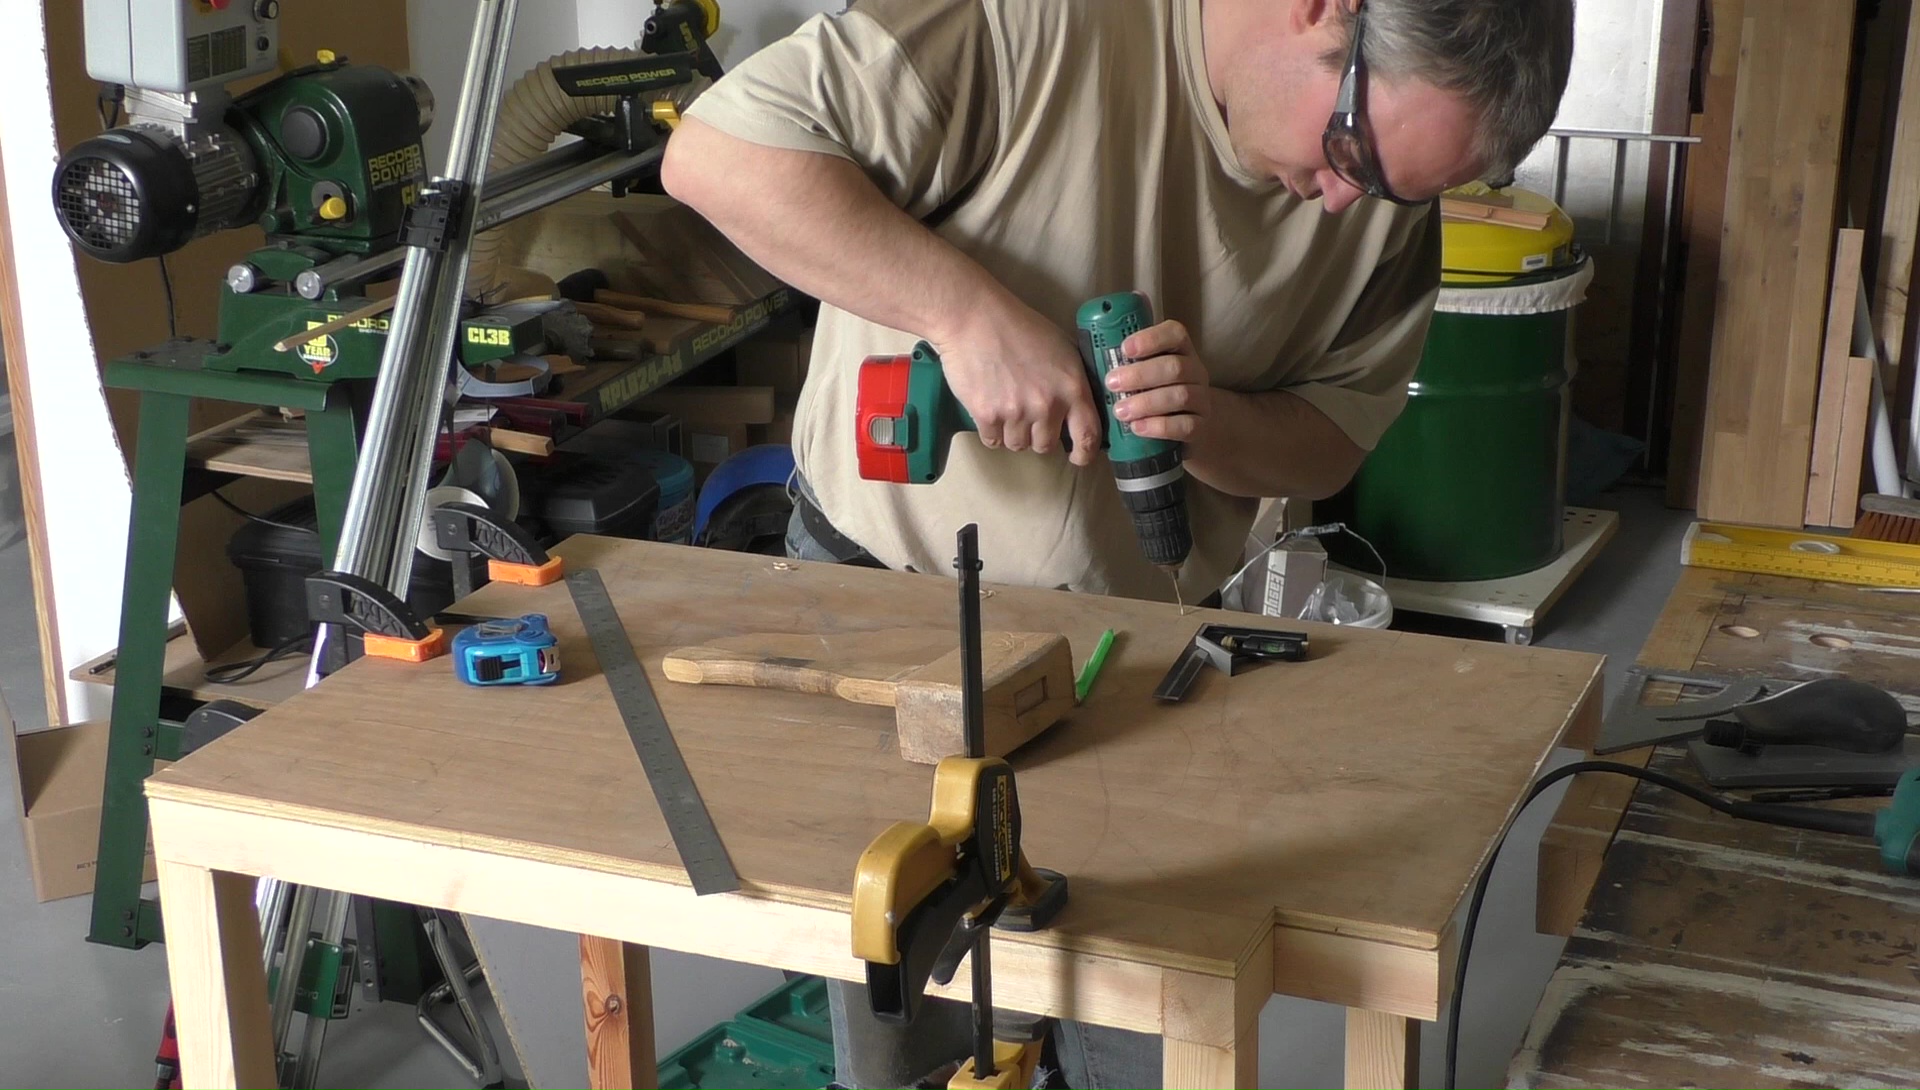
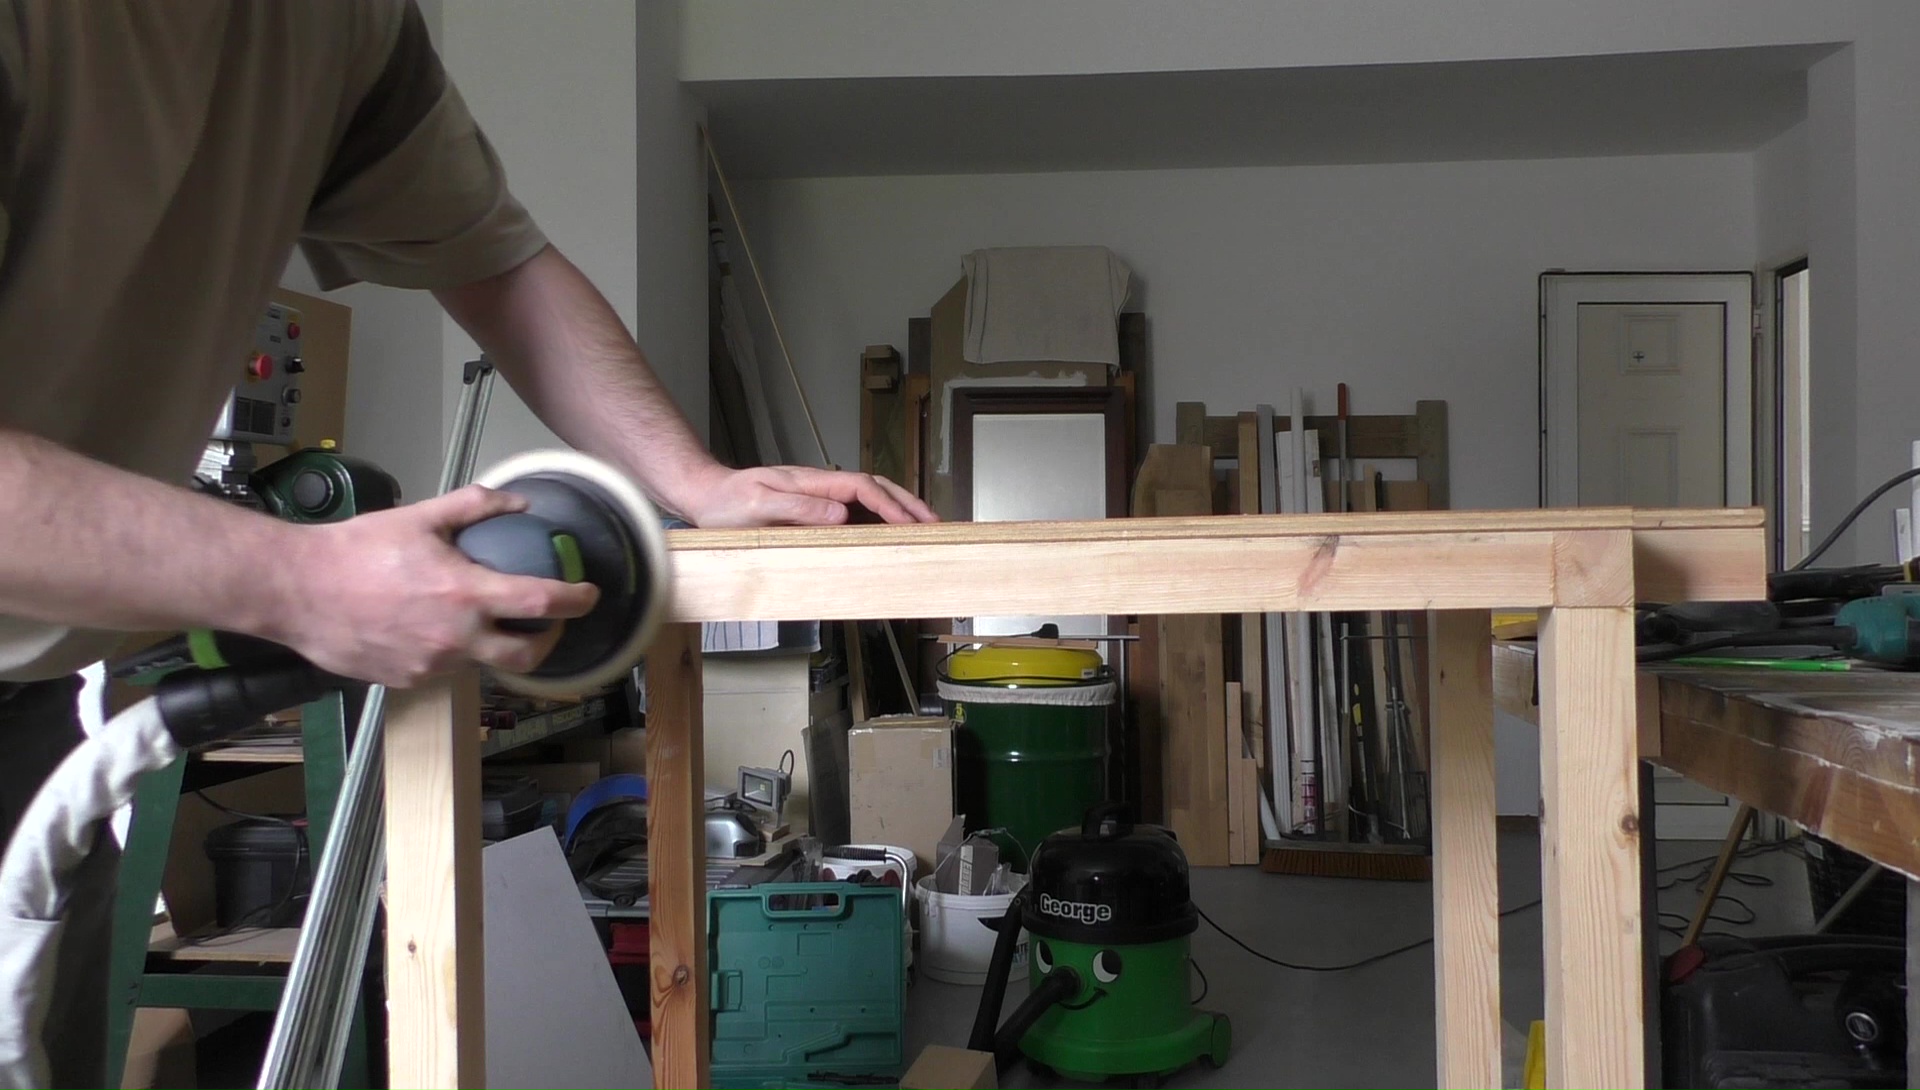
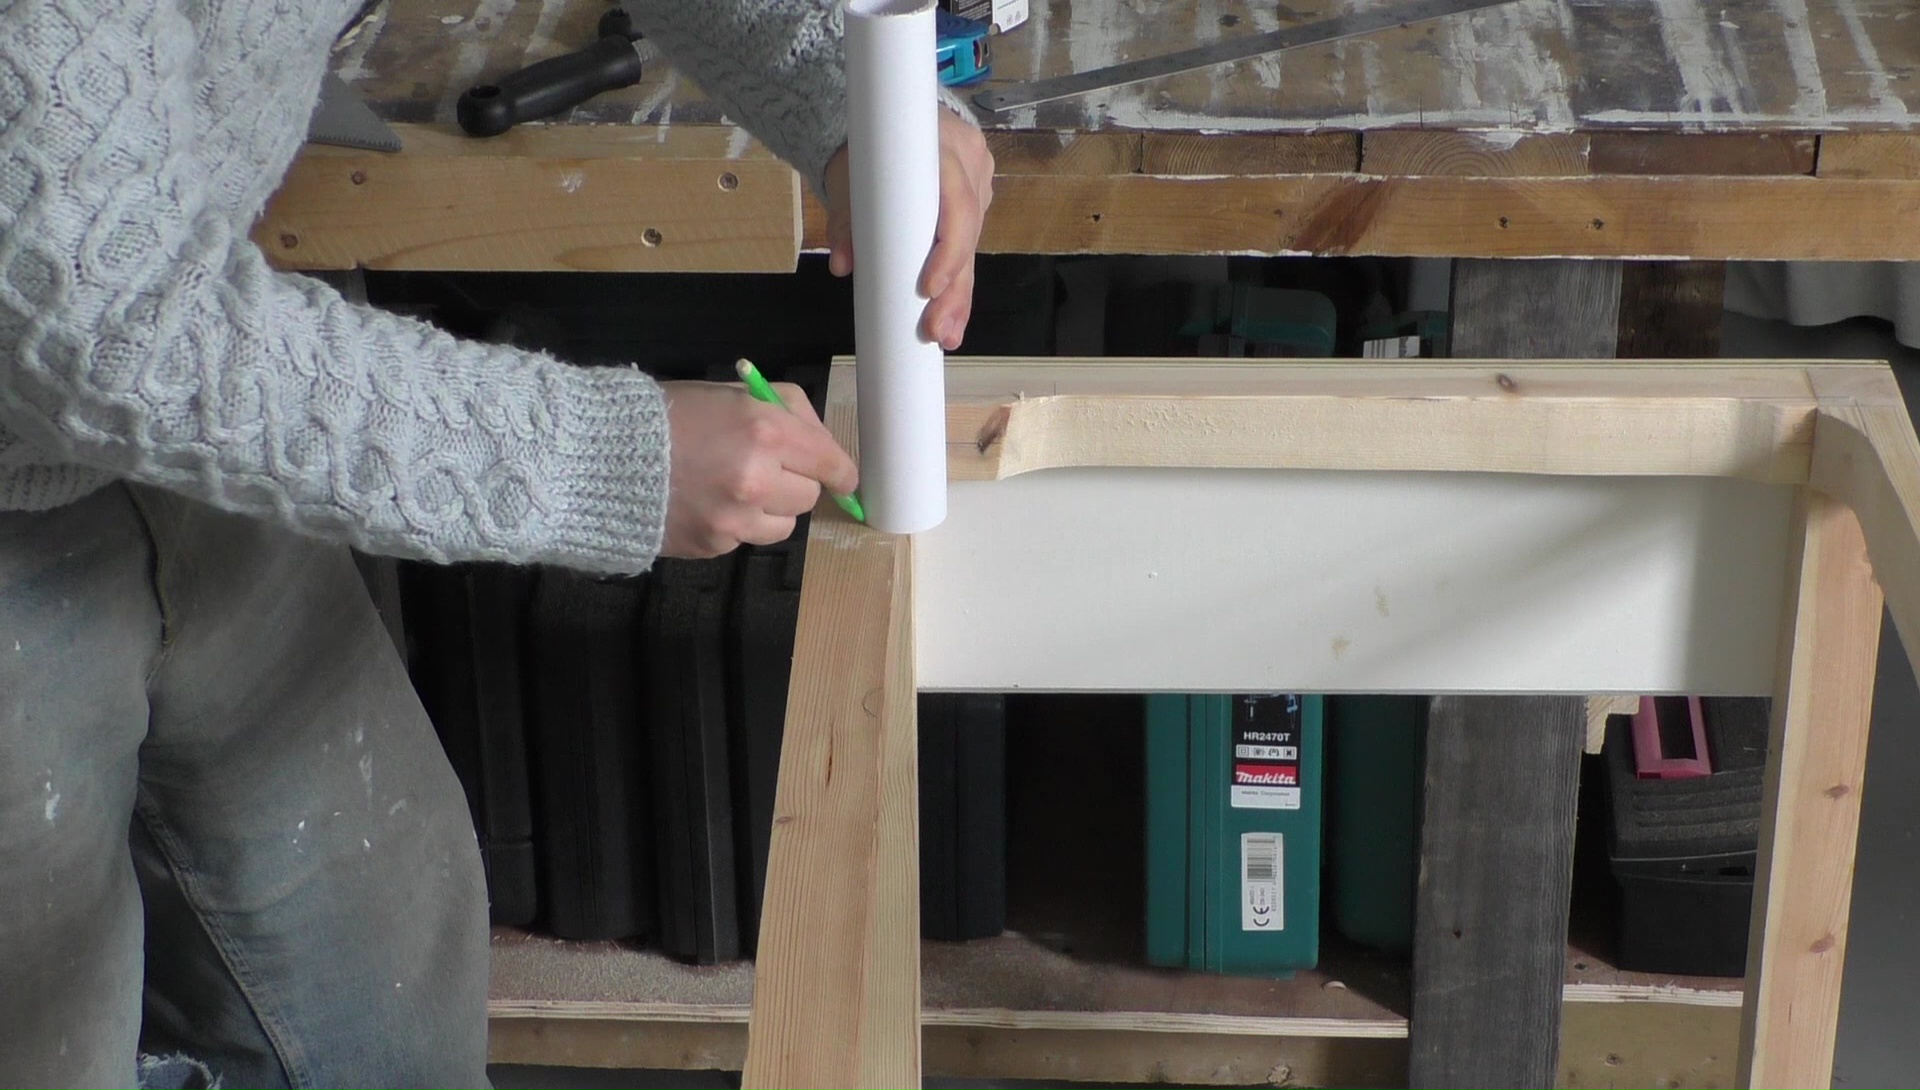
Cabinet Side
The right hand side of this cabinet will be blanked off as it’ll be open to the workshop. Right now it’s easy to just clamp the frame to the piece of ply I’ll be using as a side and draw around it as a template. I won’t actually be fitting this side right now as I have to temporarily plumb in the washing machine which would mean cutting unsightly holes in this panel, instead I’ll fit a temporary side just to support the sink. I went as far as drilling the attachment holes and sanding the face flush so when it comes time to fit this side it’ll be a five minute job.
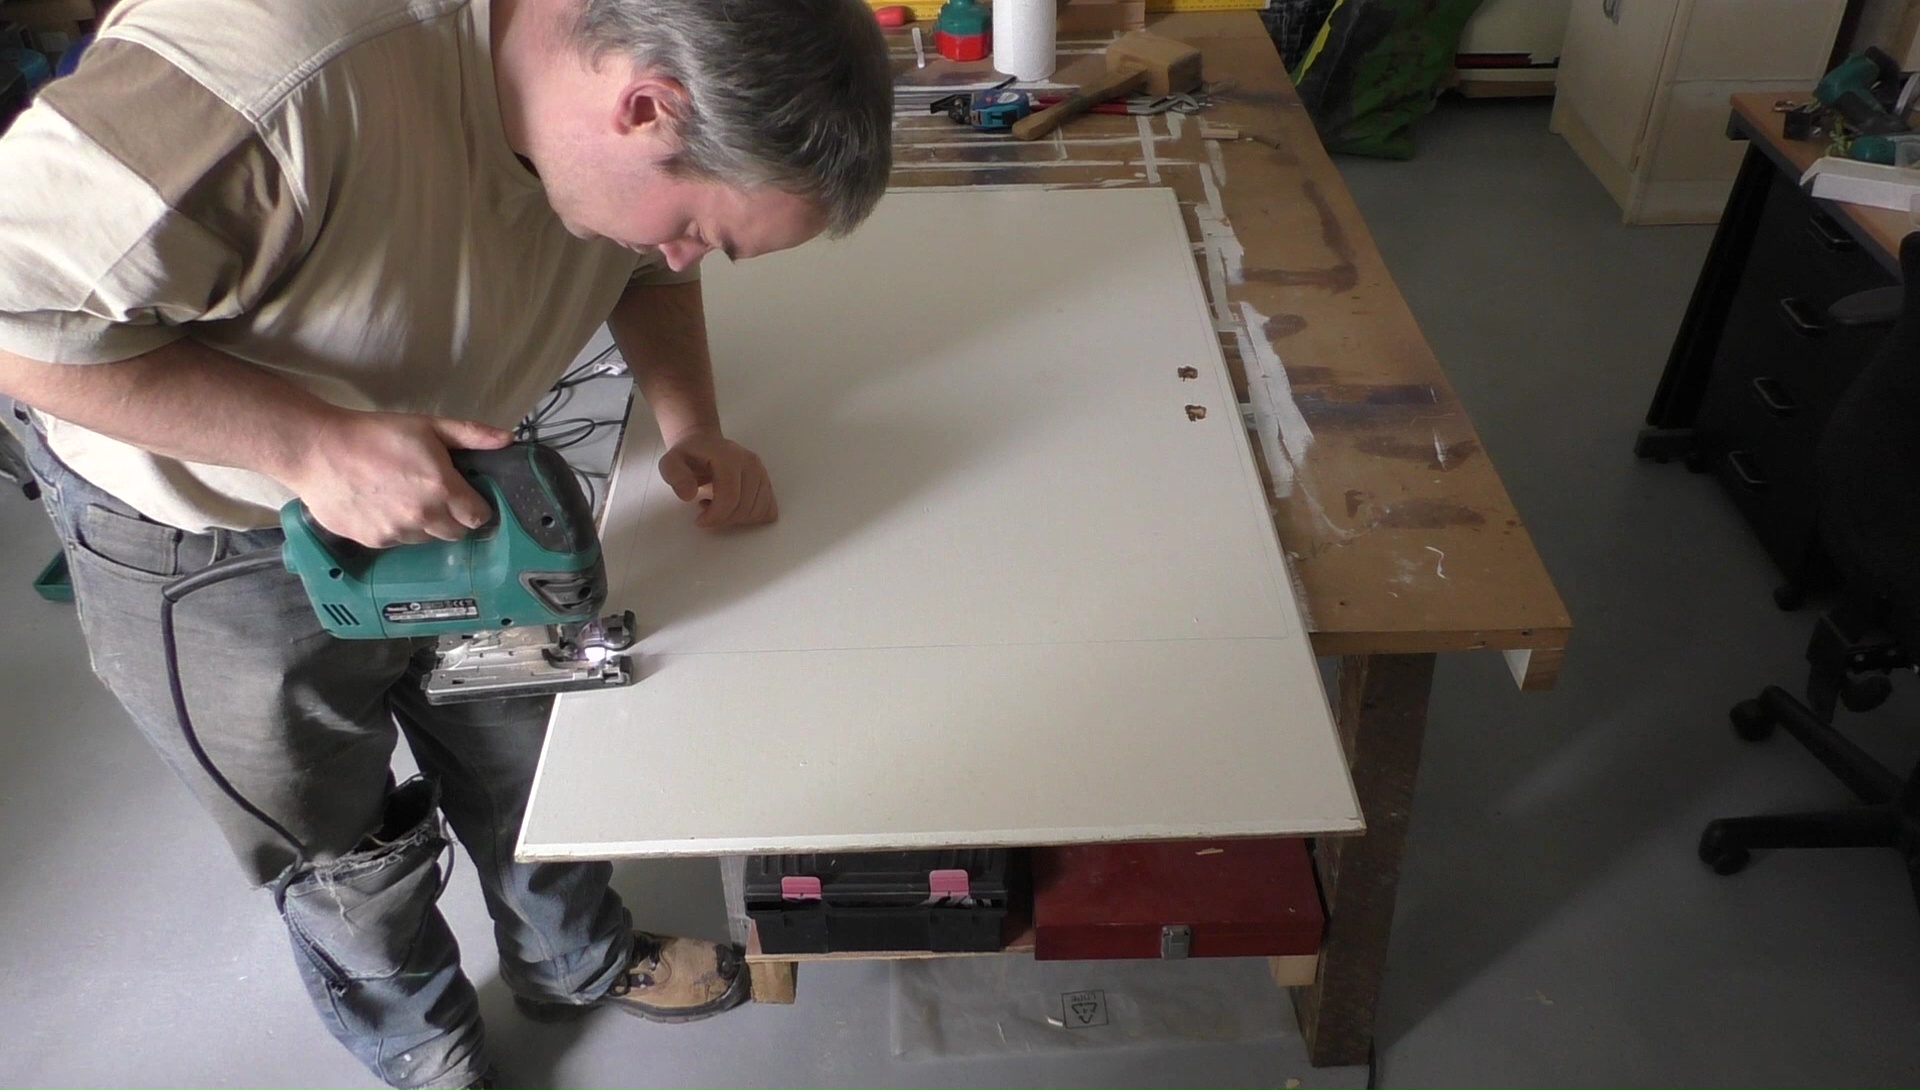
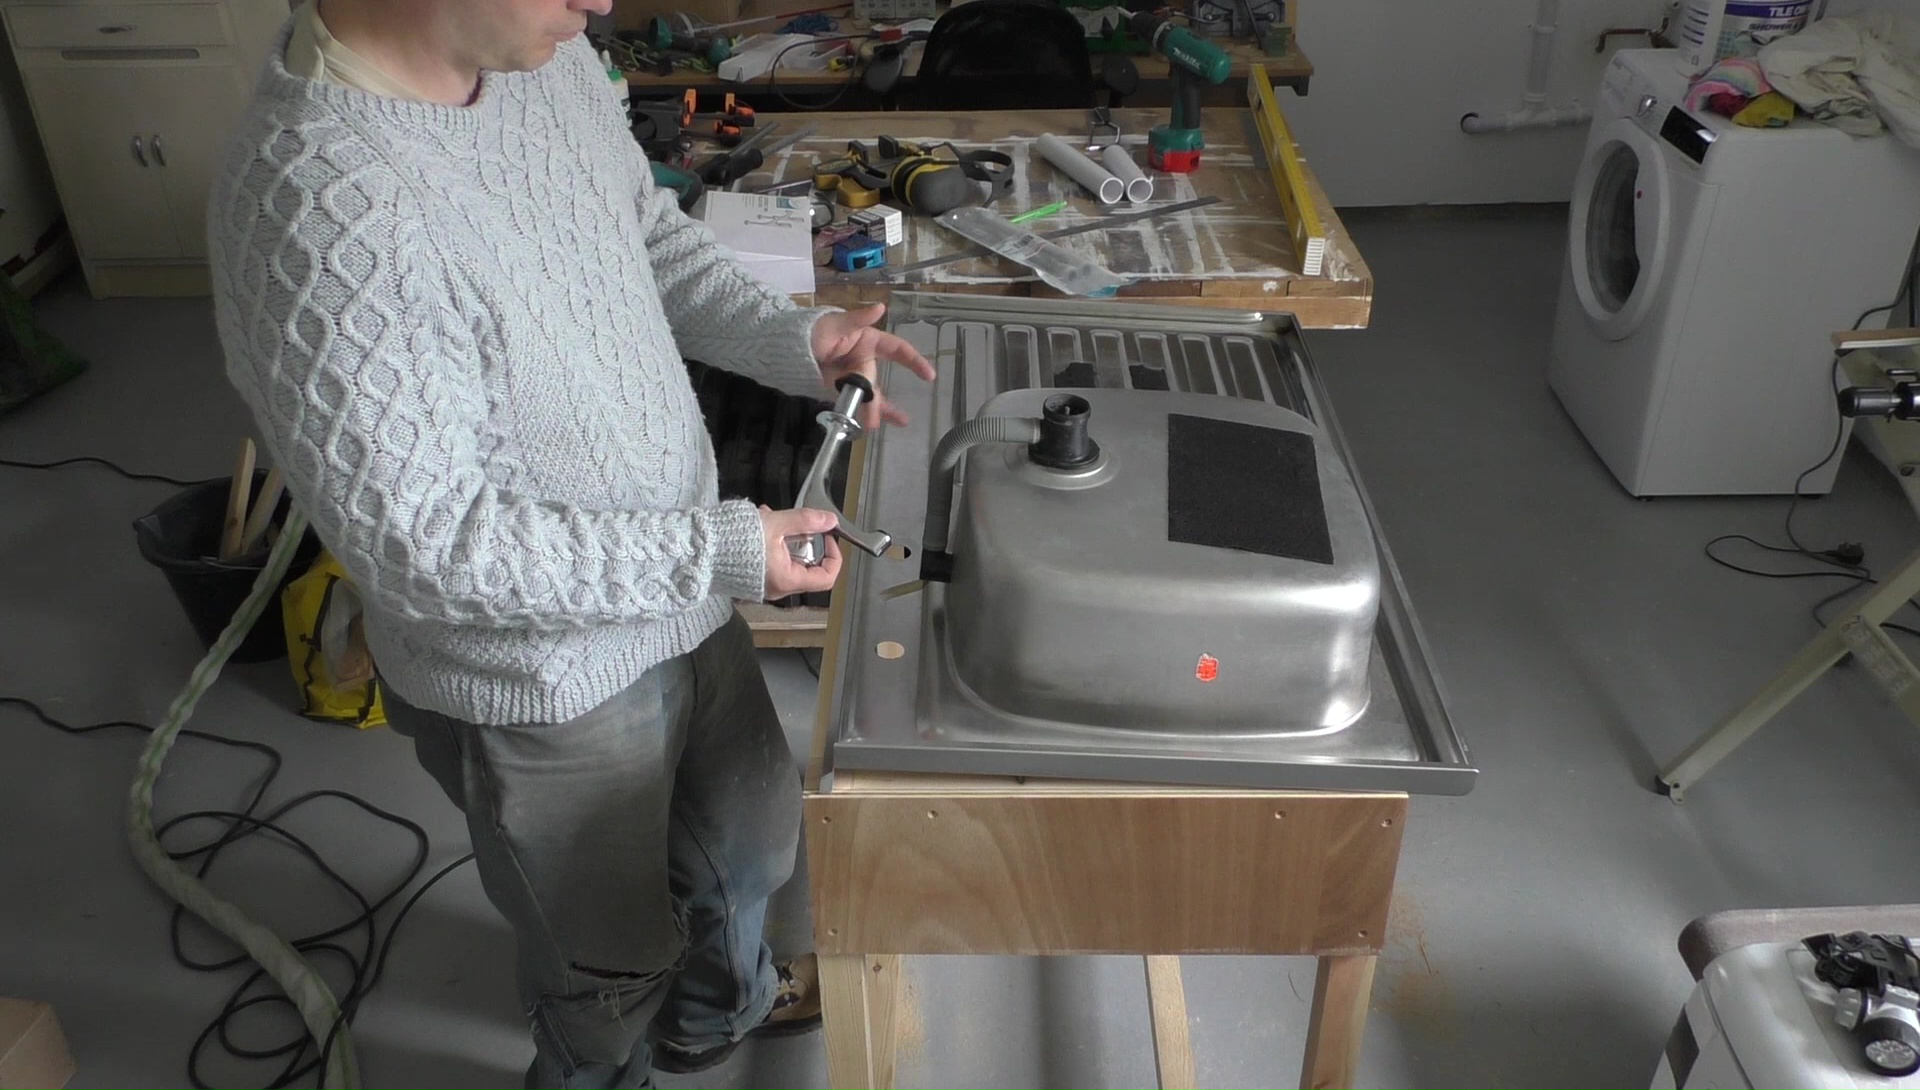
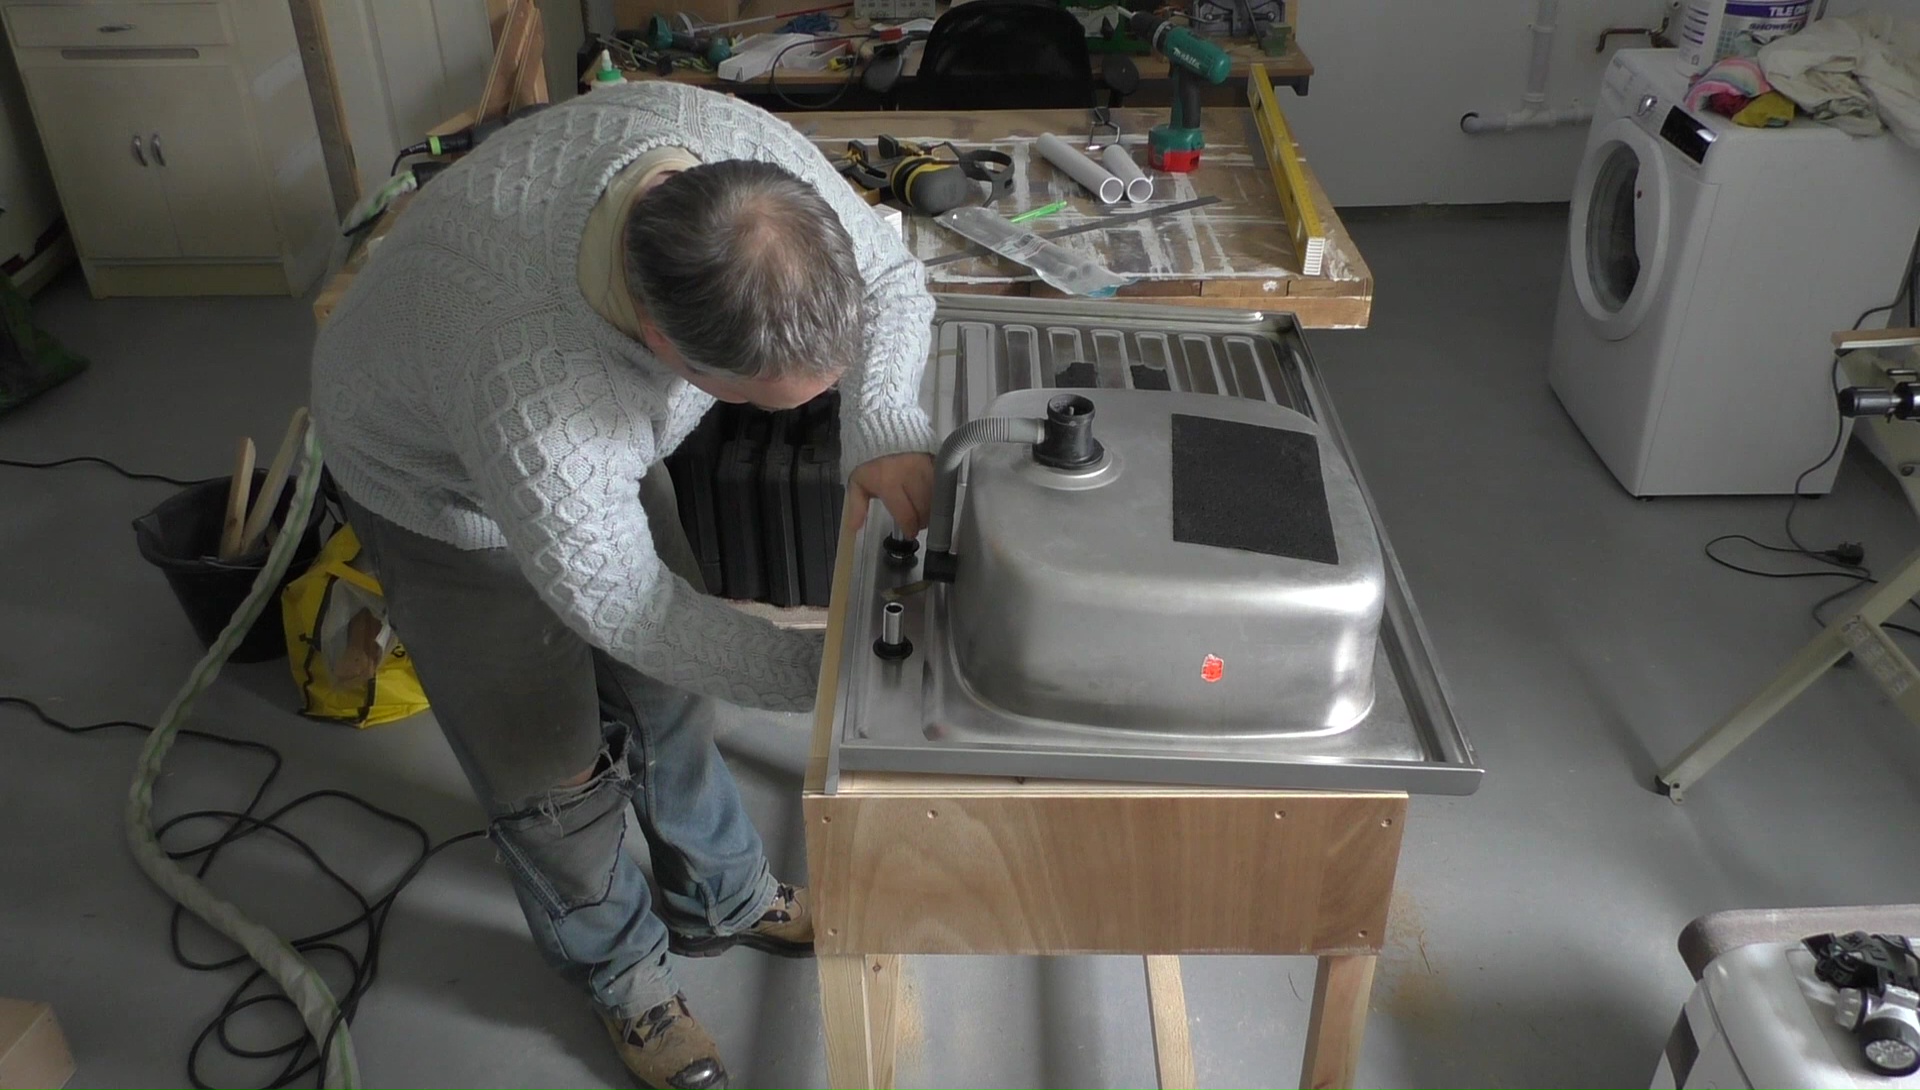
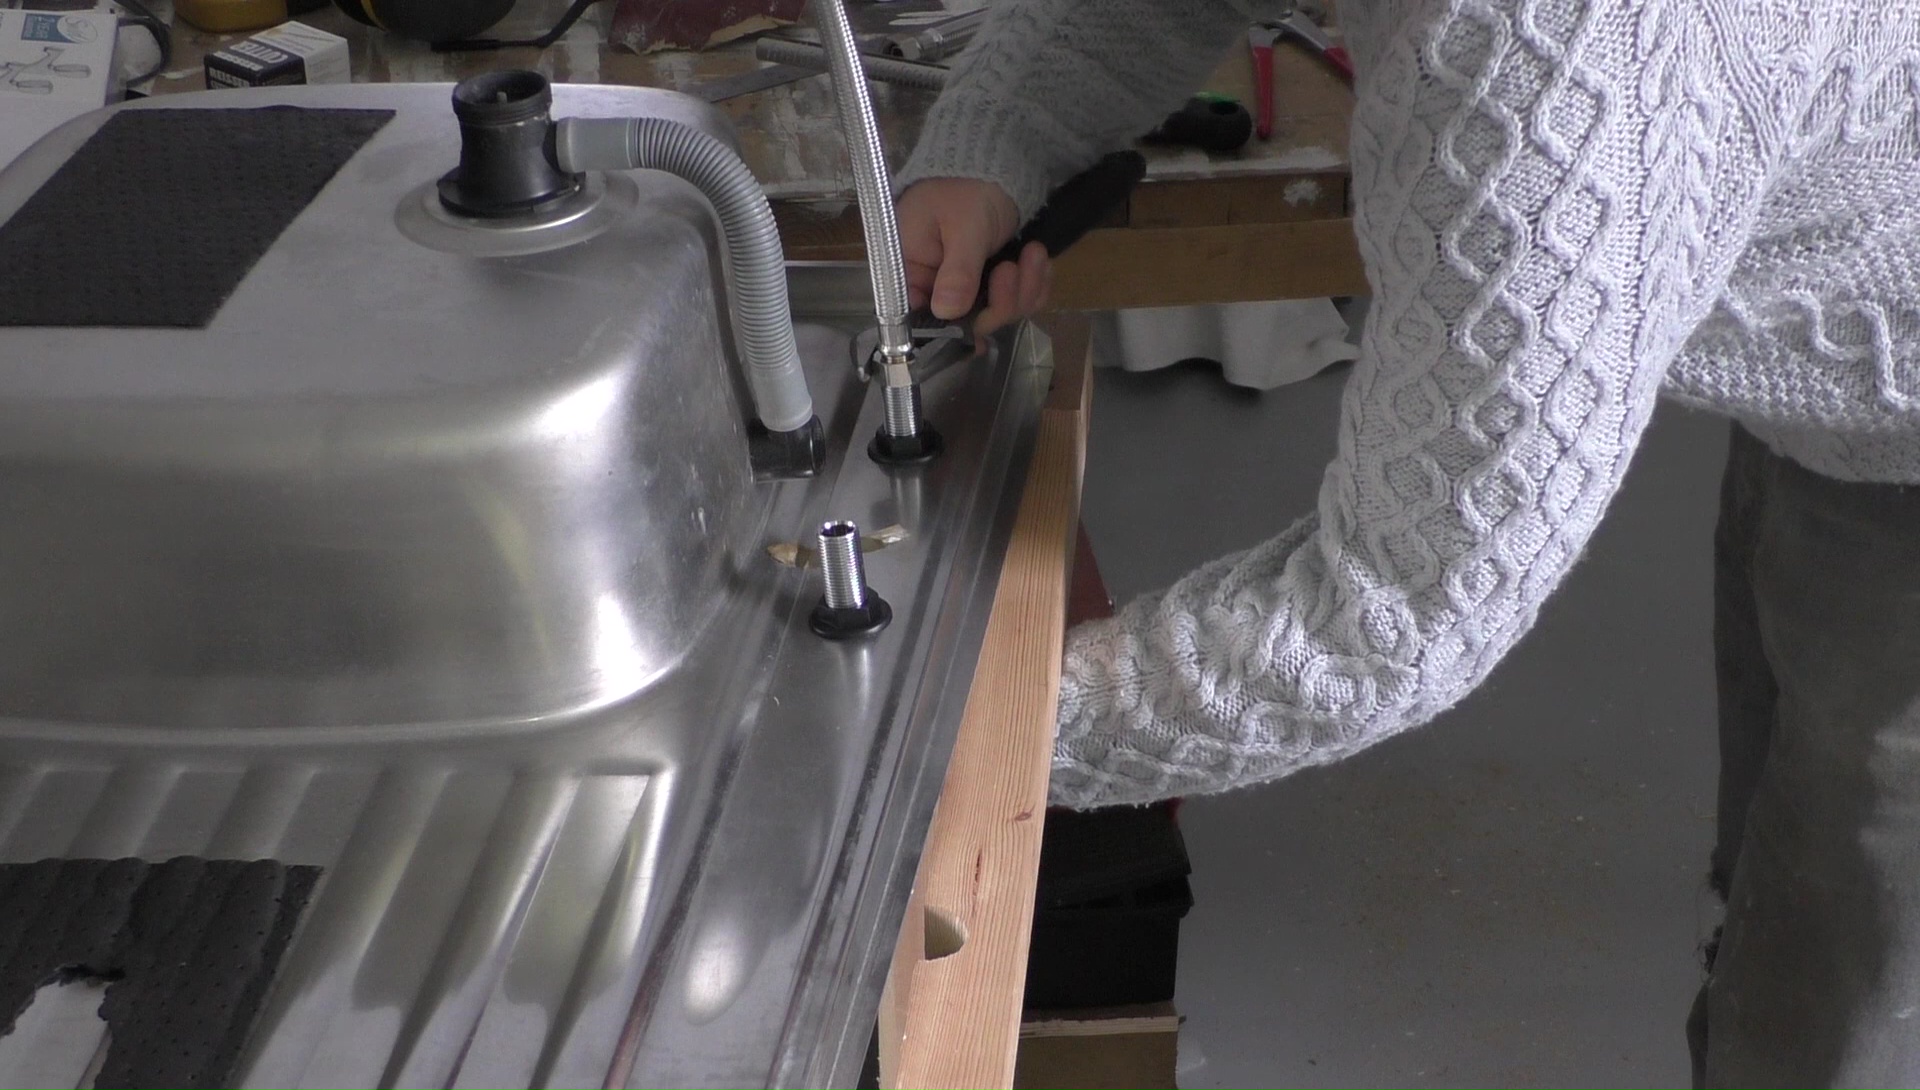
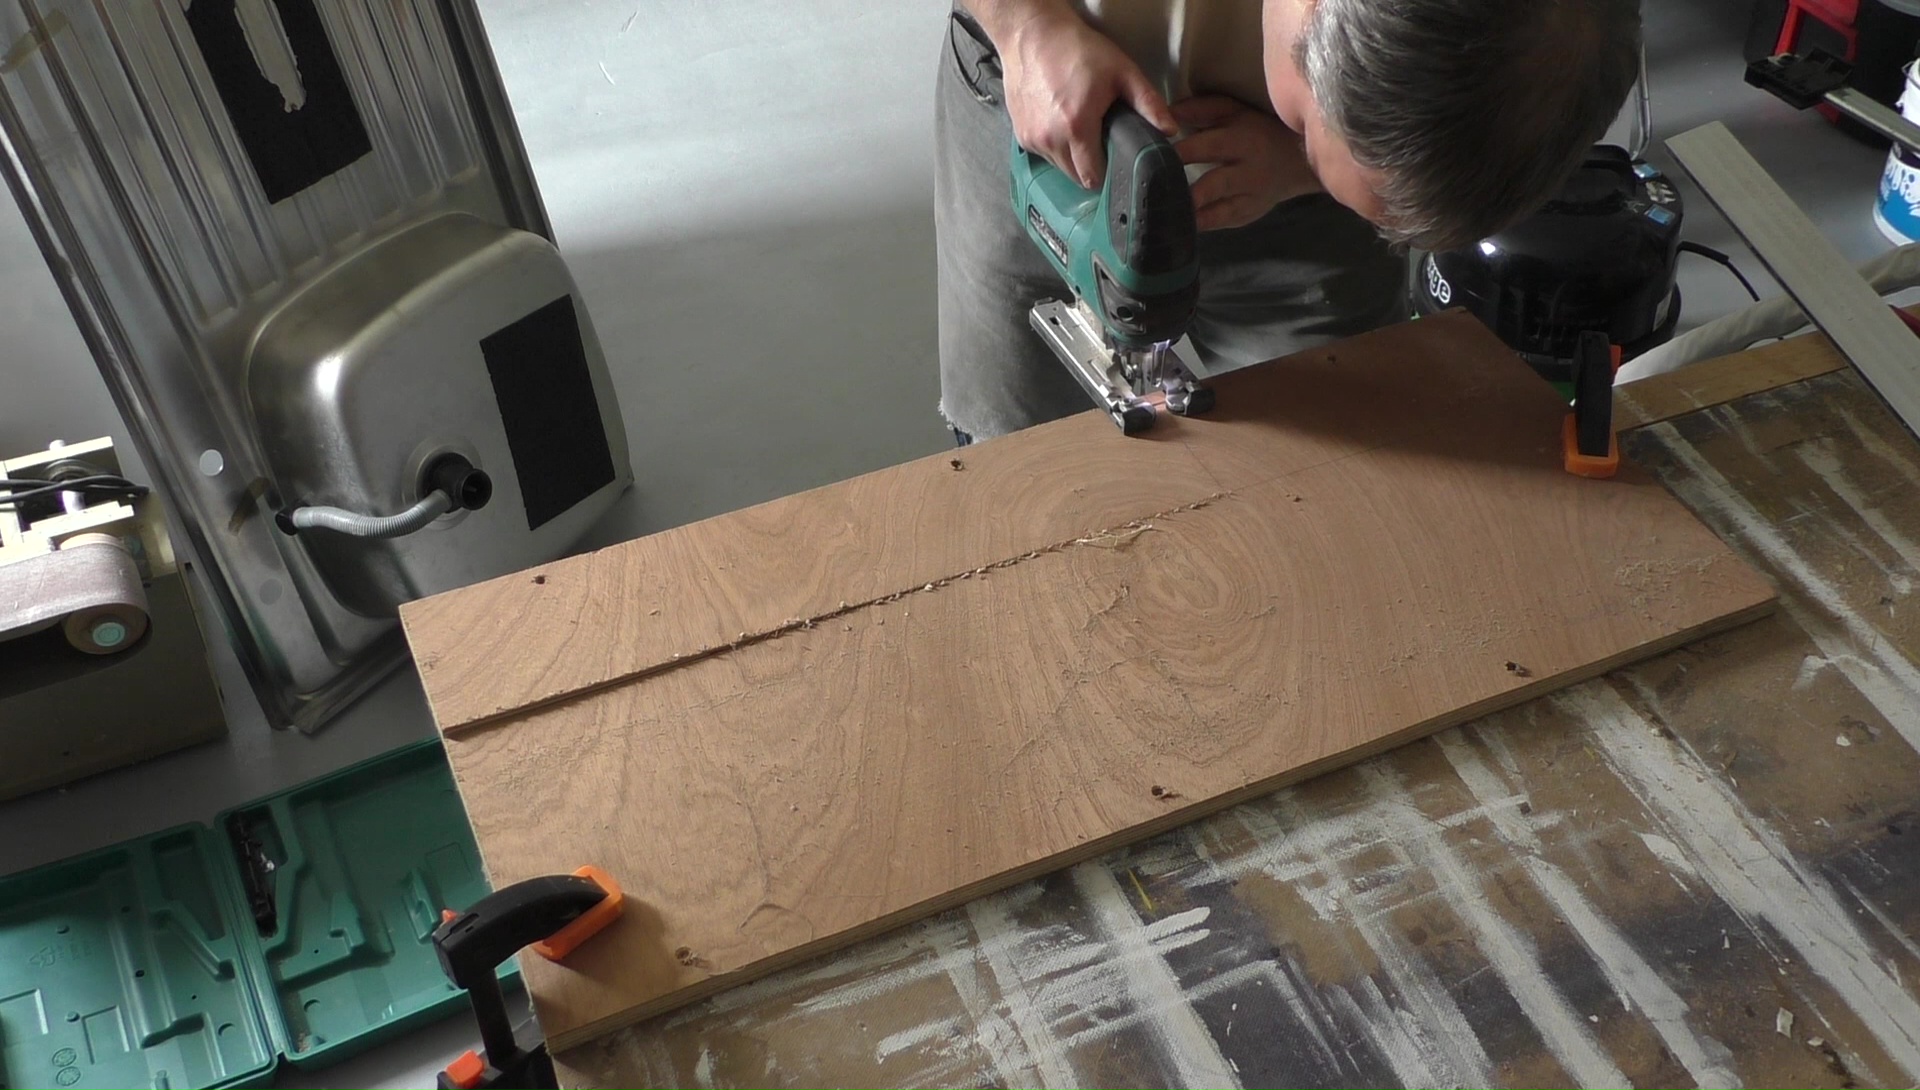
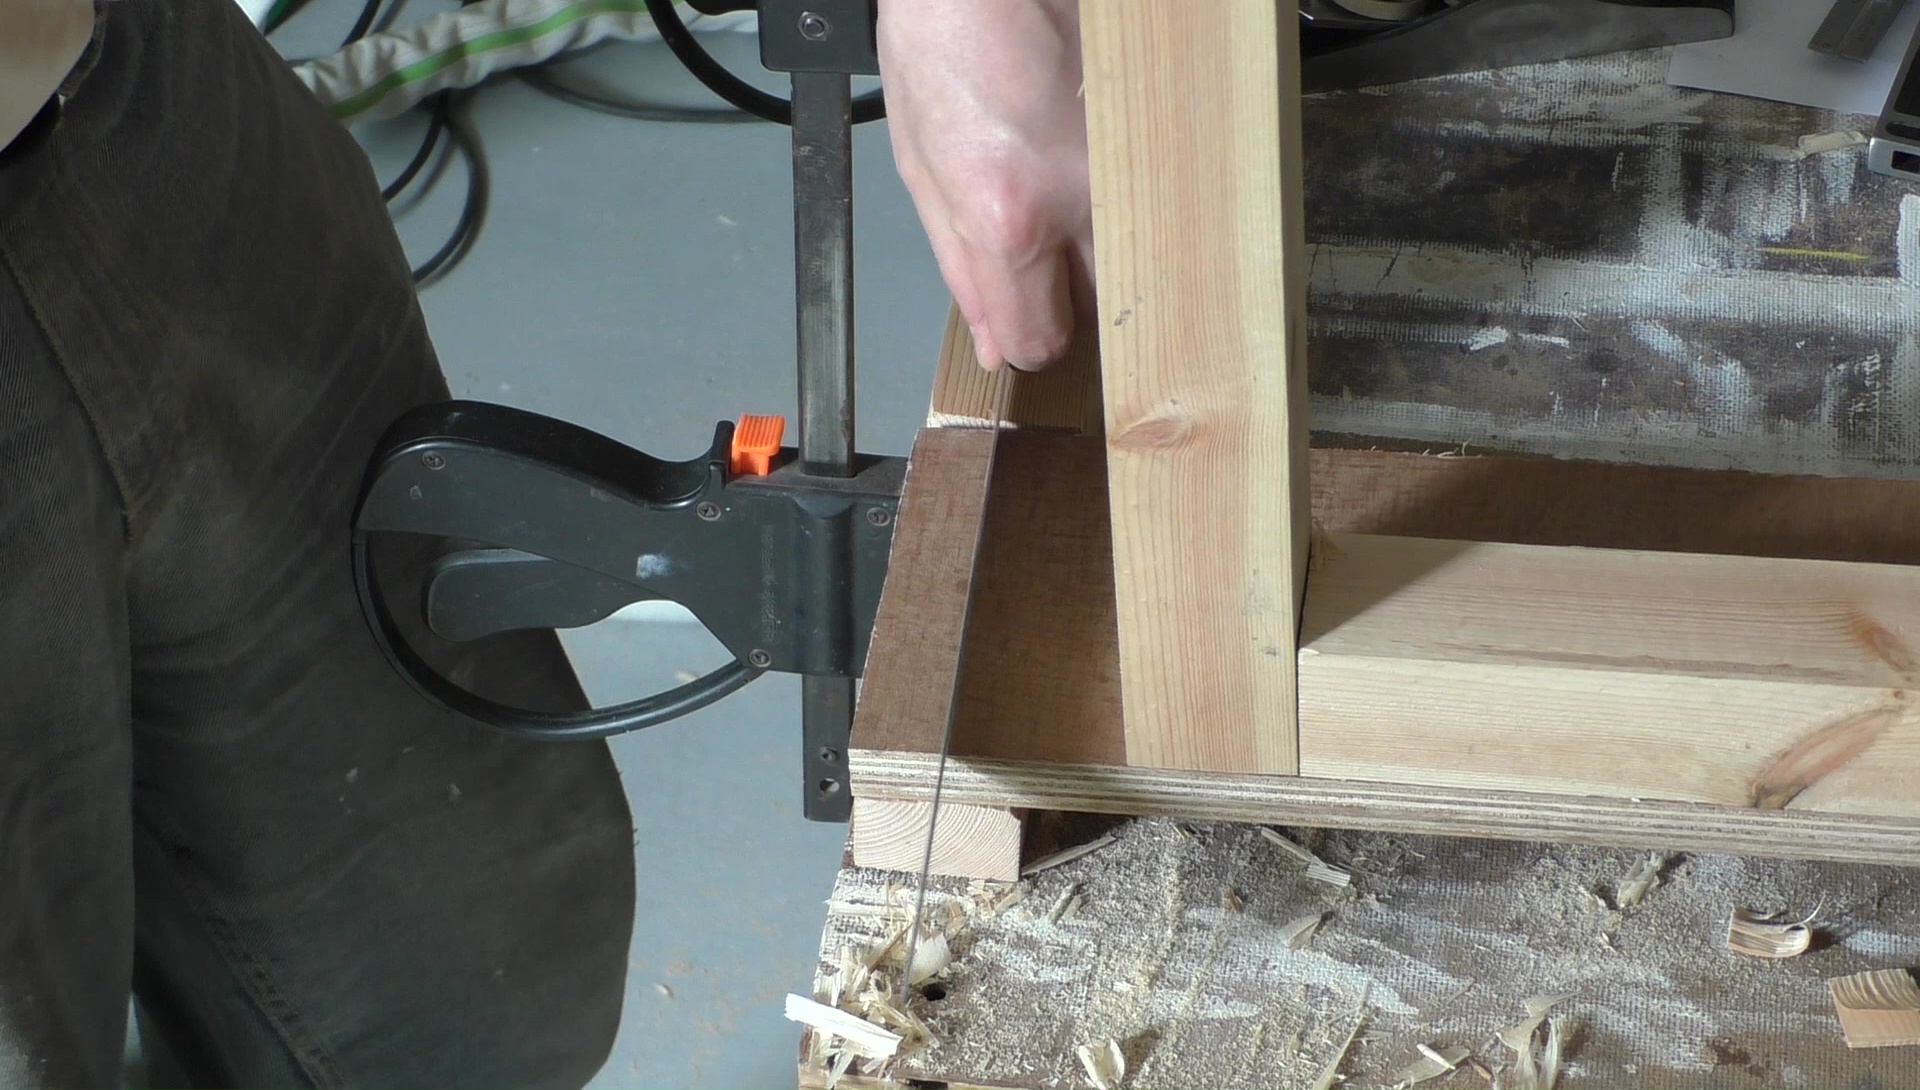
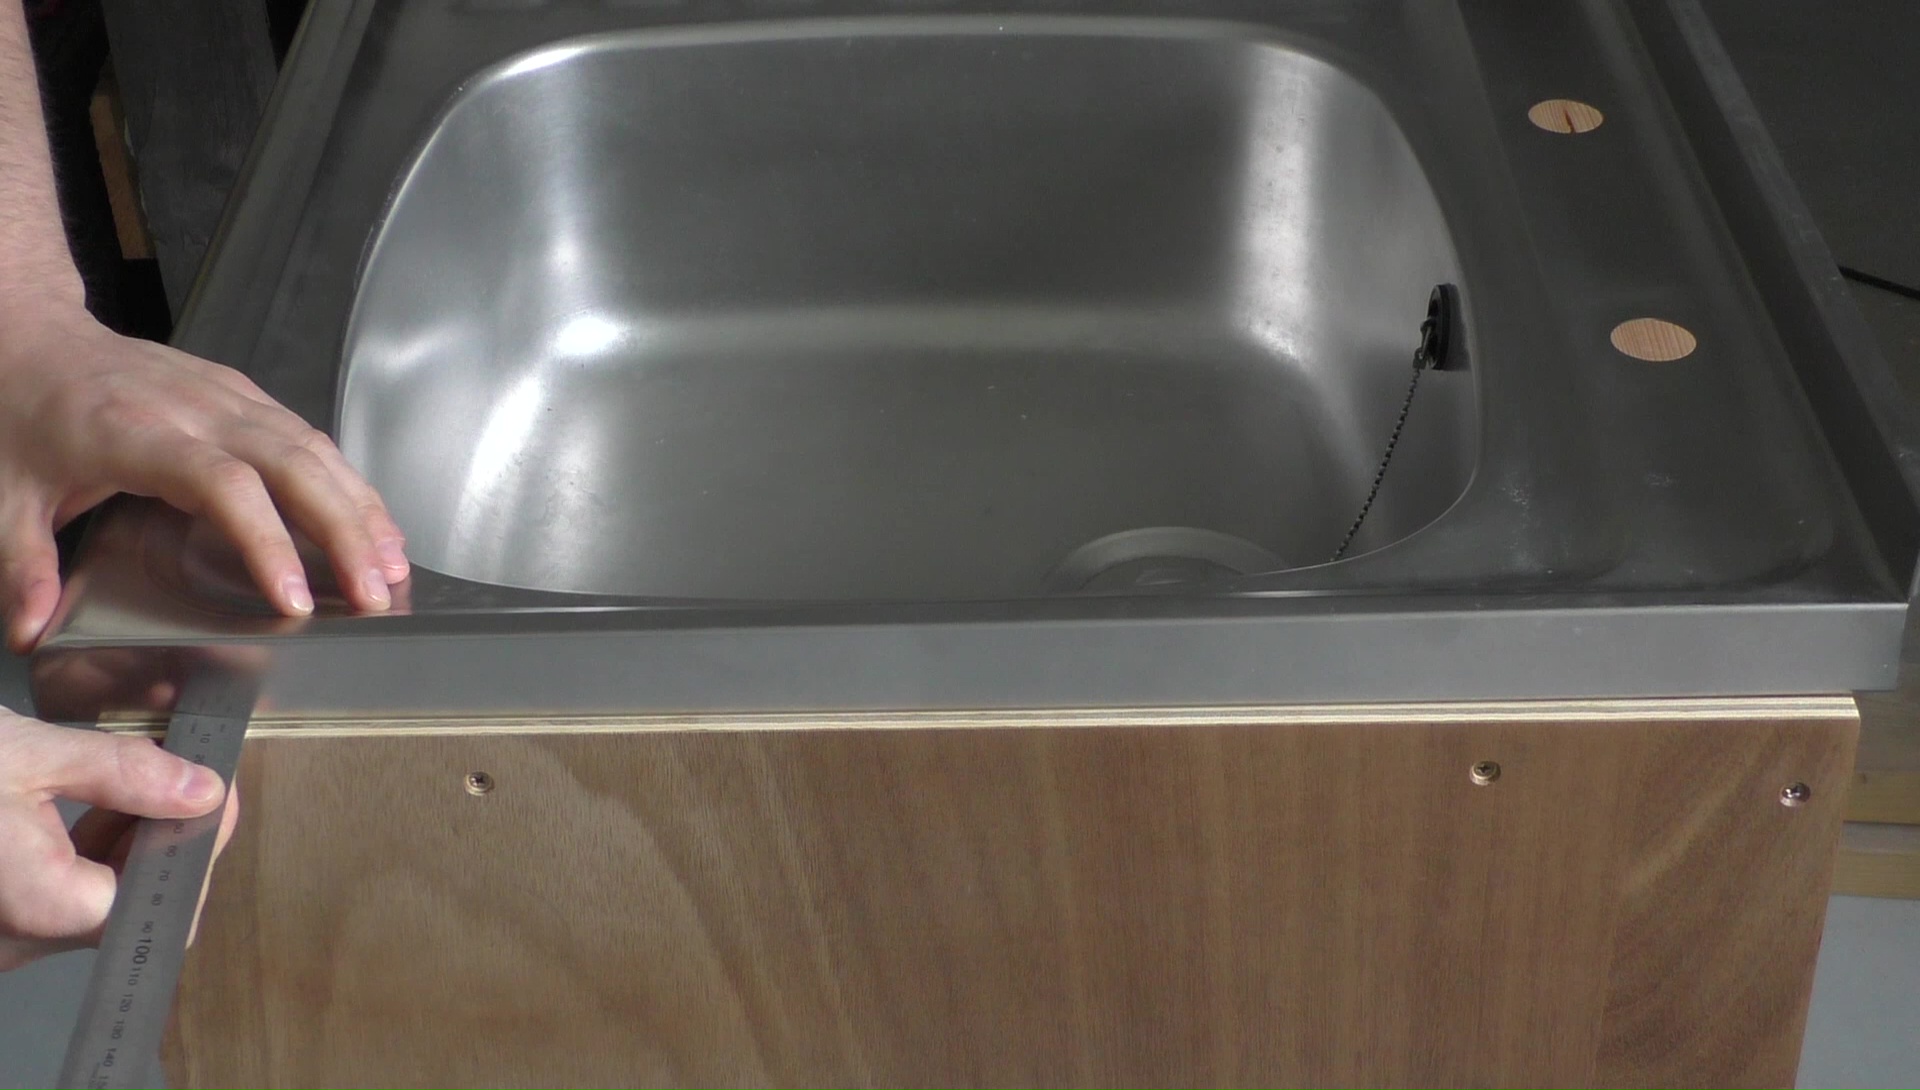
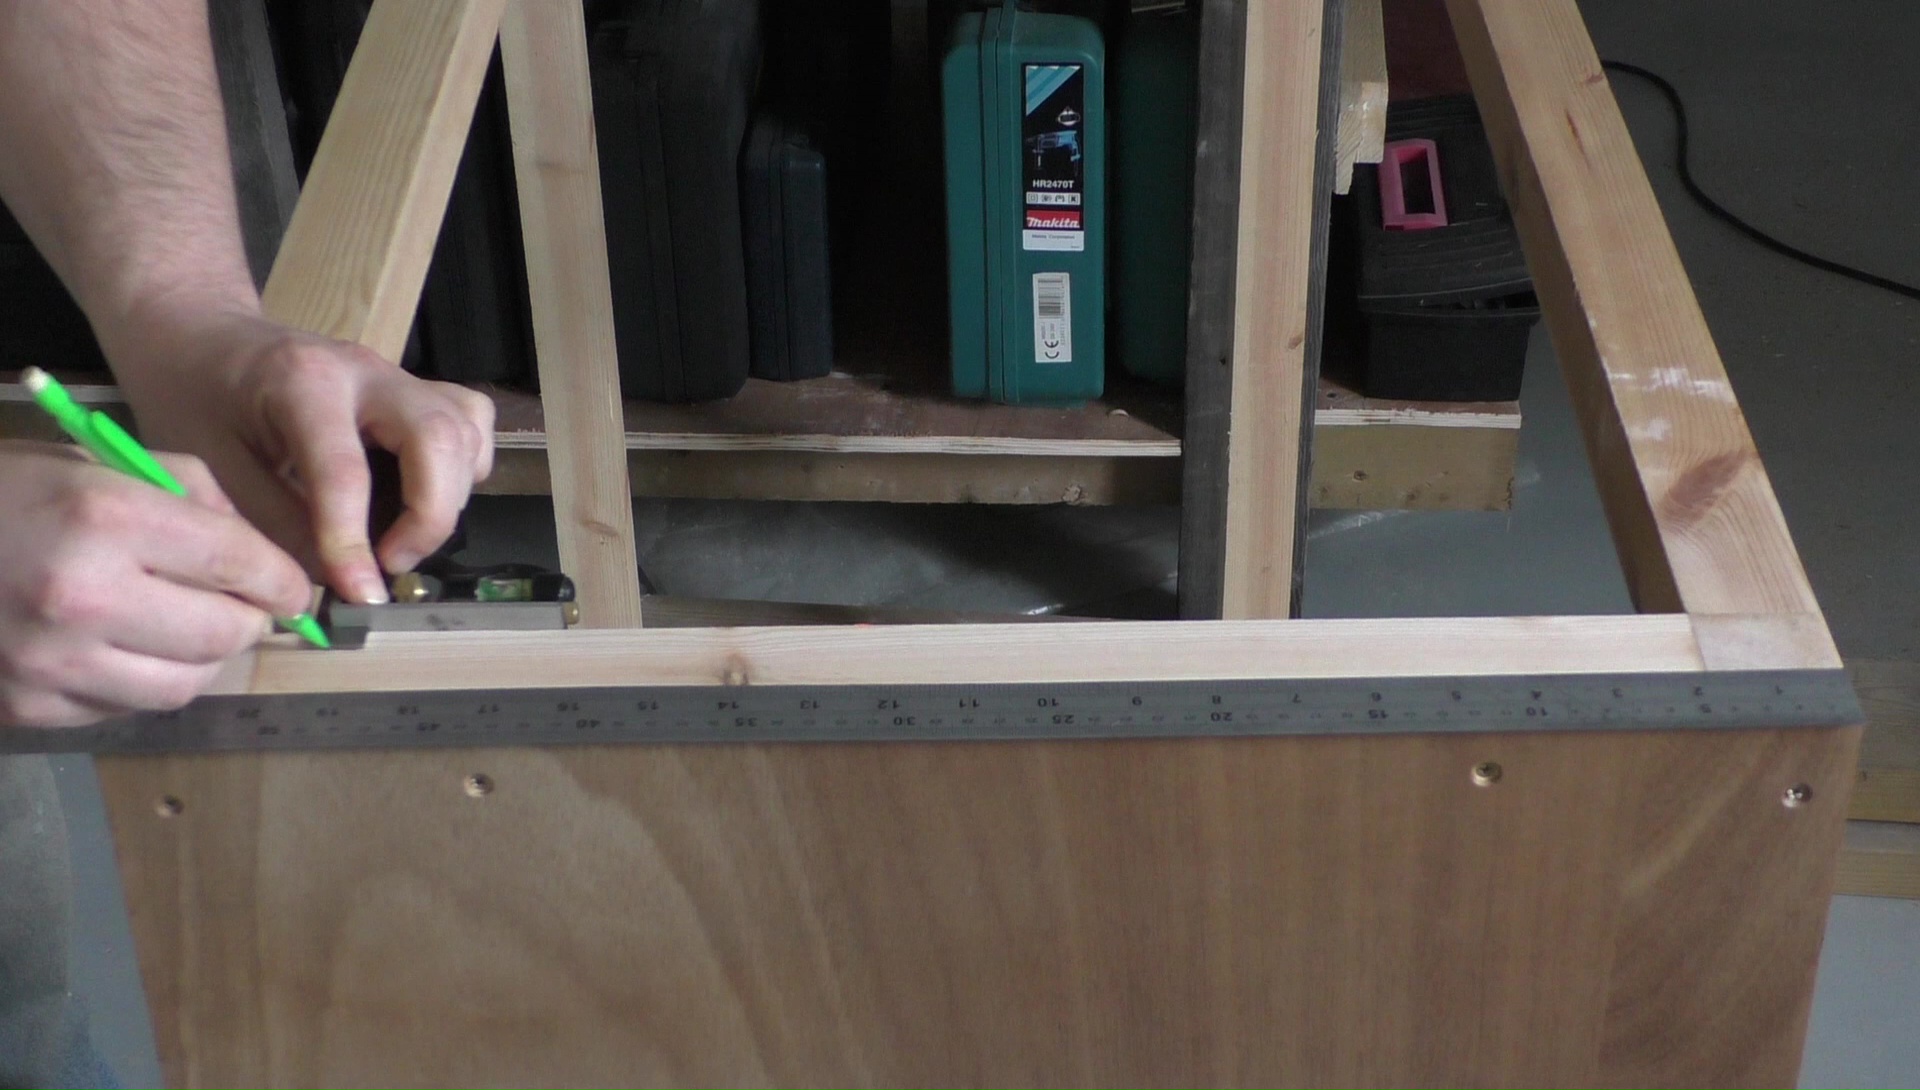
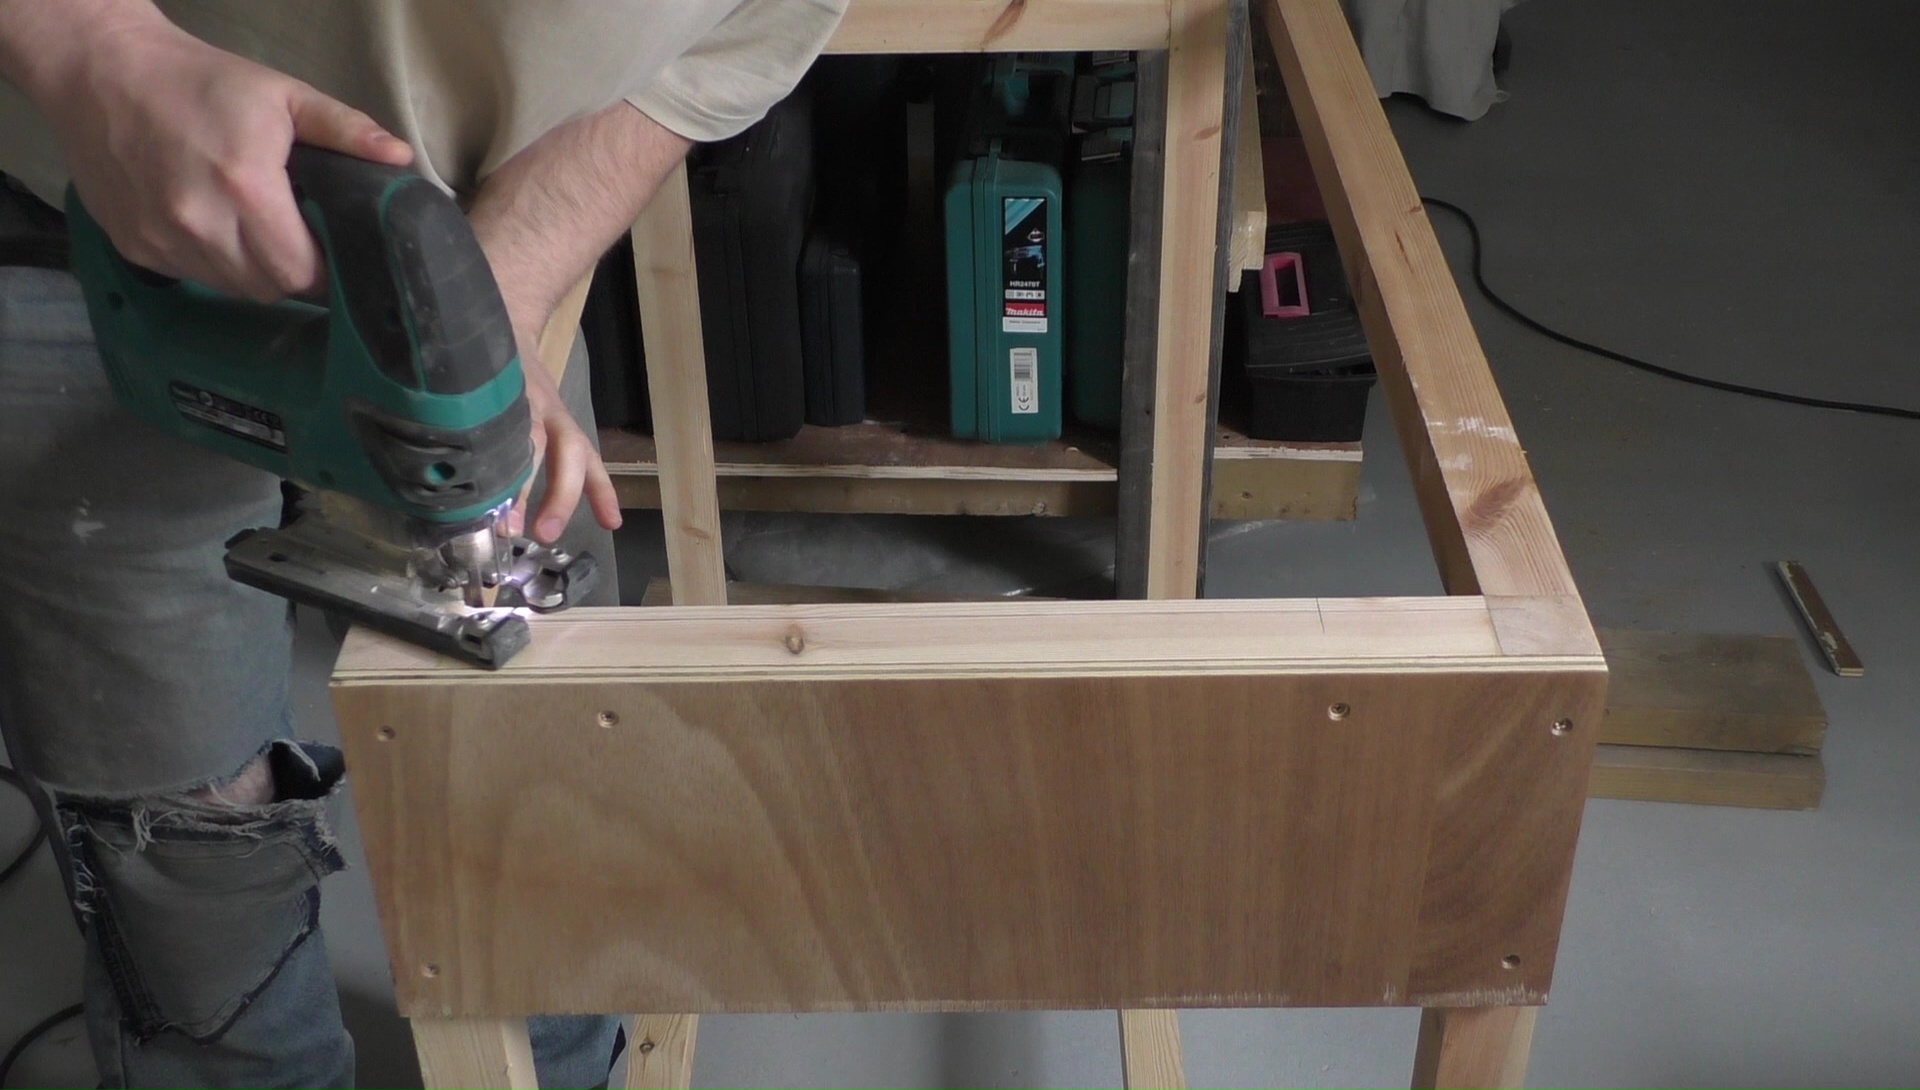
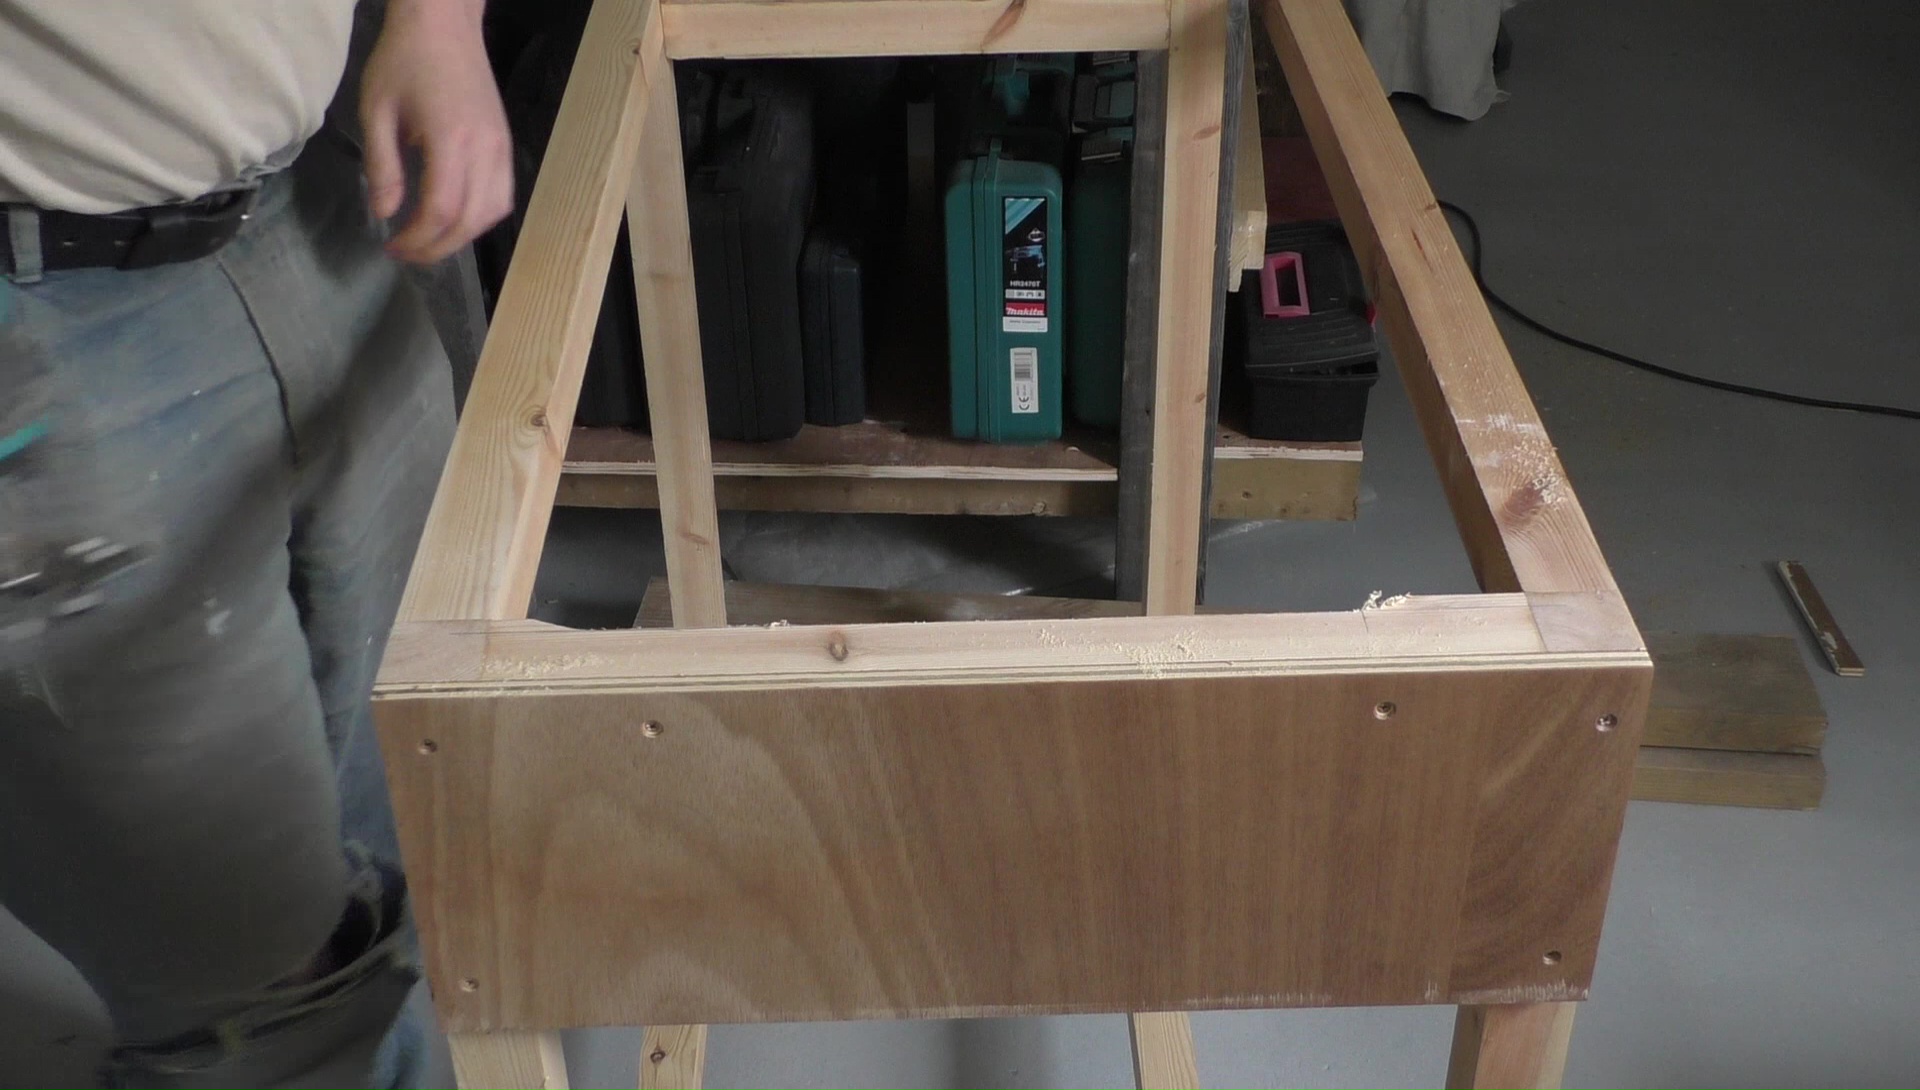
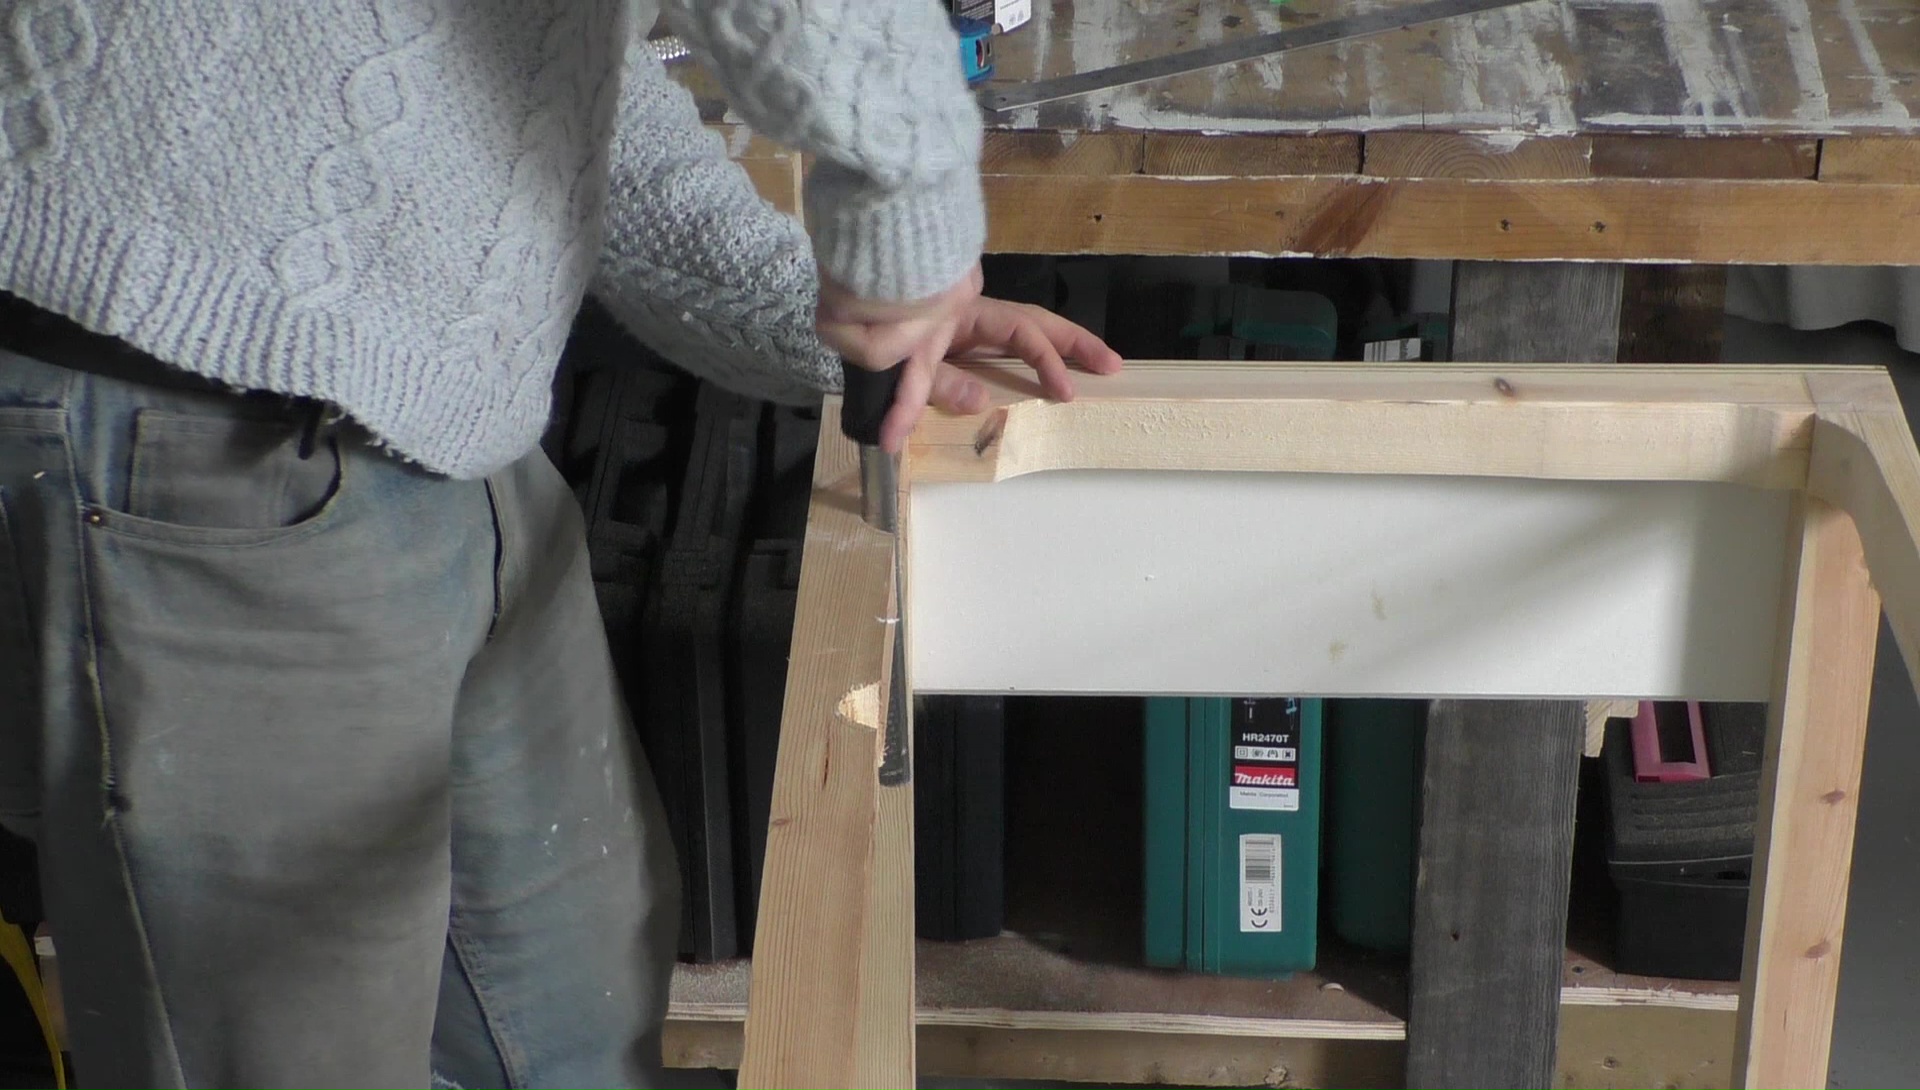
Fitting the Sink and Taps
Sinks are designed to fit in regular kitchen cabinets which have a side maybe 20mm thick. Since my cabinet is made from a frame with a side attached the sink doesn’t quite fit and a little of the top right rail will need to be removed. I laid the sink on the cabinet and then measured how much the sink was short of being flush with the side. That distance was transferred to the inside of the rail and it was cut out with a jigsaw. There is a similar problem with the taps and the back rails which I fixed the same way.

Finishing Up
To finish up this project I’m adding a couple of cheap taps, there’s little point in buying nice taps for a workshop as they’ll just get covered in plaint and glue. At some point in the future I’ll be adding shelves to the inside of the cabinet and a face frame with doors to the front, that’s a job for another time though.