In part one of this short series on repairing a window sill I showed you how to remove the rotten wood from the window. In part two I’ll begin the repair work by adding new wood and shaping a new piece of sill.
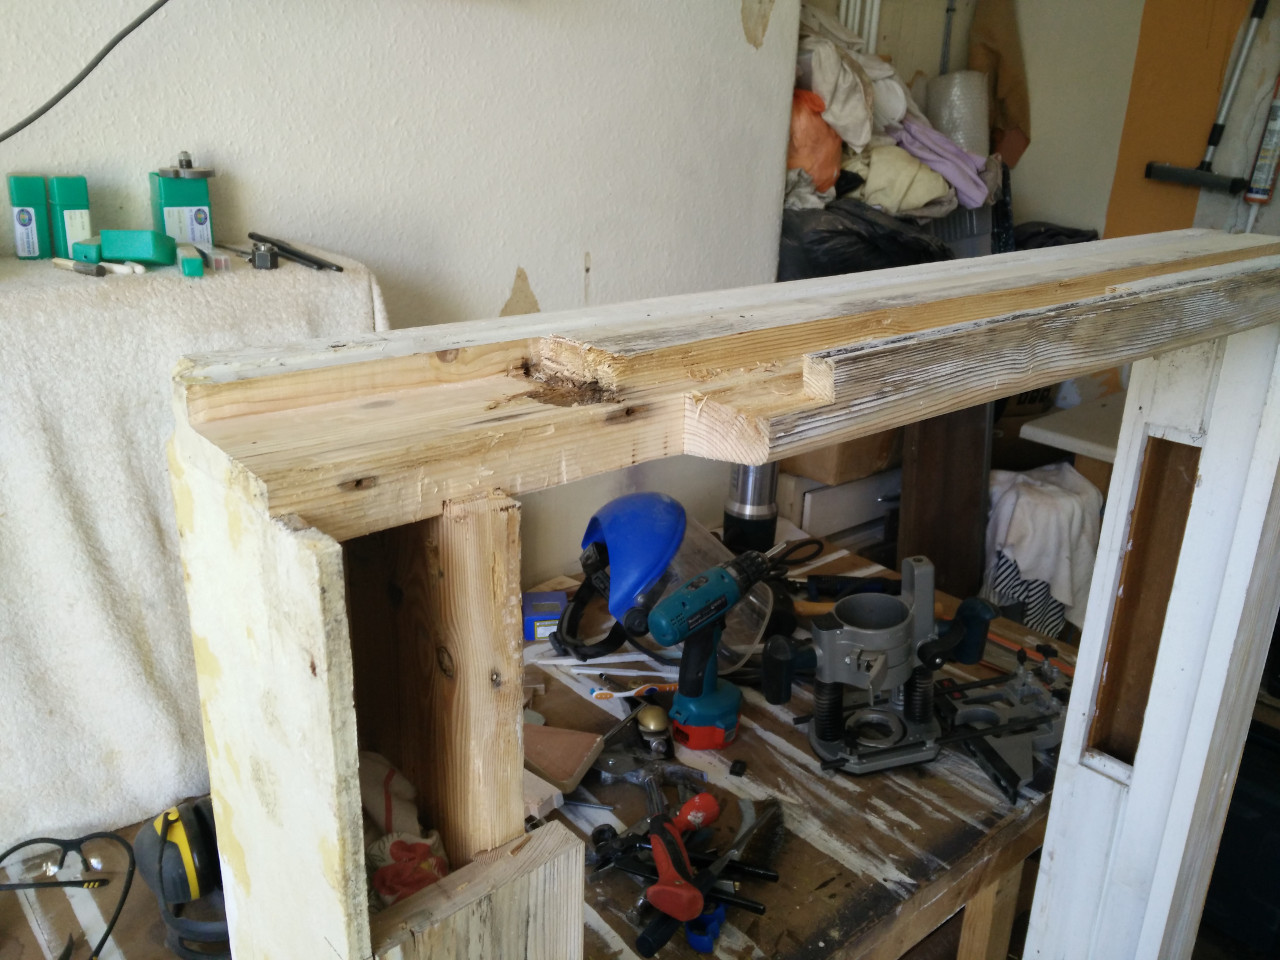
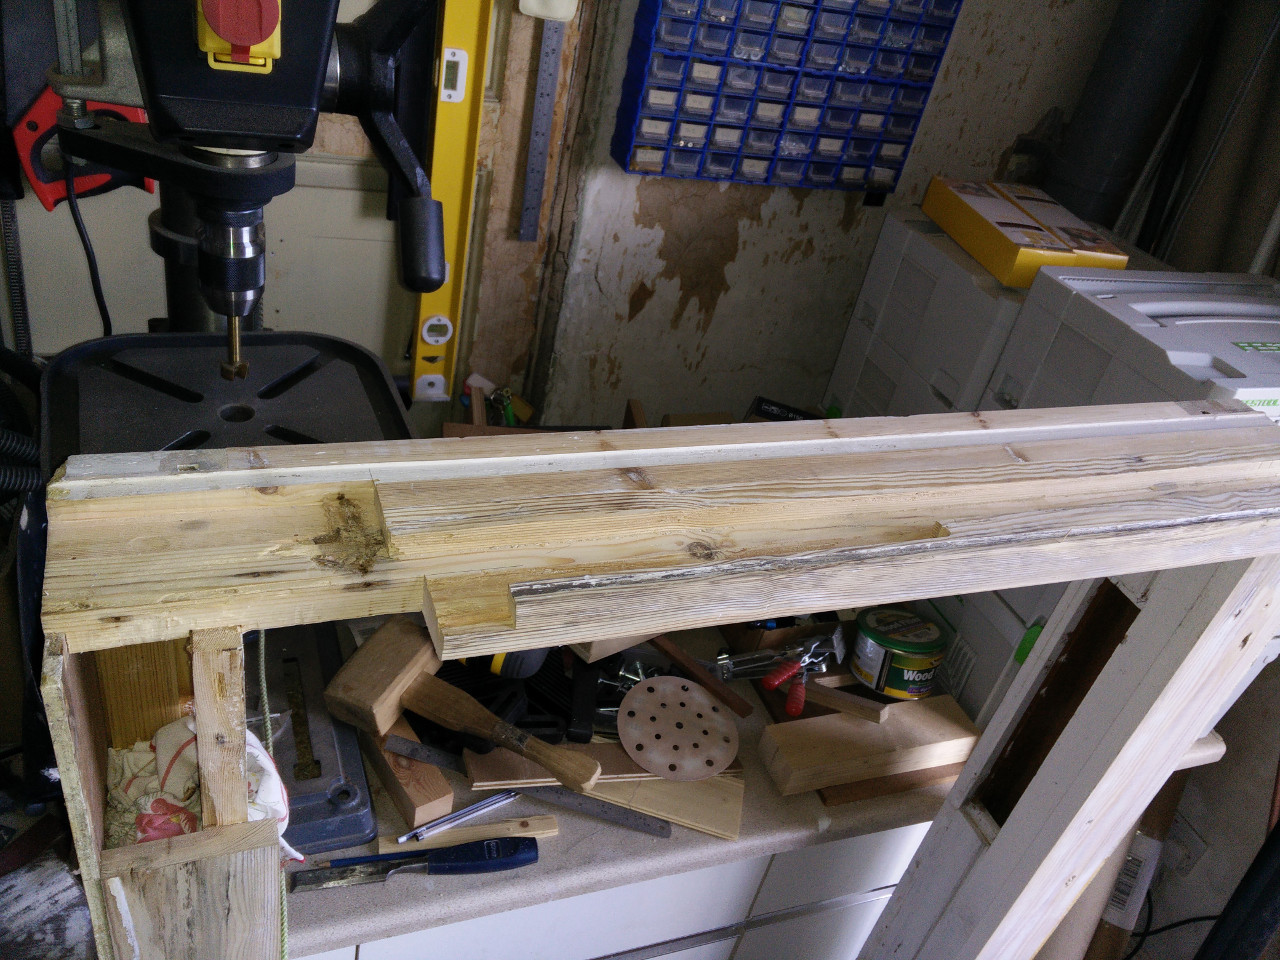
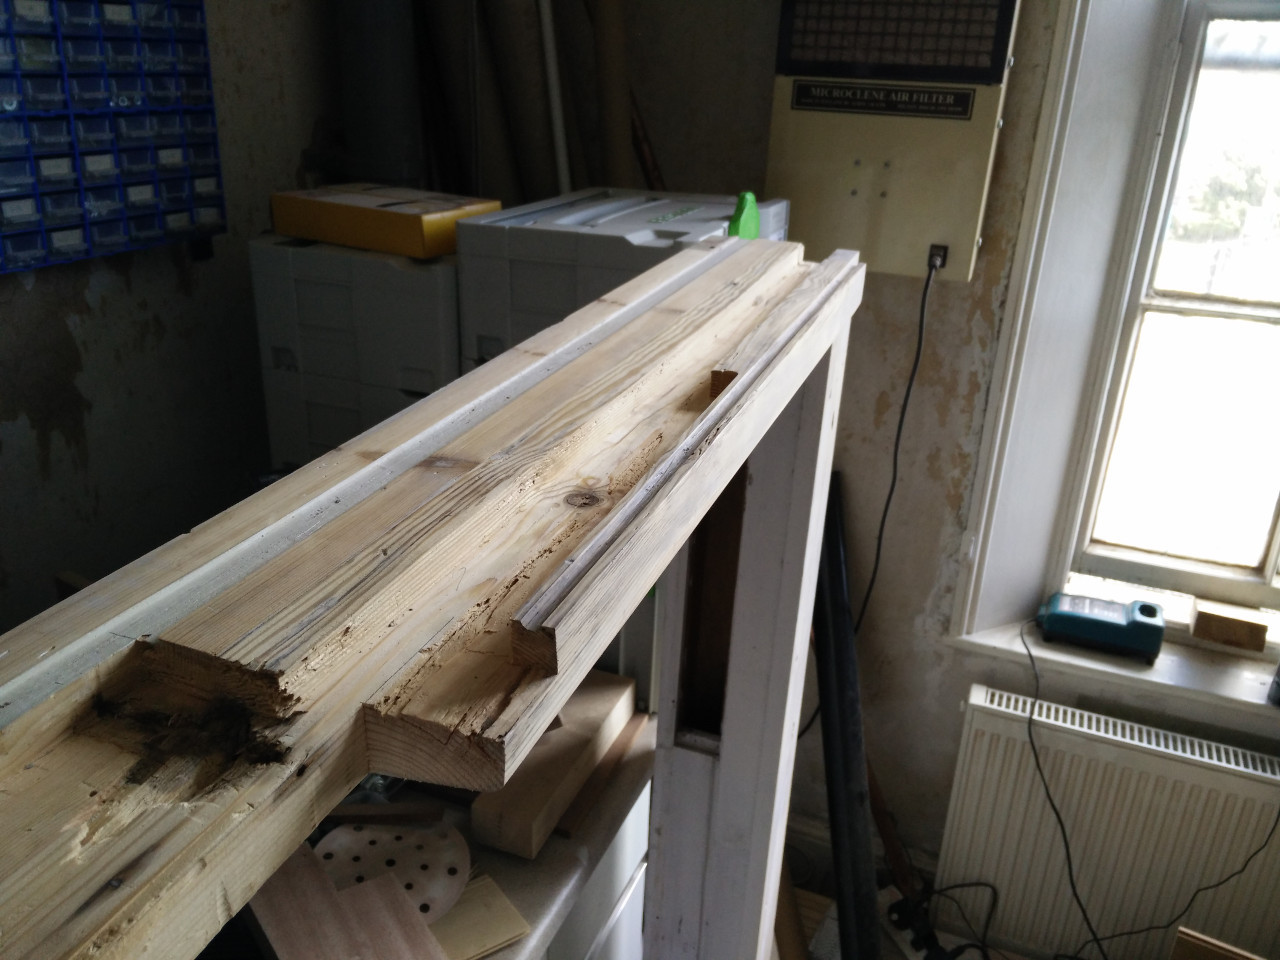
To quickly recap here’s a shot of where I’d got to. I’ve done a little more cleaning up to try and ensure the area that I’m repairing is as flat as possible. Making it flat makes it easier to glue to later on and uses less glue.
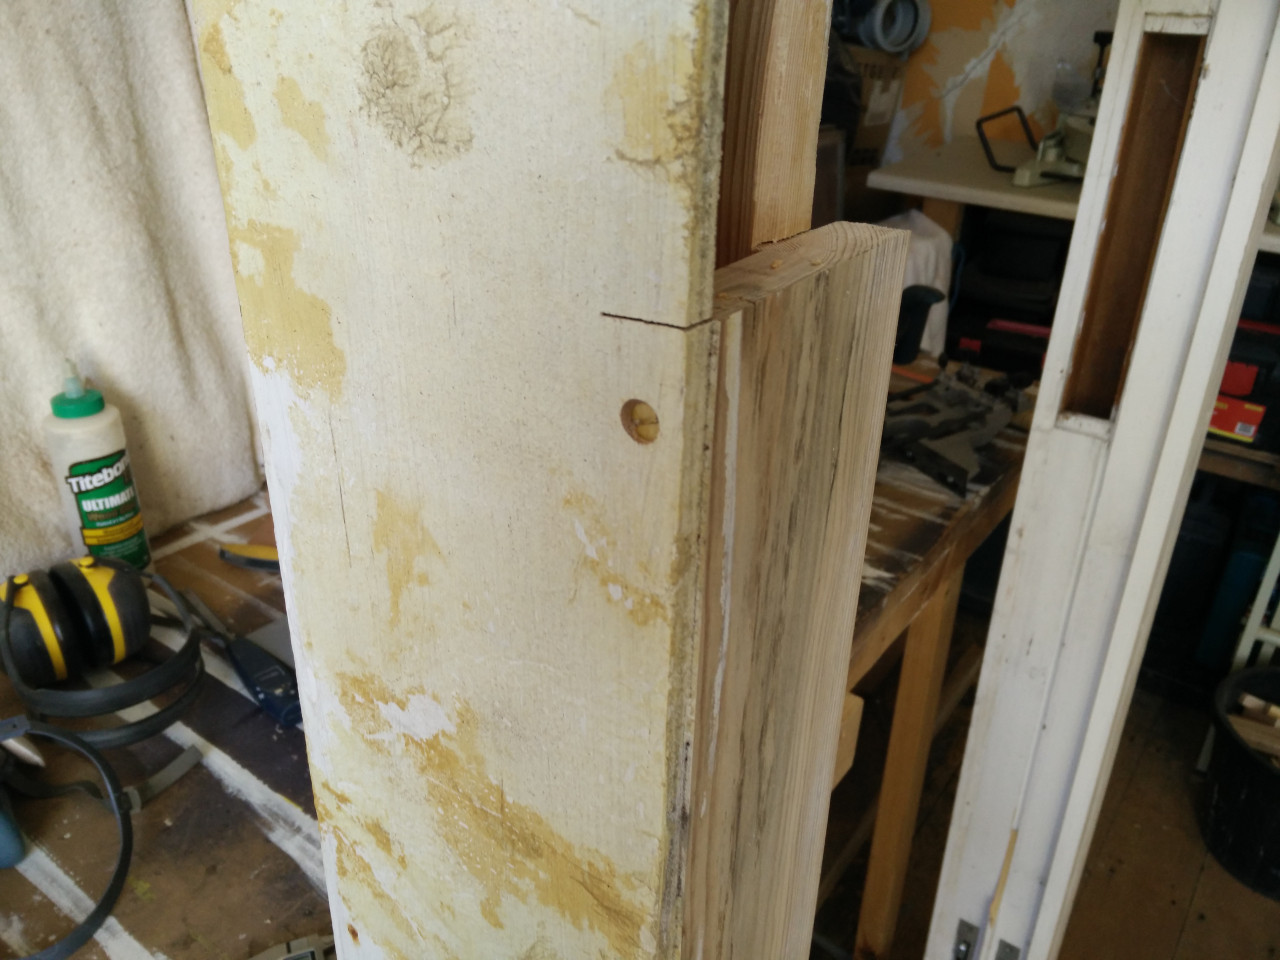
I noticed while I was doing the clean up that there wasn’t a lot holding the outer lining to the back lining now that I had removed a section of the outer lining. There was a screw holding everything together but that was now gone. To correct this I added a new brass screw. I chose brass because it’s what I had to hand but also because it wont rust.
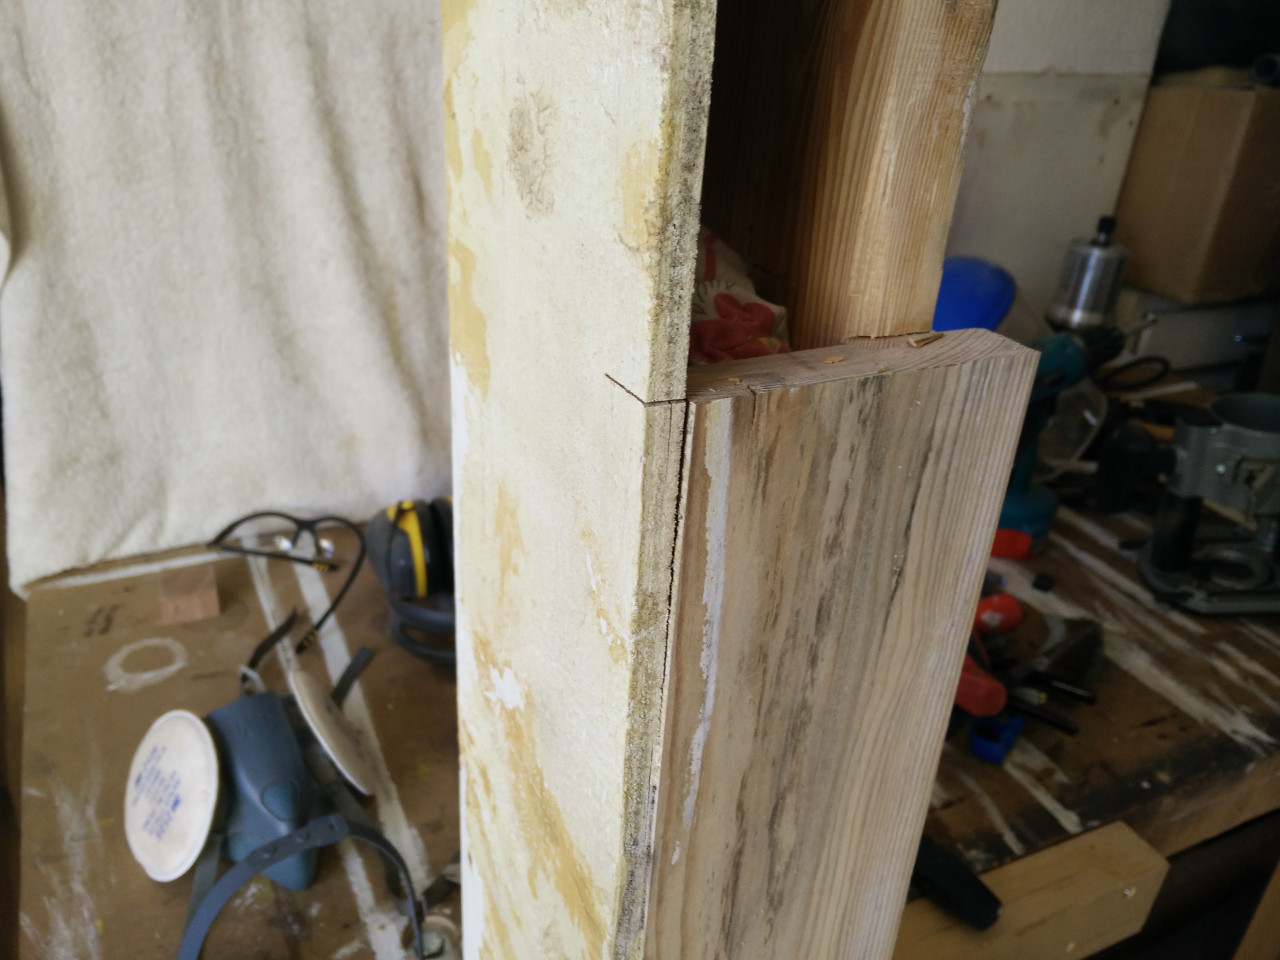
Now I turned my attention to filling in some of the rotten area I’d removed. I decided to start by making a patch for the largest section removed on the left side. I would have liked to have used pine for the patch so that it matched the sill but I didn’t have any suitable so a scrap of Meranti was used instead. This piece actually turned out more complex than is shown but I forgot to take any other construction photos – you’ll see it again in a bit.
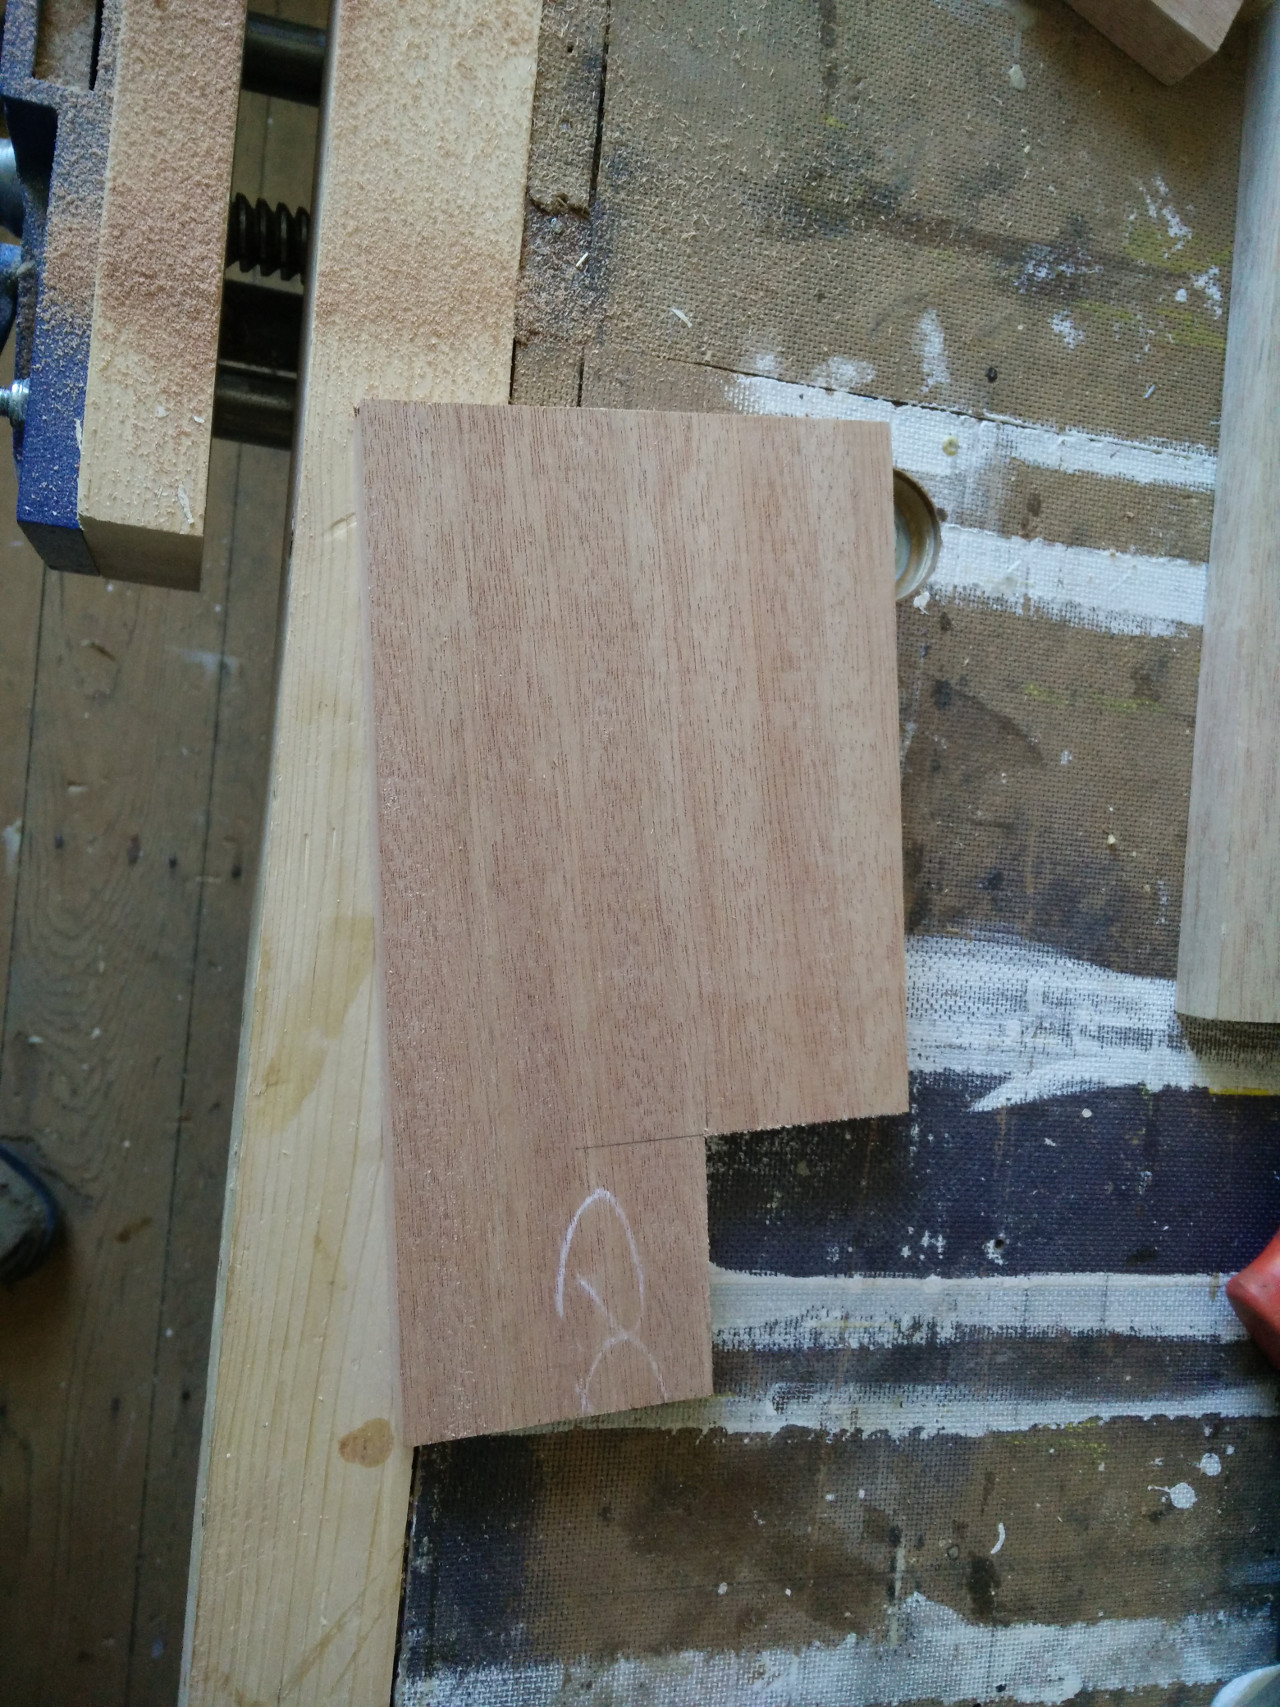
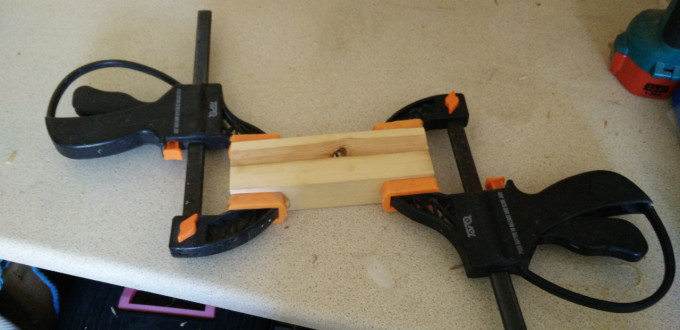
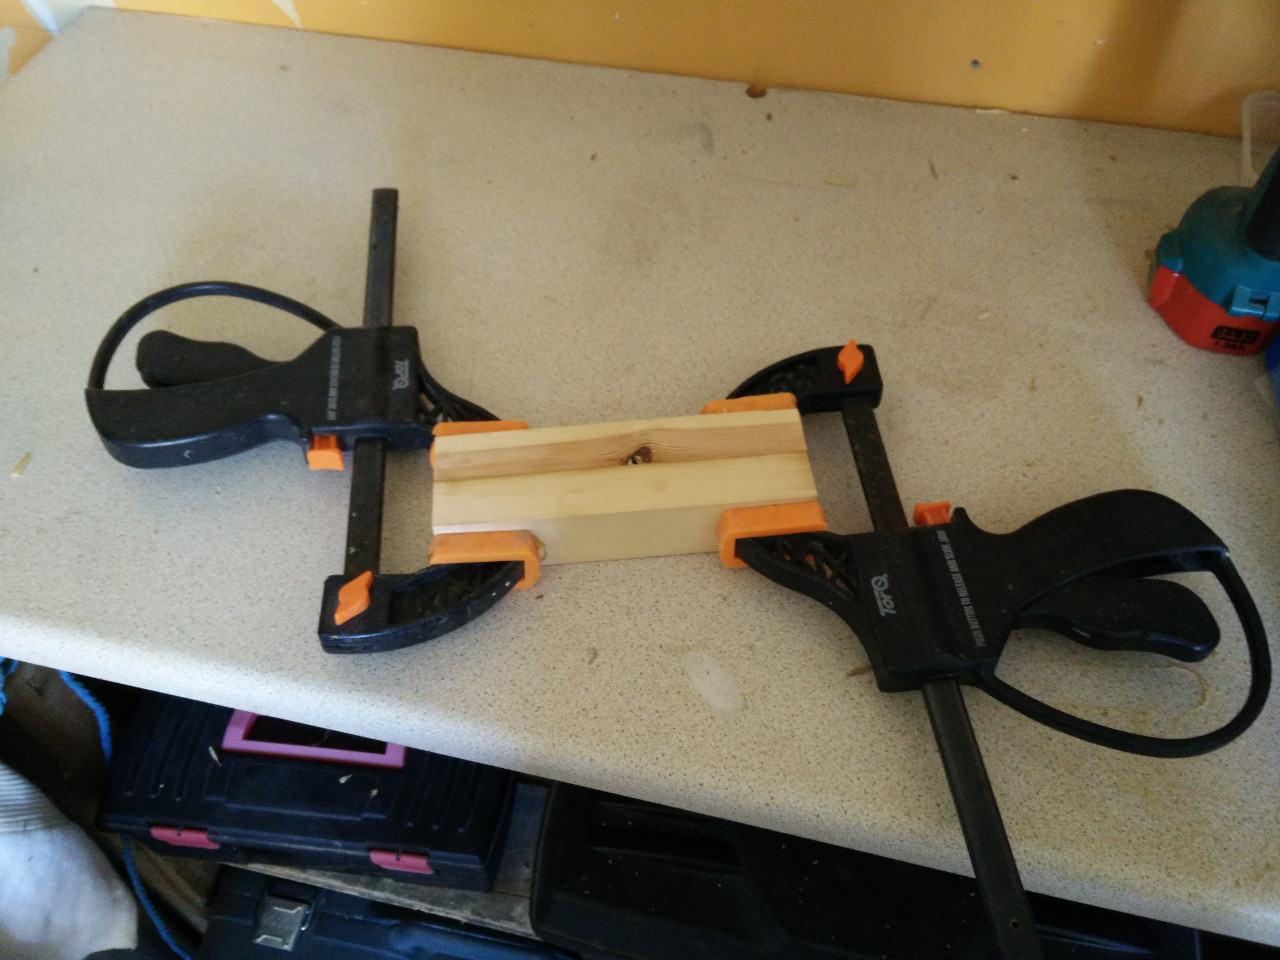
As you can probably tell from the photo that piece is only roughly 20mm thick so I need another piece to make up the bulk of the sill. For this I’m going to use some lovely old pine I salvaged from our house. It’s a little too narrow so I’m gluing two pieces together after running a plane over them to clean them up. Don’t worry about the knot it’ll be removed later and it would have been on the inside anyway.
While that patch piece glued up I turned my attention to hardening up some of what was left. The drip line was in a good state but it could certainly use some hardener before it got another lick of paint so I rolled up some sand paper and rubbed it down. before applying a good dose of wood hardener.
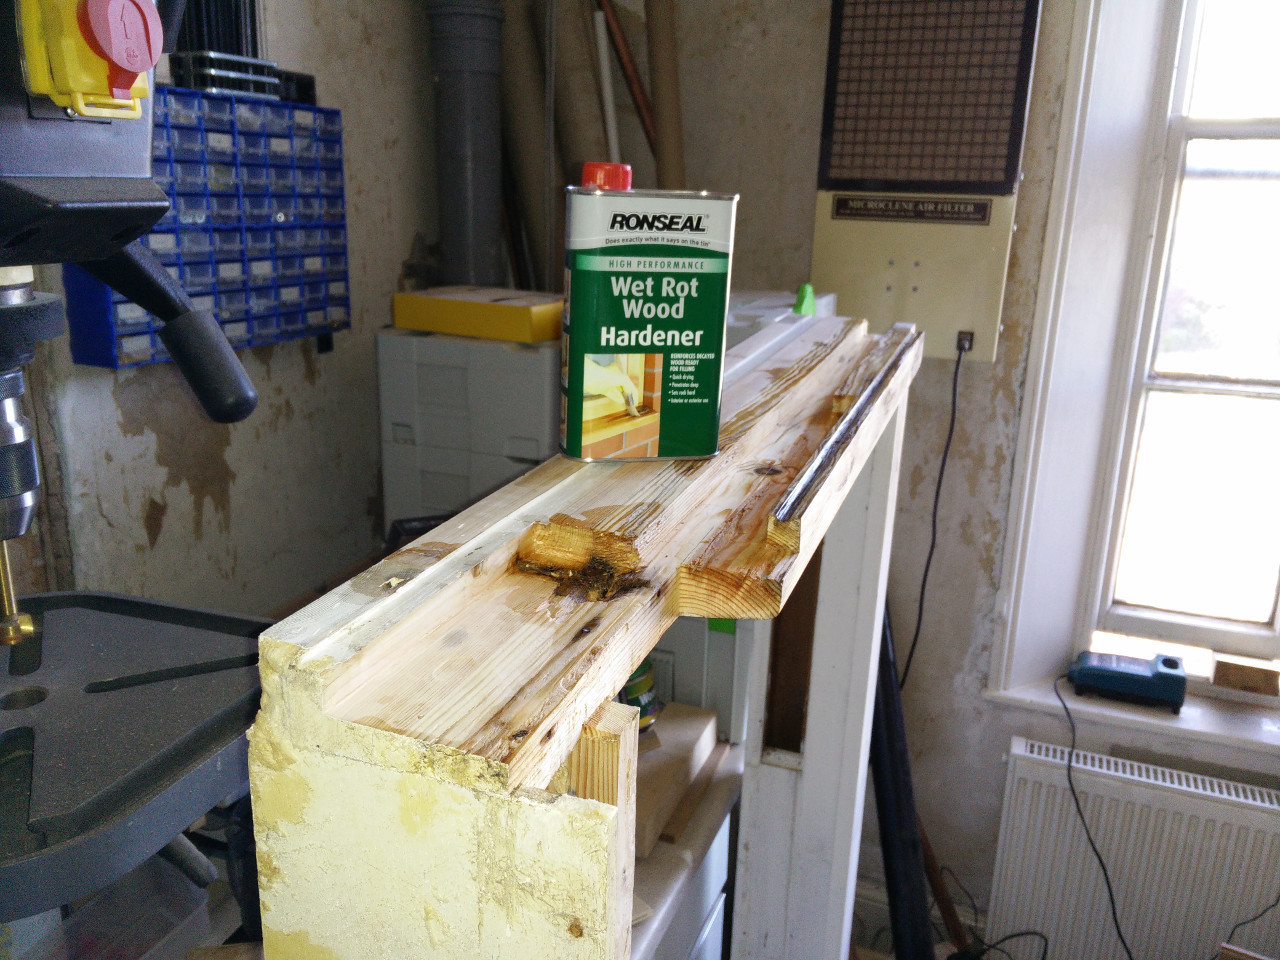
Wood hardener claims that it’s dry in a couple of hours but in reality you normally have to leave it over night which is what I did. In part three I’ll make the patch for the top of the sill and start the glue up.