There’s loads of great content on gutting and rebuilding euro cylinder locks but I’ve always found I struggle with the rebuilding stage. I just find it so fiddly to get the higher number pins back in. I have a HUK toolset in the post which might make life easier but right now I’m using a selection of items from my workshop.
Almost all my euro cylinder locks are snapped which makes life somewhat easier but this technique should work just fine on a full lock too. I’m starting at the point where you have gutted the lock. I’m working on an unknown flavour of Era lock here. Six pins, four of which are spools with an anti-drill pin in position one. I suppose that strictly this isn’t a euro cylinder as it’s oval but rebuilding principal is identical.
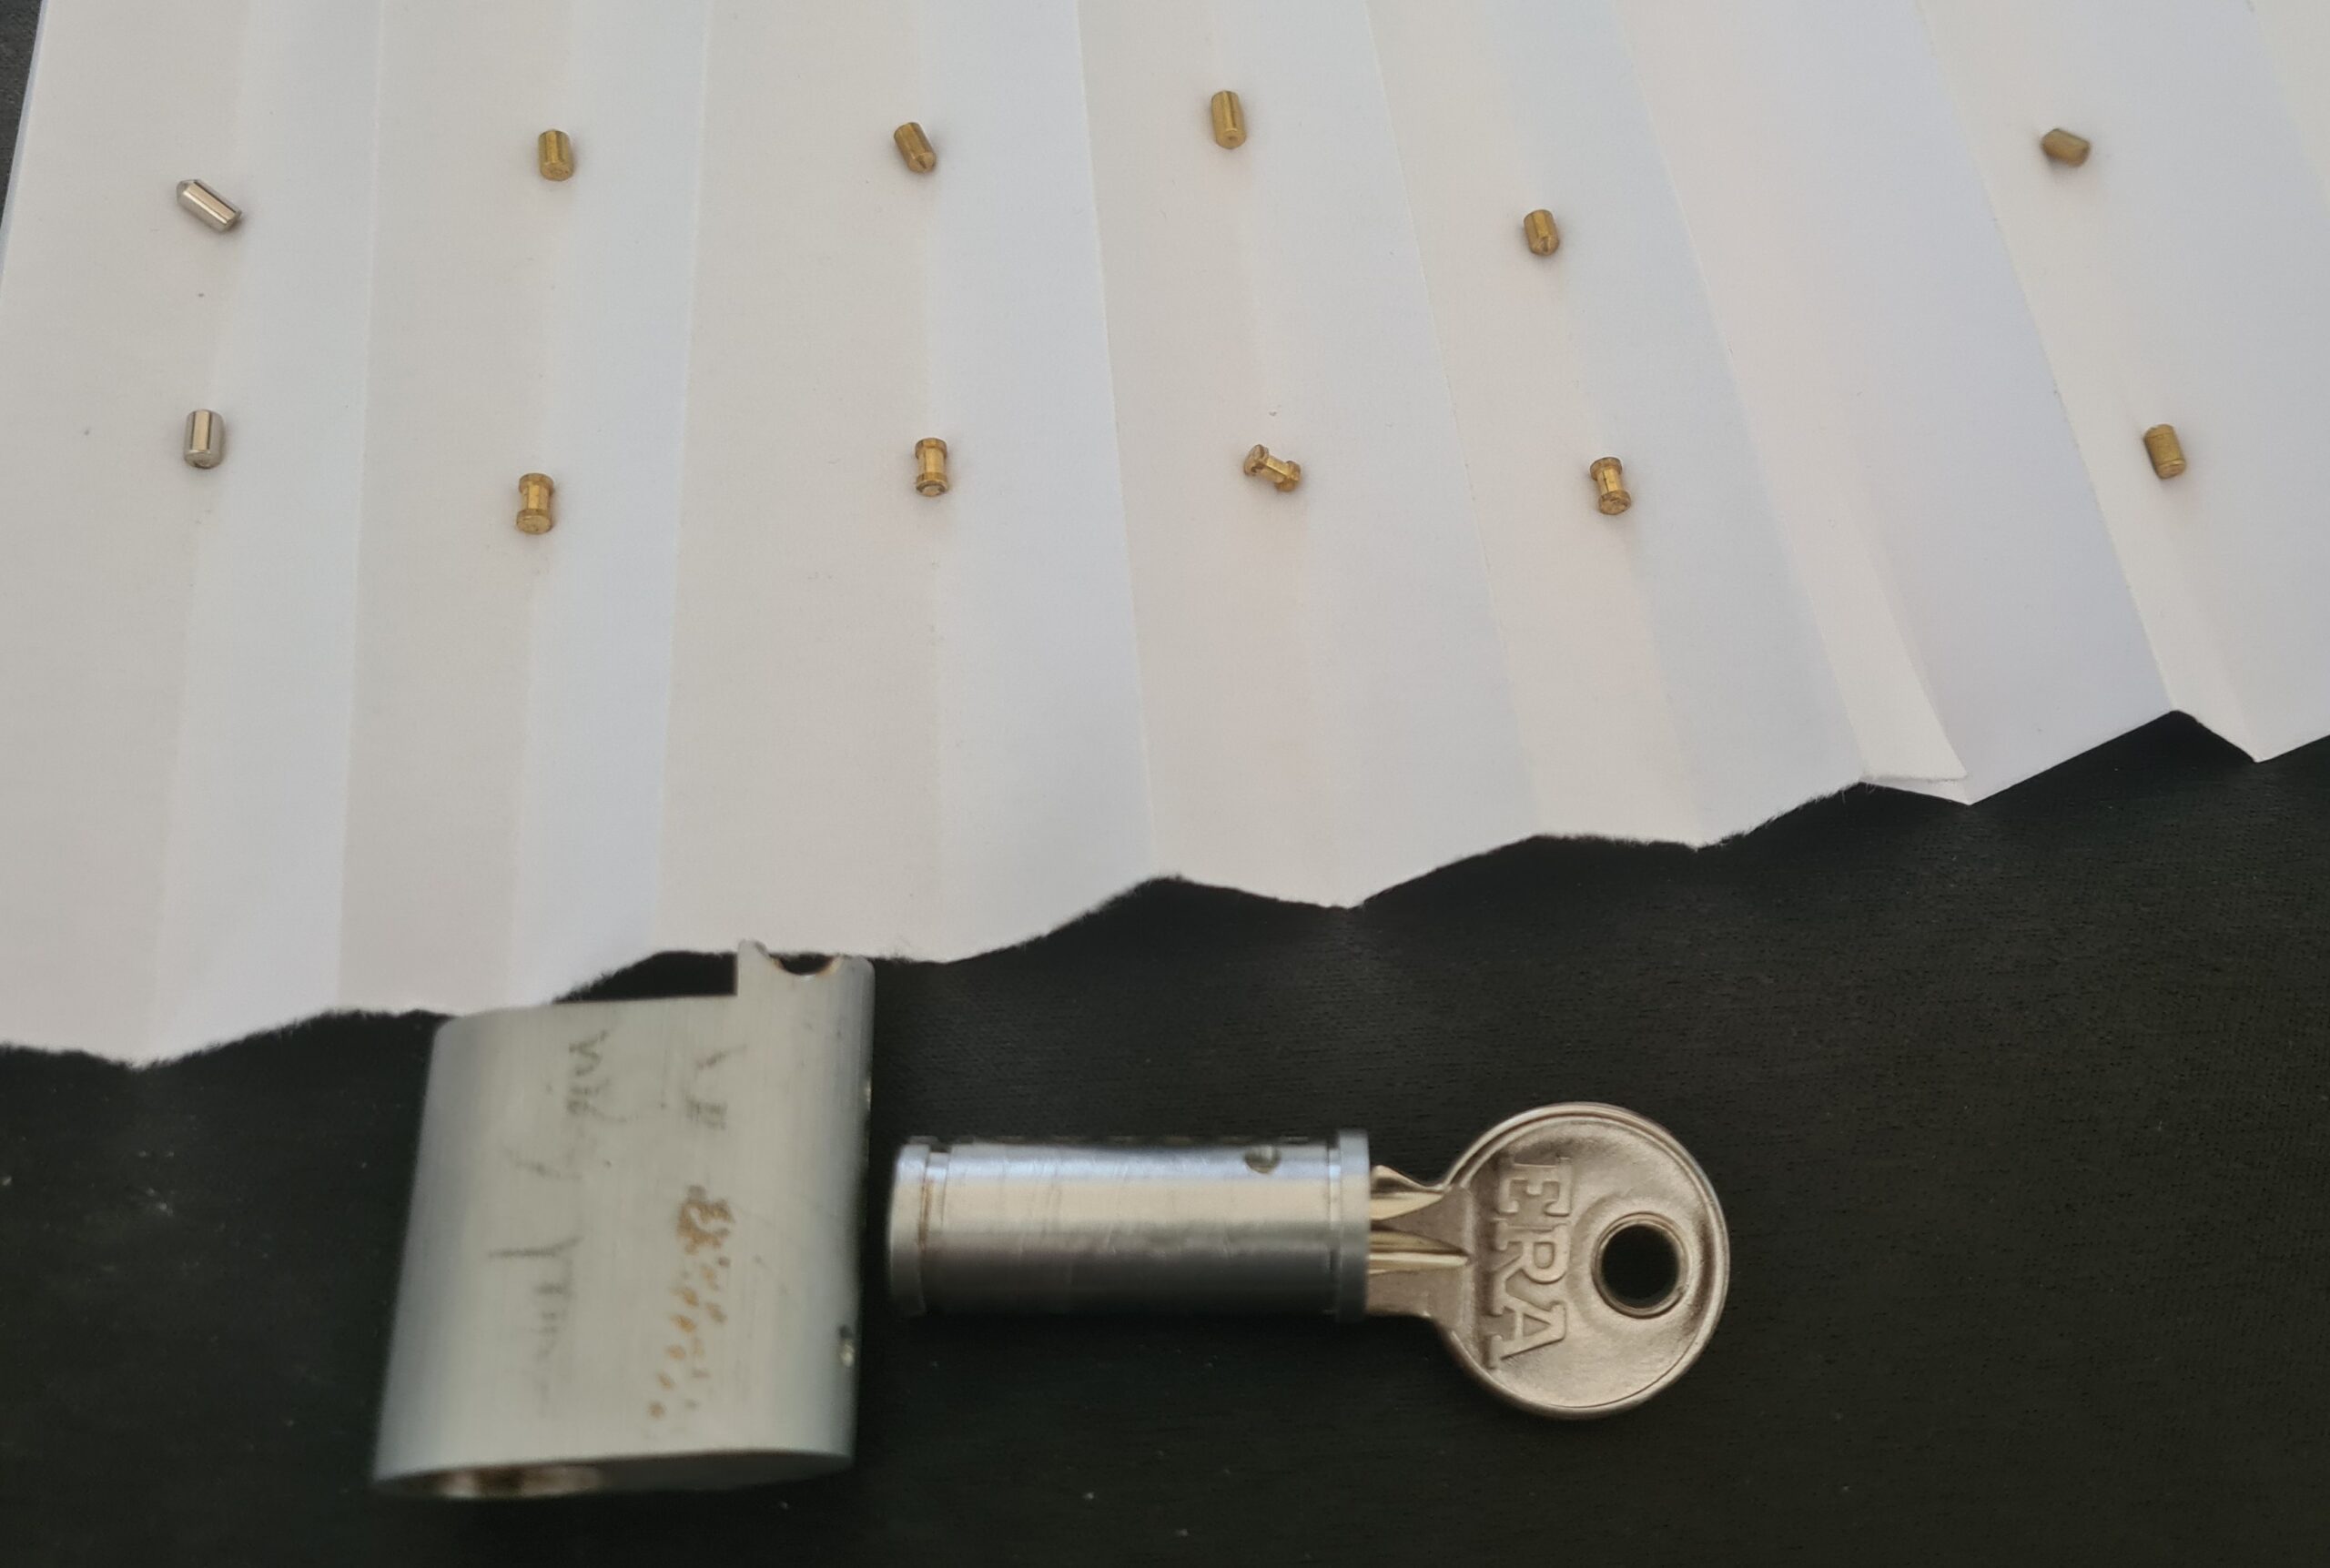
You’ll notice above I haven’t taken the springs out. Step one of rebuilding this lock is to take out springs one to four. You can take out spring five if you want, I find that on a snapped lock it’s not really necessary.
Why am I taking the springs out? With a bit of squinting and holding your tongue at just the right angle it’s possible to see when you’re pressing driver (top / upper) pin six down on the spring. You can then slide in the follower and keep it in place.
The problem is then fitting driver pin five. It becomes very dark and cramped in the cylinder bore. With springs one to five all in place I find it difficult to see when I’ve got the driver pin placed on the correct spring. With one hand holding the follower and another on the tweezers I find myself one hand short to hold a torch. Maybe I could arrange a lamp to get light in there but it’s so cramped I’m not convinced it wouldn’t just get in the way. With springs one to four removed it’s clear where you need to place driver pin five.
The problem then becomes how to get the springs back in as they have a habit of being, well, springy and difficult to fit. It turns out it’s all in the technique. The images below show me fitting driver pin three, it’s was impossible to get clear photographs of fitting driver pin five but the same technique was used.
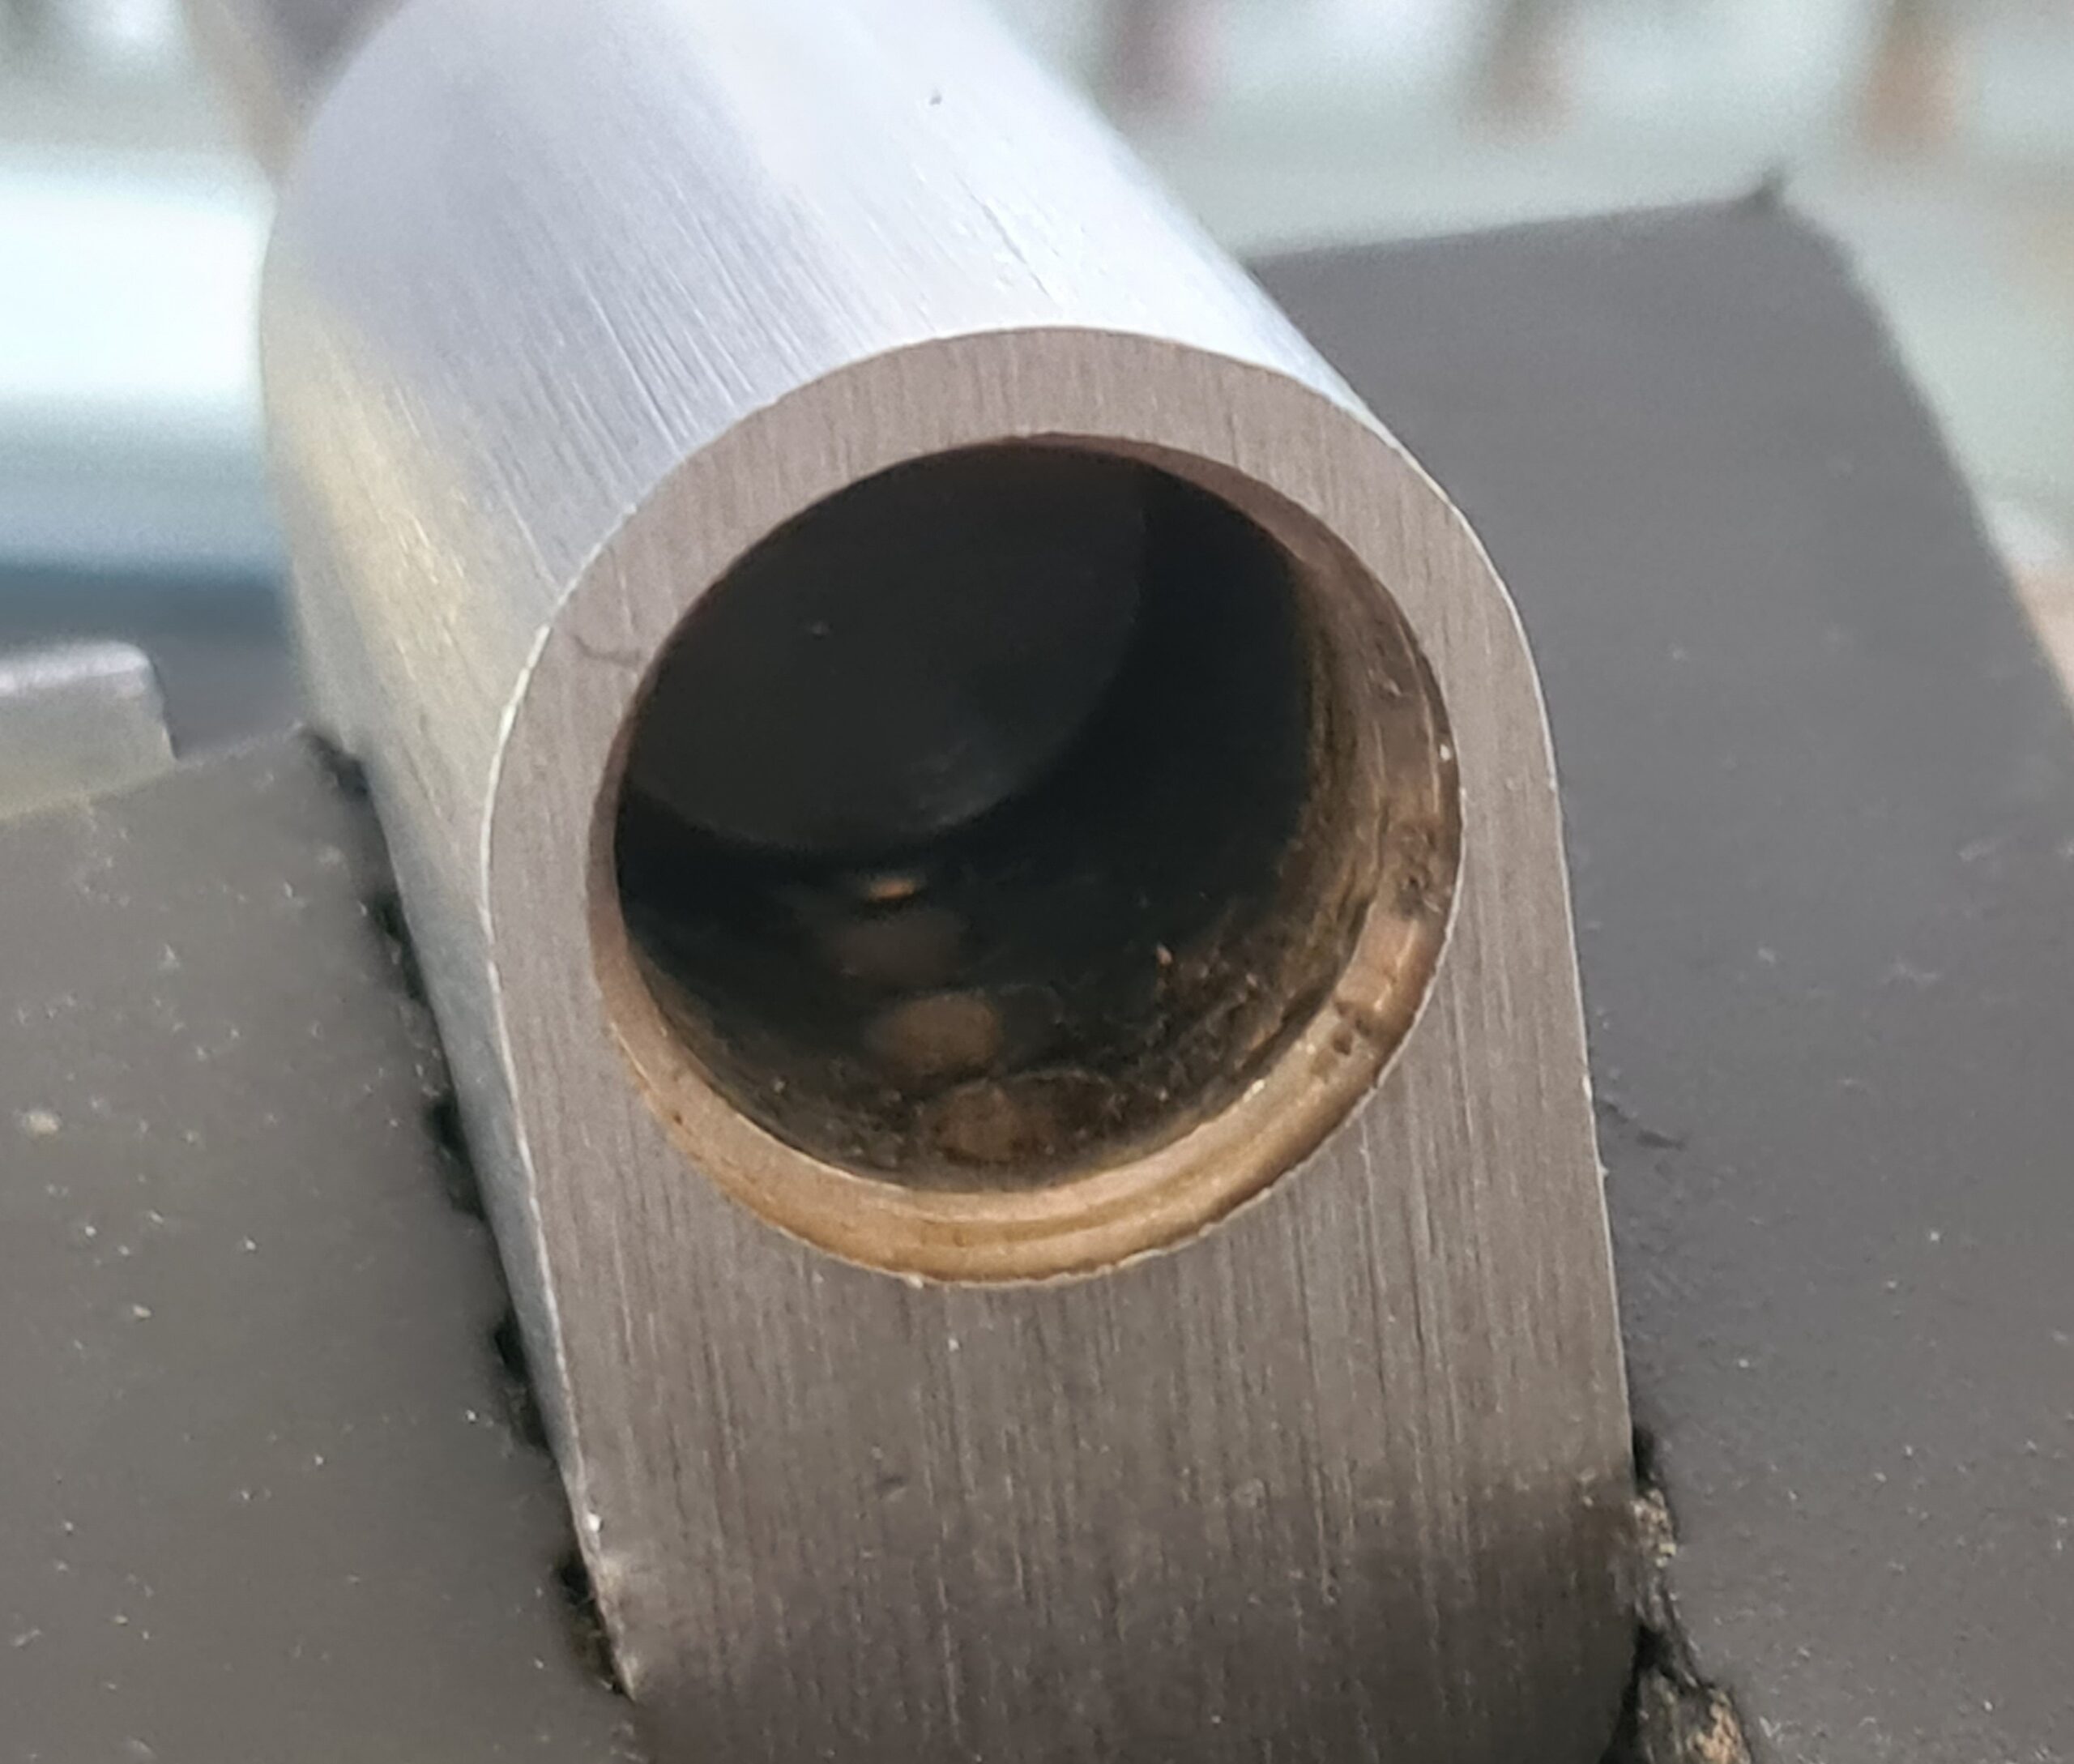
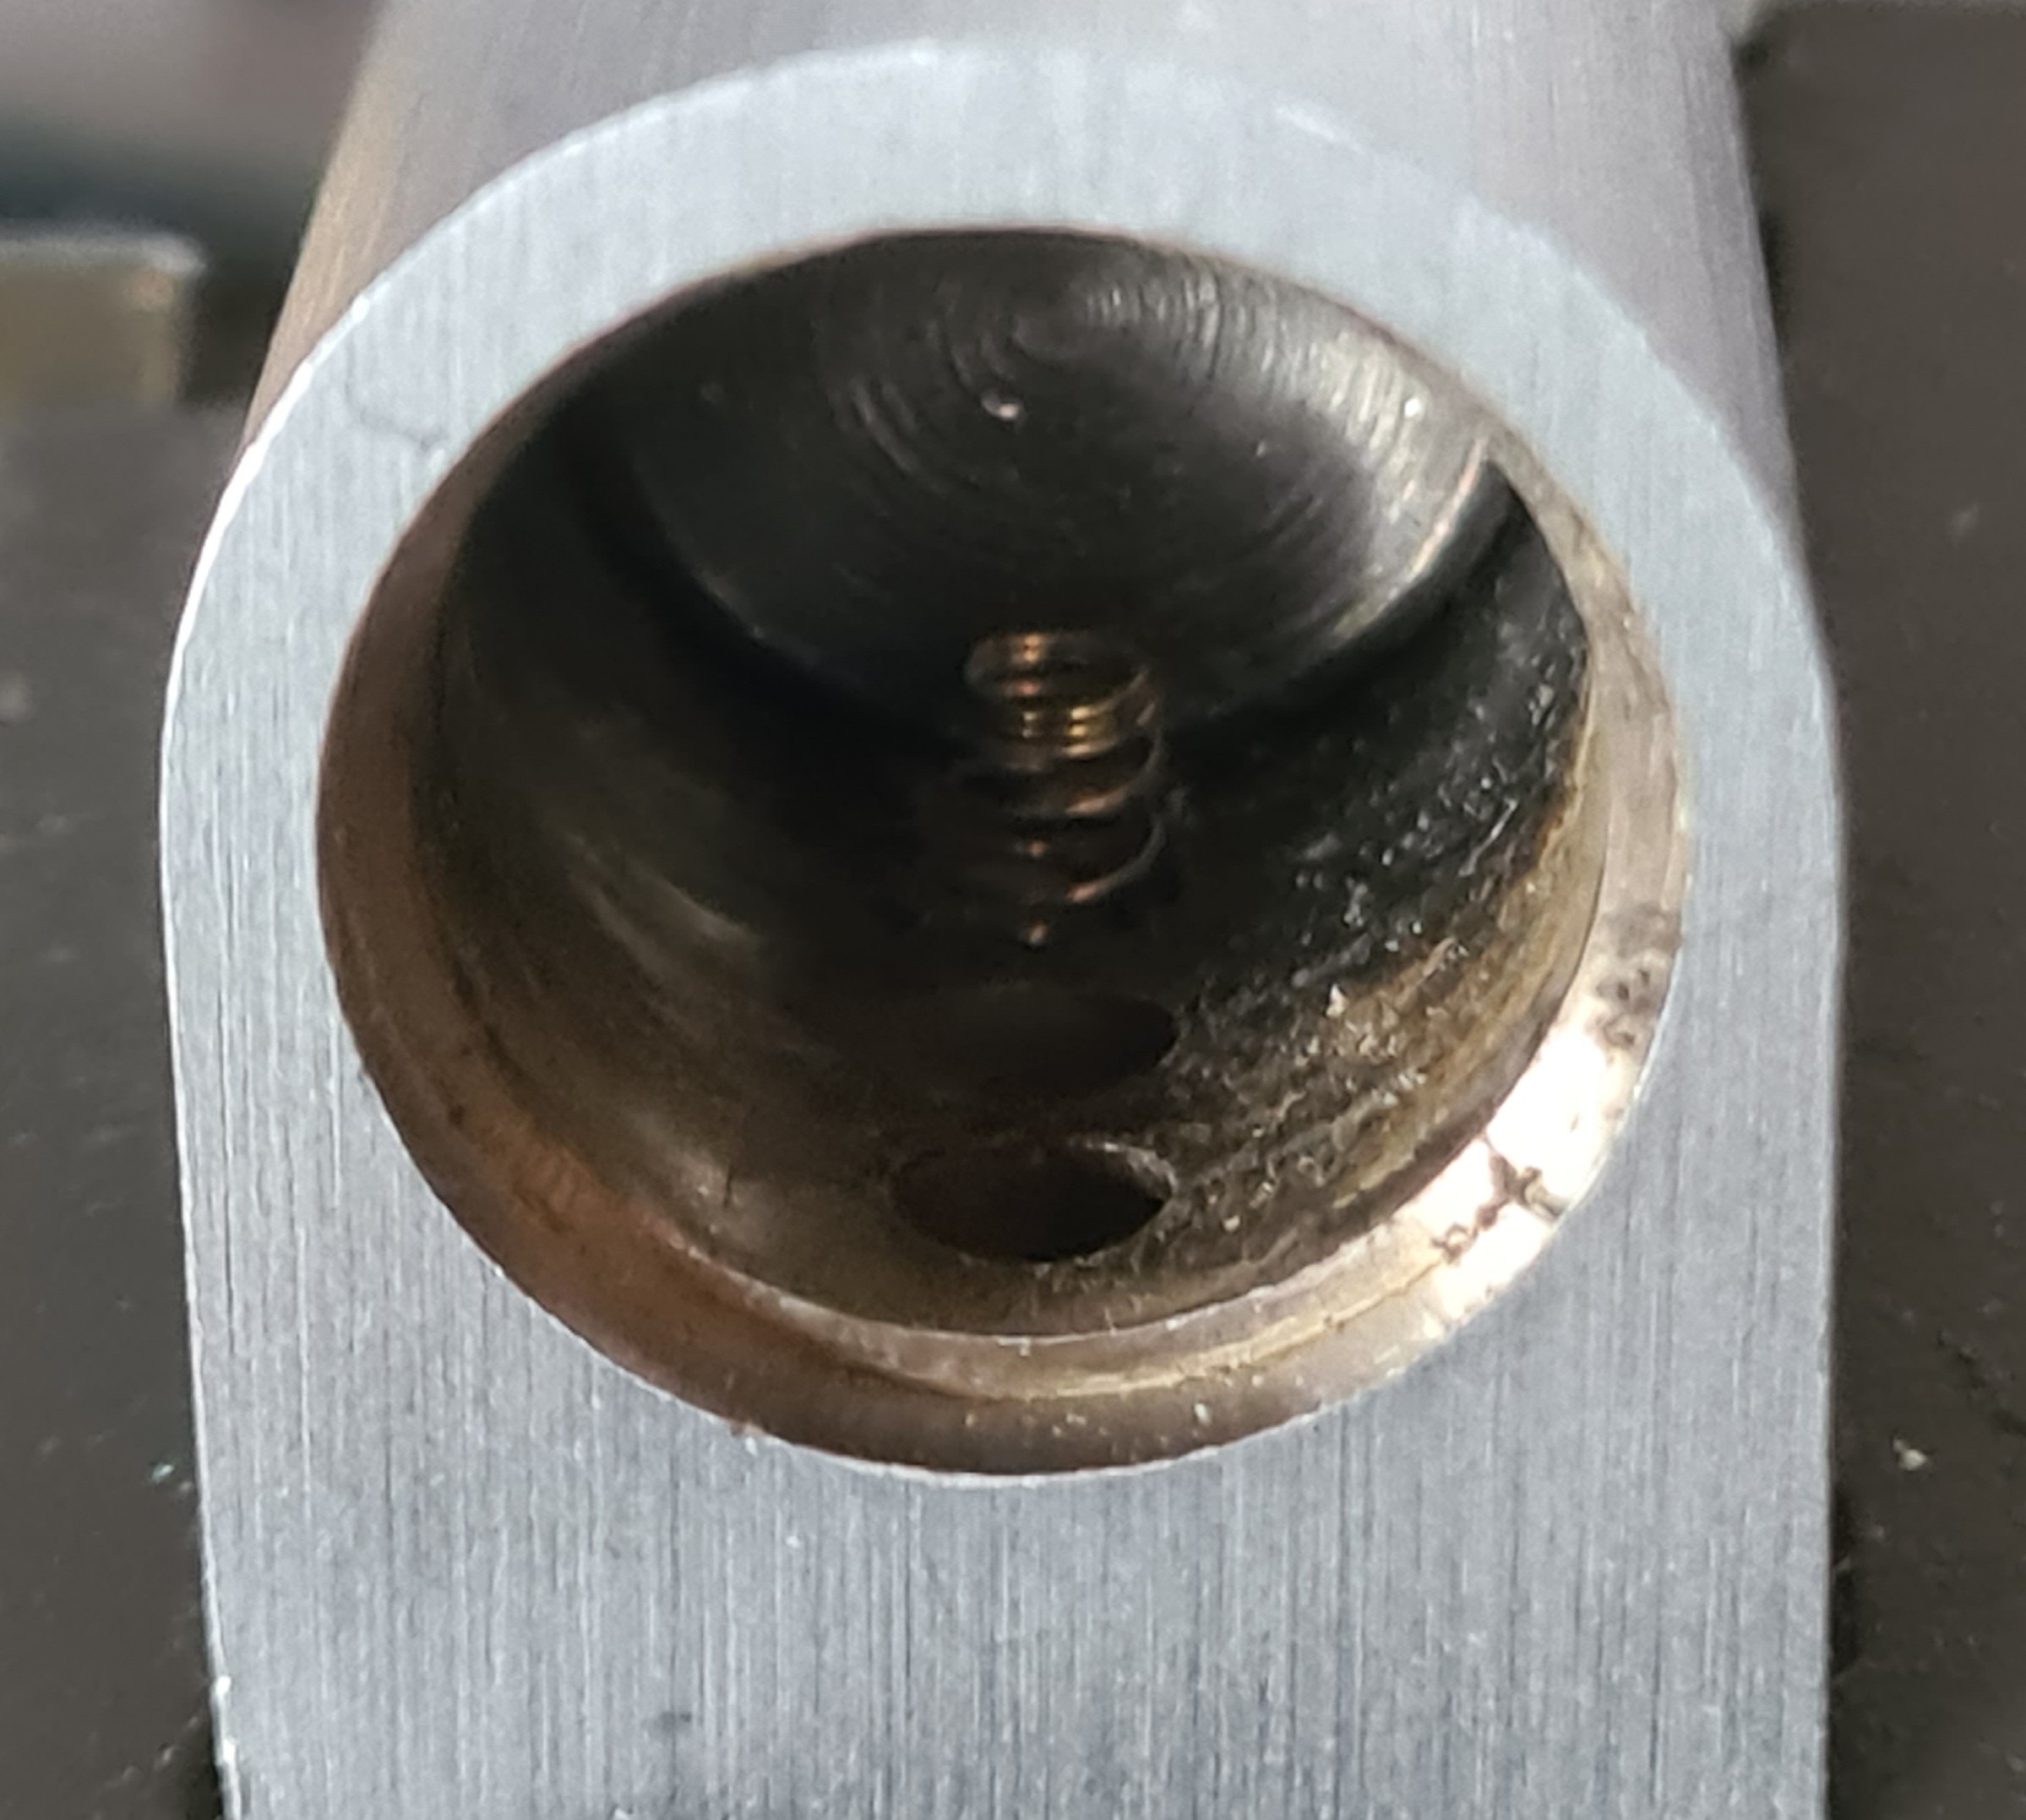
Here you can see driver pin four held by the follower and the three empty spring holes.
I have these flat tipped tweezers that I got in a cheap multi-pack they are great for this next step.
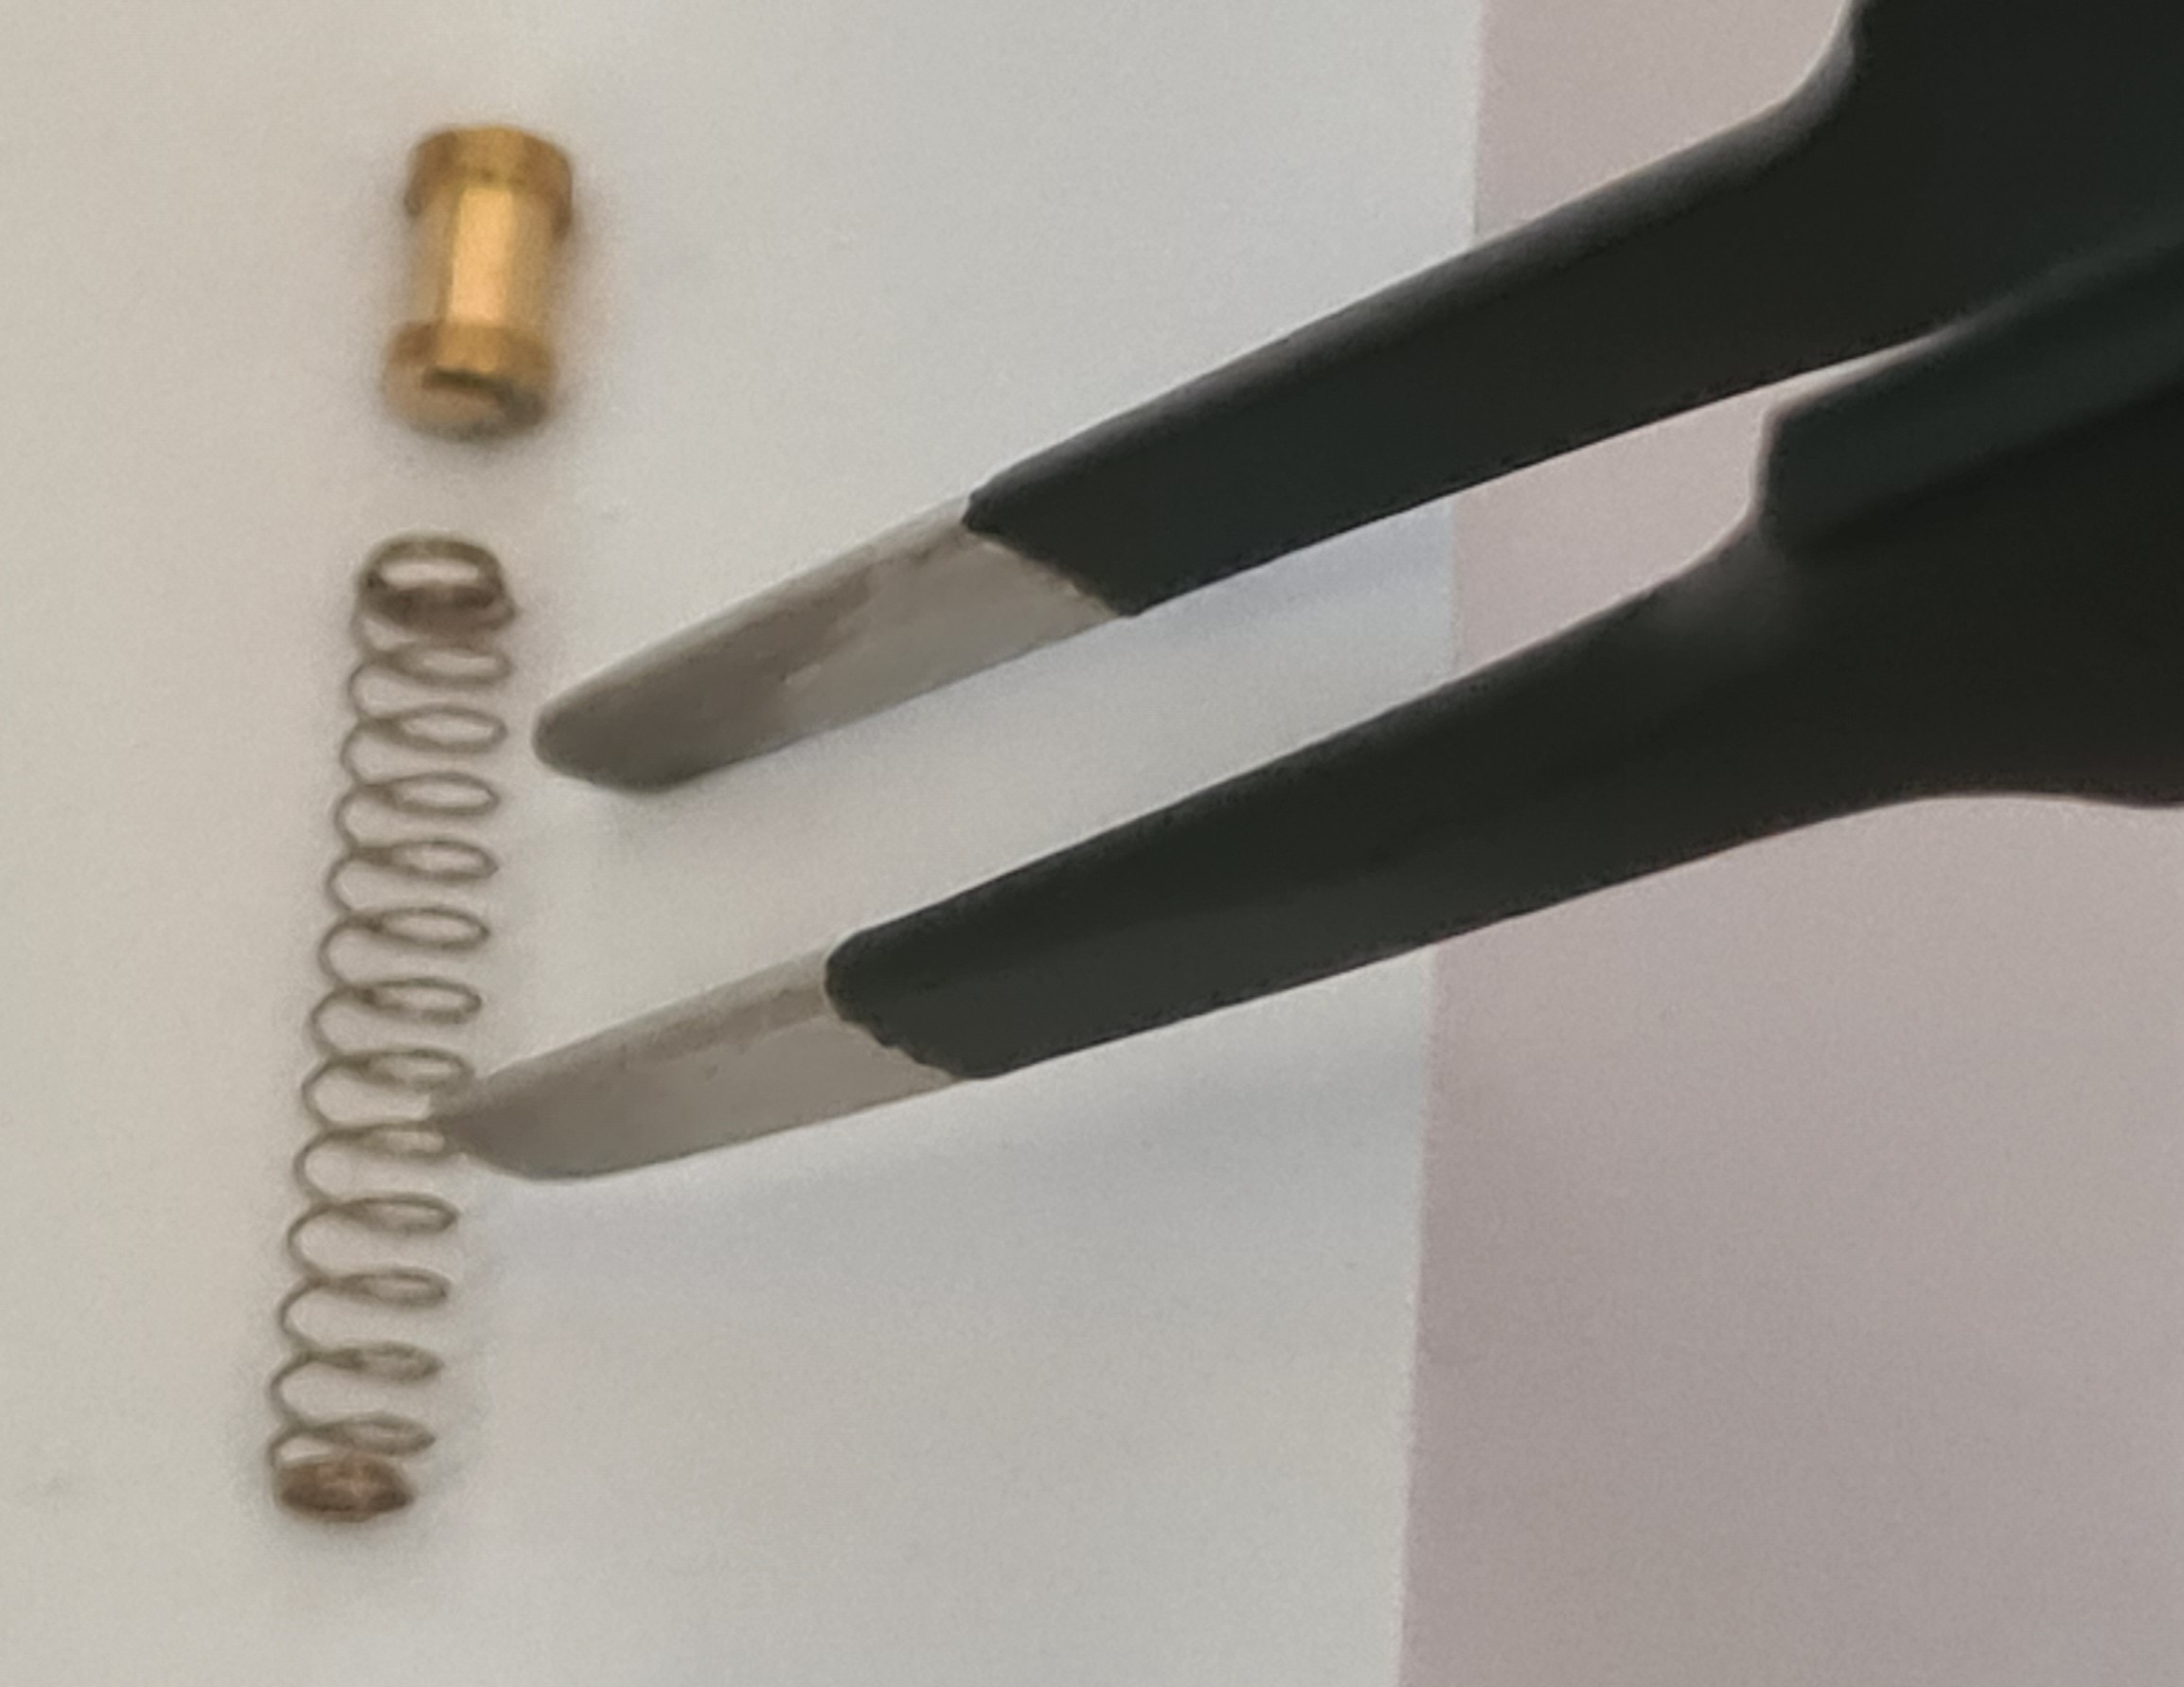
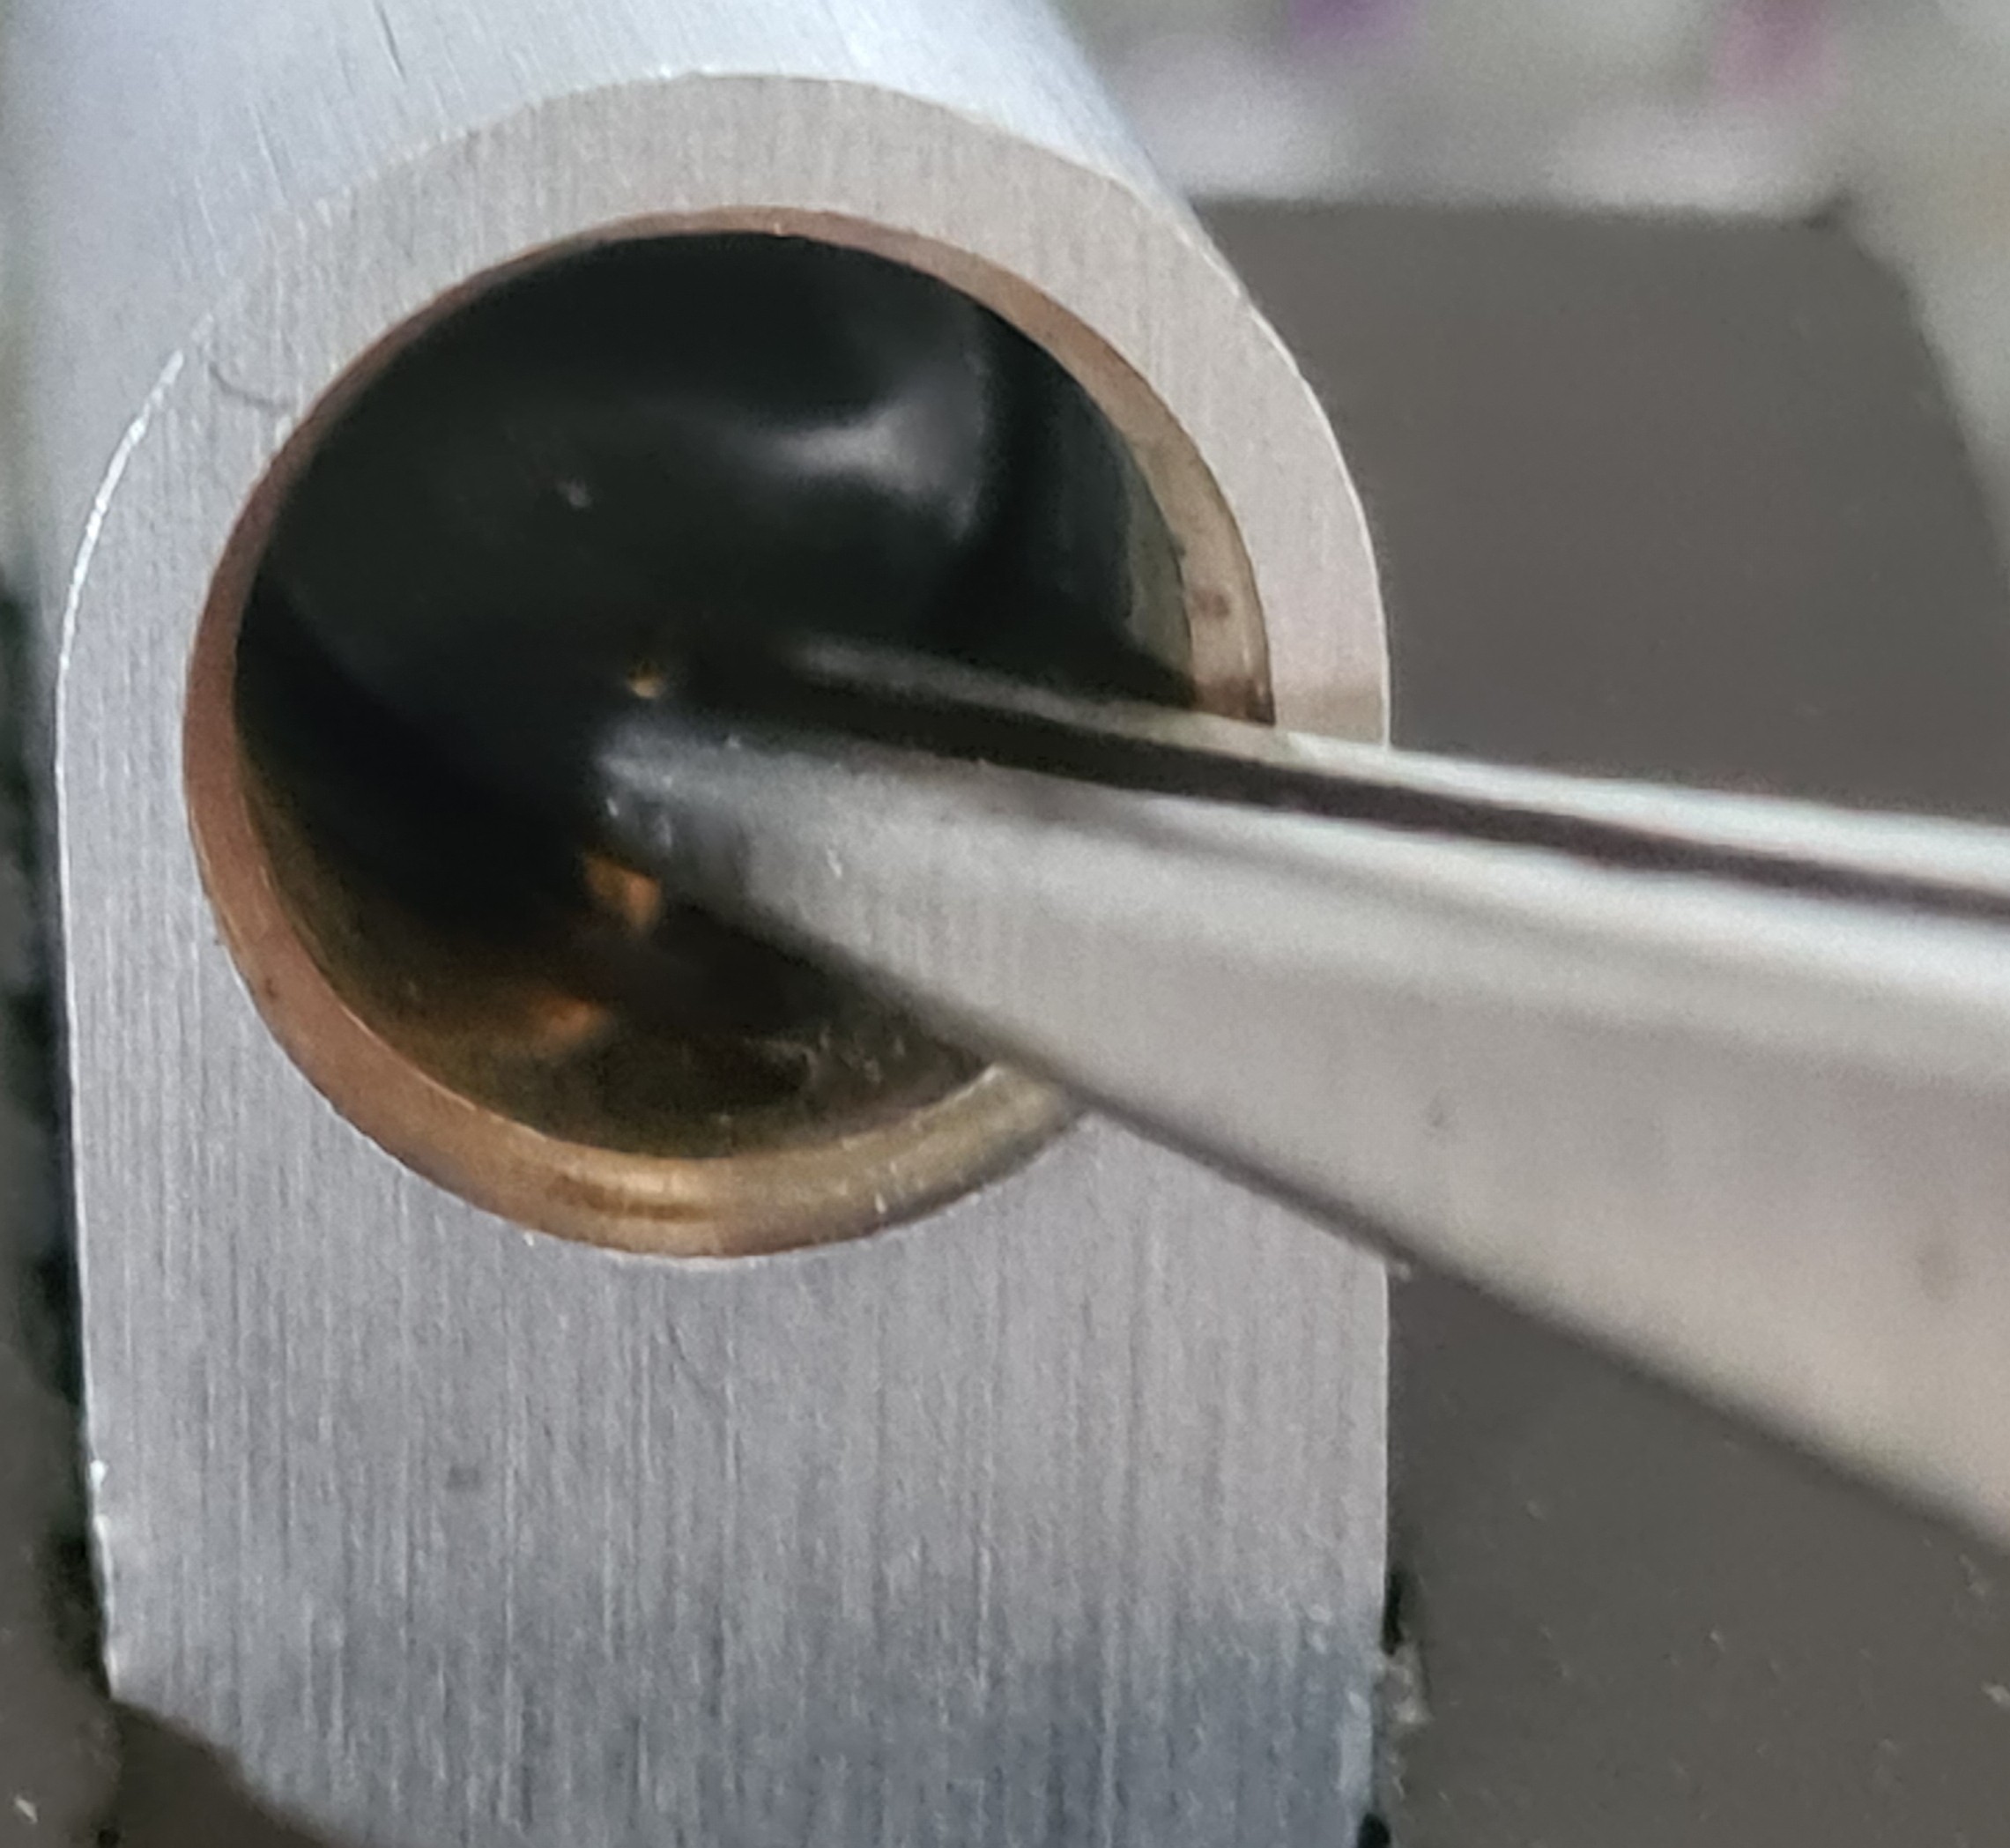
Pinch the top of the spring and a good way down the length of it with the tweezers. You can squash it flat essentially. You’re looking to make it so that the spring just about fits in the cylinder bore.
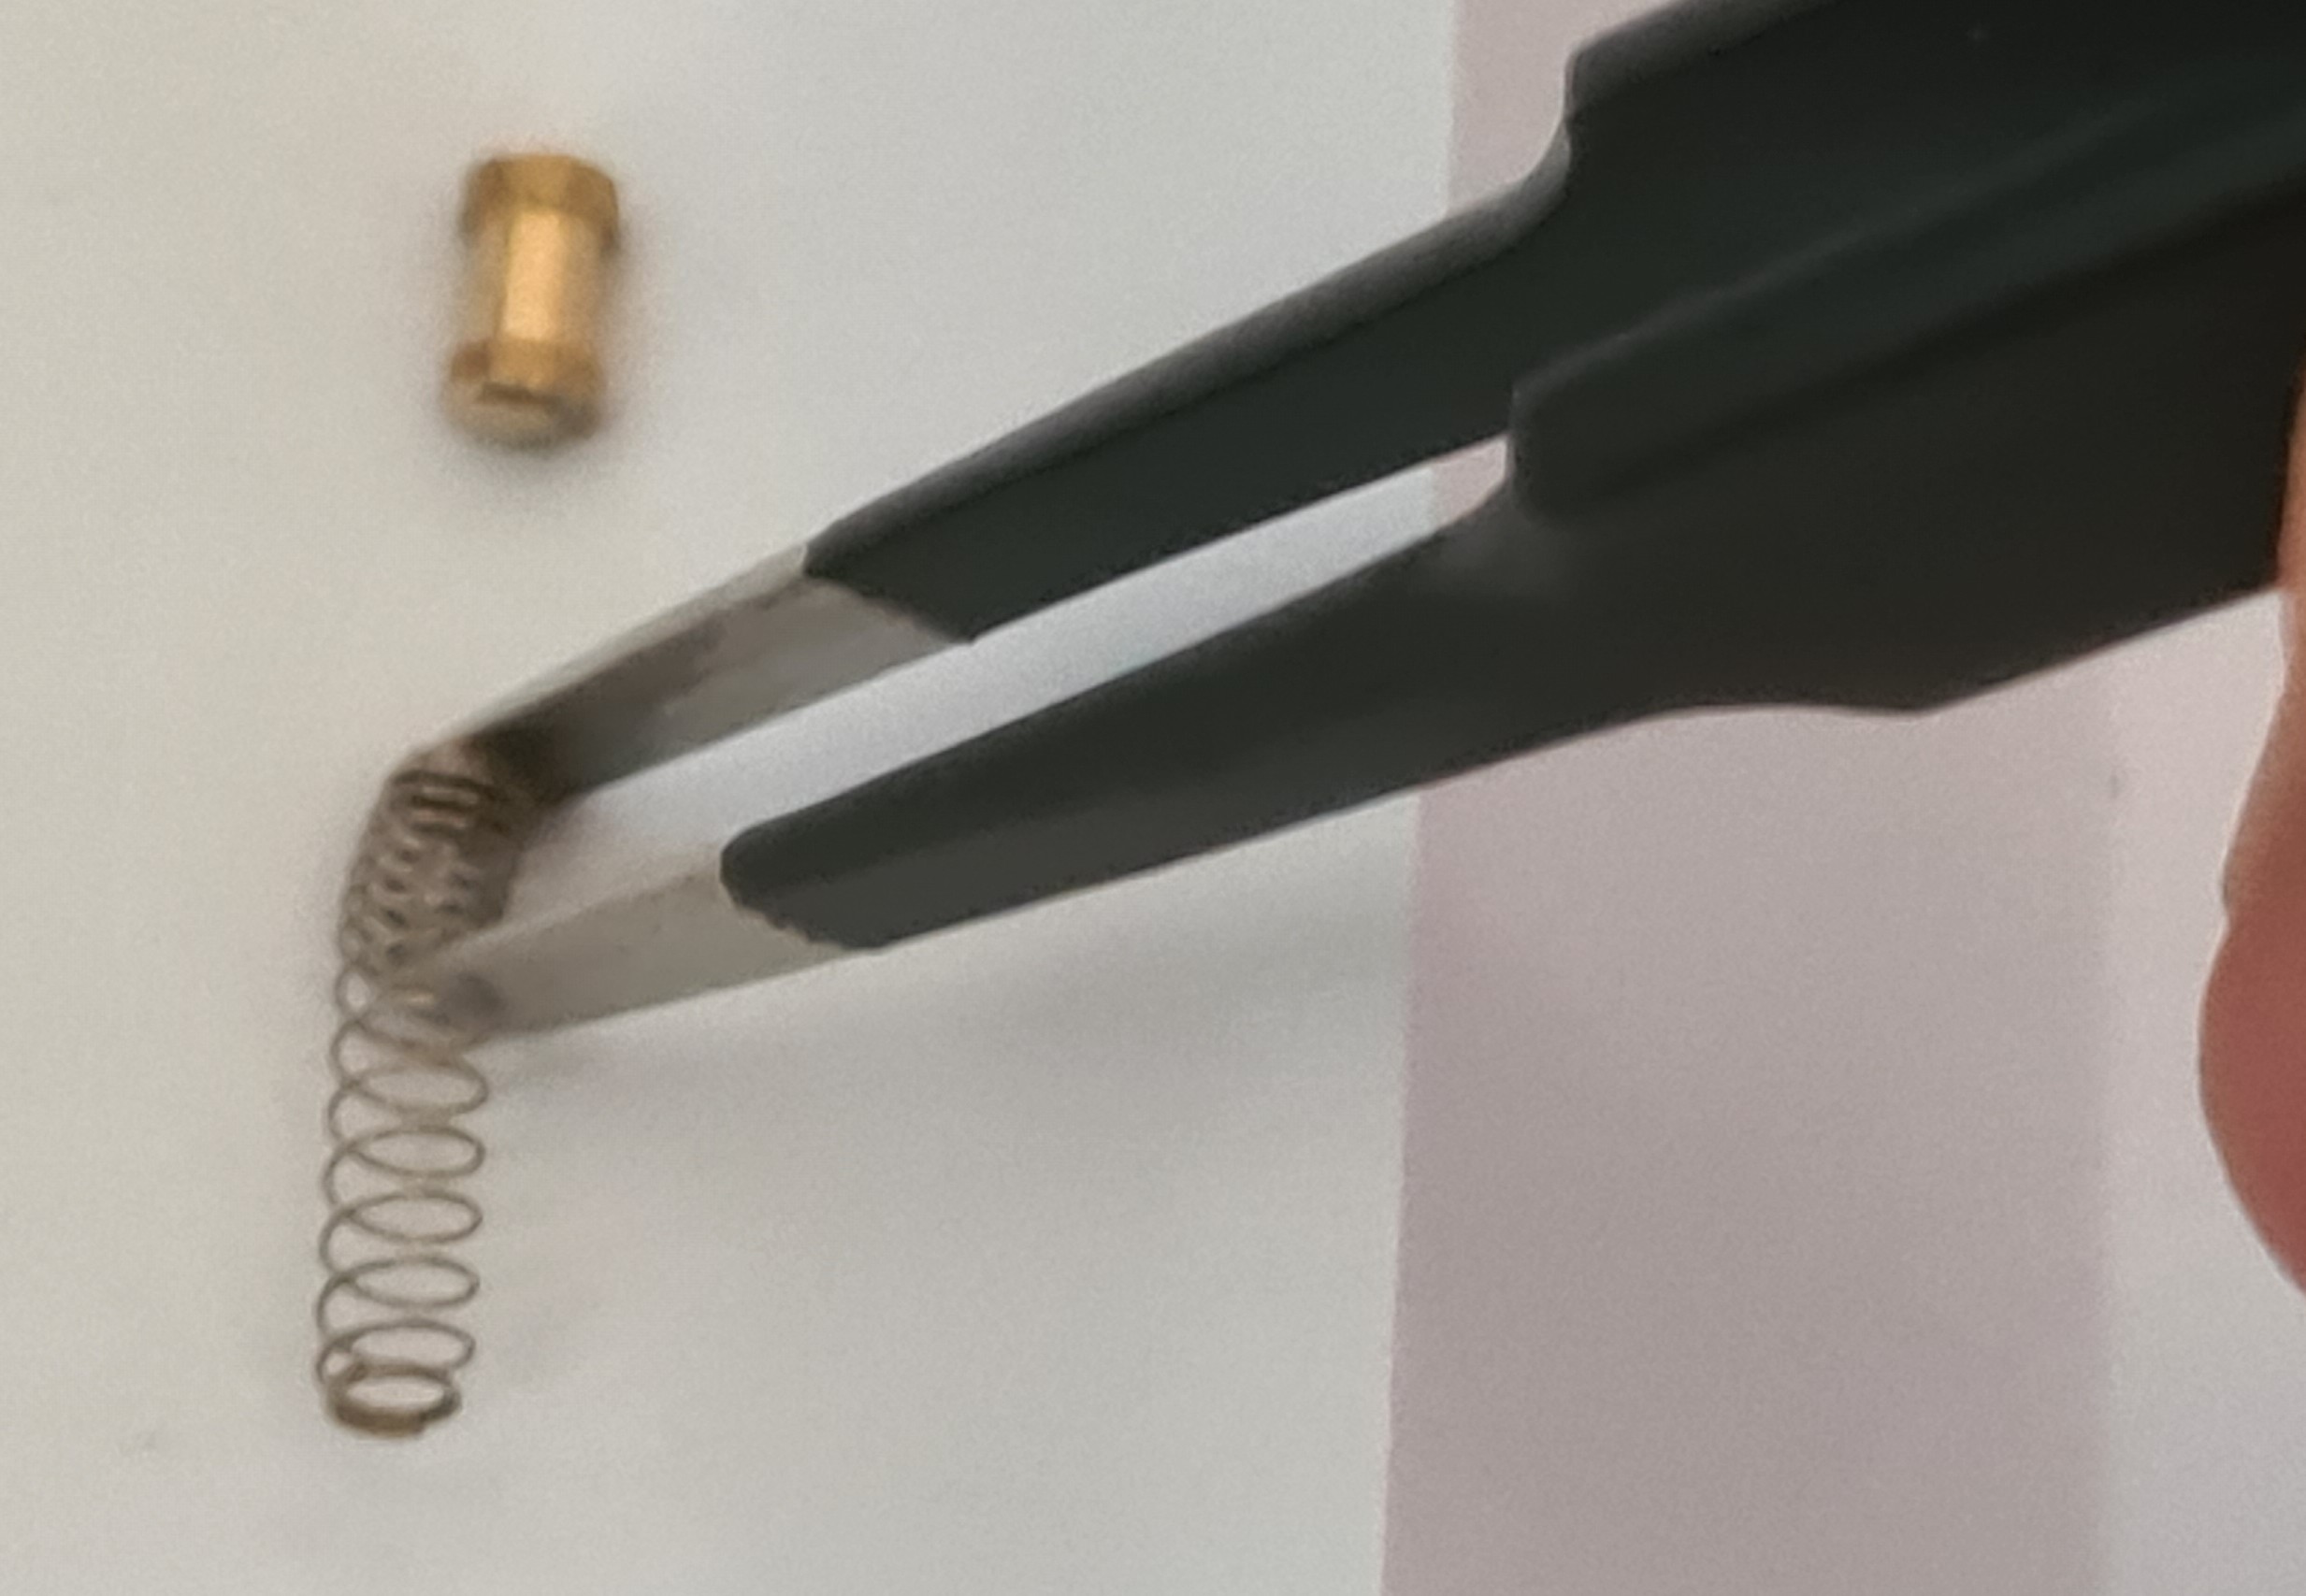
Insert the spring into hole three. Assuming the spring holes are at 6 o’clock in the bore have the free end of the spring orientated at about 9 o’clock so it doesn’t catch on the other empty holes as you inset it. When it’s at the correct depth in the cylinder turn it to 6 o’clock and it’ll spring into place. It might not sit fully down at first but a couple of prods will the tweezers will fix that.
Now pick up the driver pin by the top. I have modified a pair of tweezers with a semicircle filed into the end so it grips pins more easily. They aren’t perfect but they are better than trying to use flat tweezers.

Carefully press the driver pin down onto the spring. The poor photo here shows the awkwardness of this step. You need to get about half the driver pin into the hole.
The lack of photo here shows the fact this part needs two hands and the awkwardness of this step. With half the driver pin in the hole you need to now slide the follower up to press on the tweezers / driver pin. The aim is to gently hold the driver pin in place with the follower while you let go with the tweezers. Take care not to damage the spring if the driver pin pings out.
Once you’ve freed the tweezers you need to go back in with them but this time press on the top of the pin. You’ll probably need to withdraw the follower ever so slightly in order to press the pin fully into the hole (especially if it’s a spool pin). With the pin now fully home push the follower back in as you withdraw the tweezers.
Repeat these steps until all the driver pins are in place.
Fitting the plug (barrel) is easy. Just put the key (lower / bottom) pins in with the key inserted. Make sure they all line up with the shear line and then slide the cylinder in with the key pins at 90 degrees to the driver pins – you’re using the plug like a follower so you want an uninterrupted area. Use the plug to push the follower out of the way.
Before everything falls to pieces fit the e-clip. Check that the lock still works.