In part two of this series on repairing a window sill I started to fix up the outer lining, made some patch pieces for the repair and applied wood hardener. In this part I’ll continue to make the pieces that will patch up the window sill.
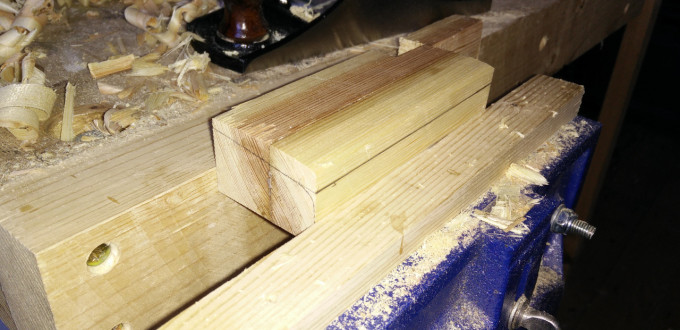
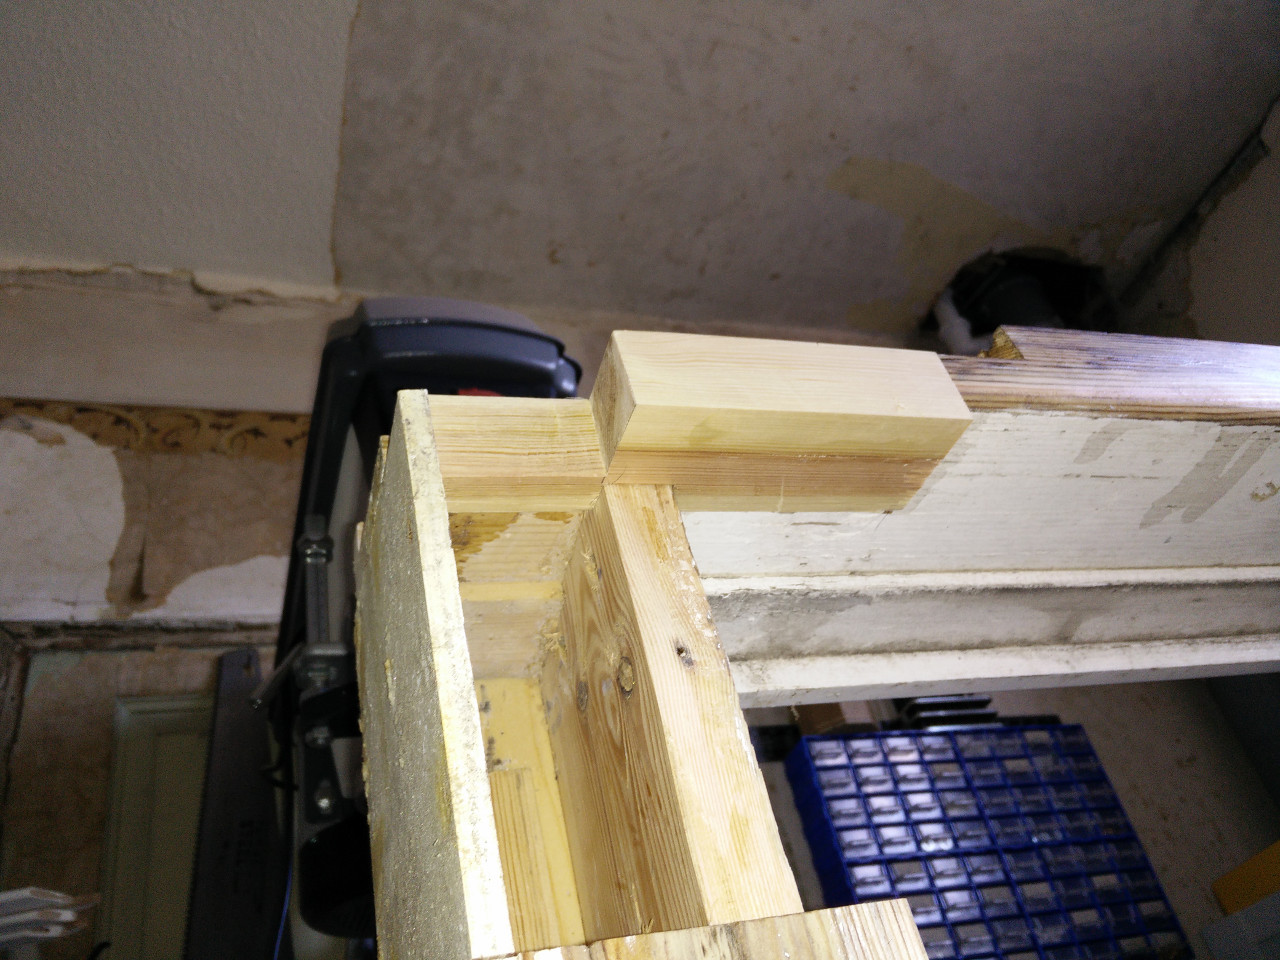
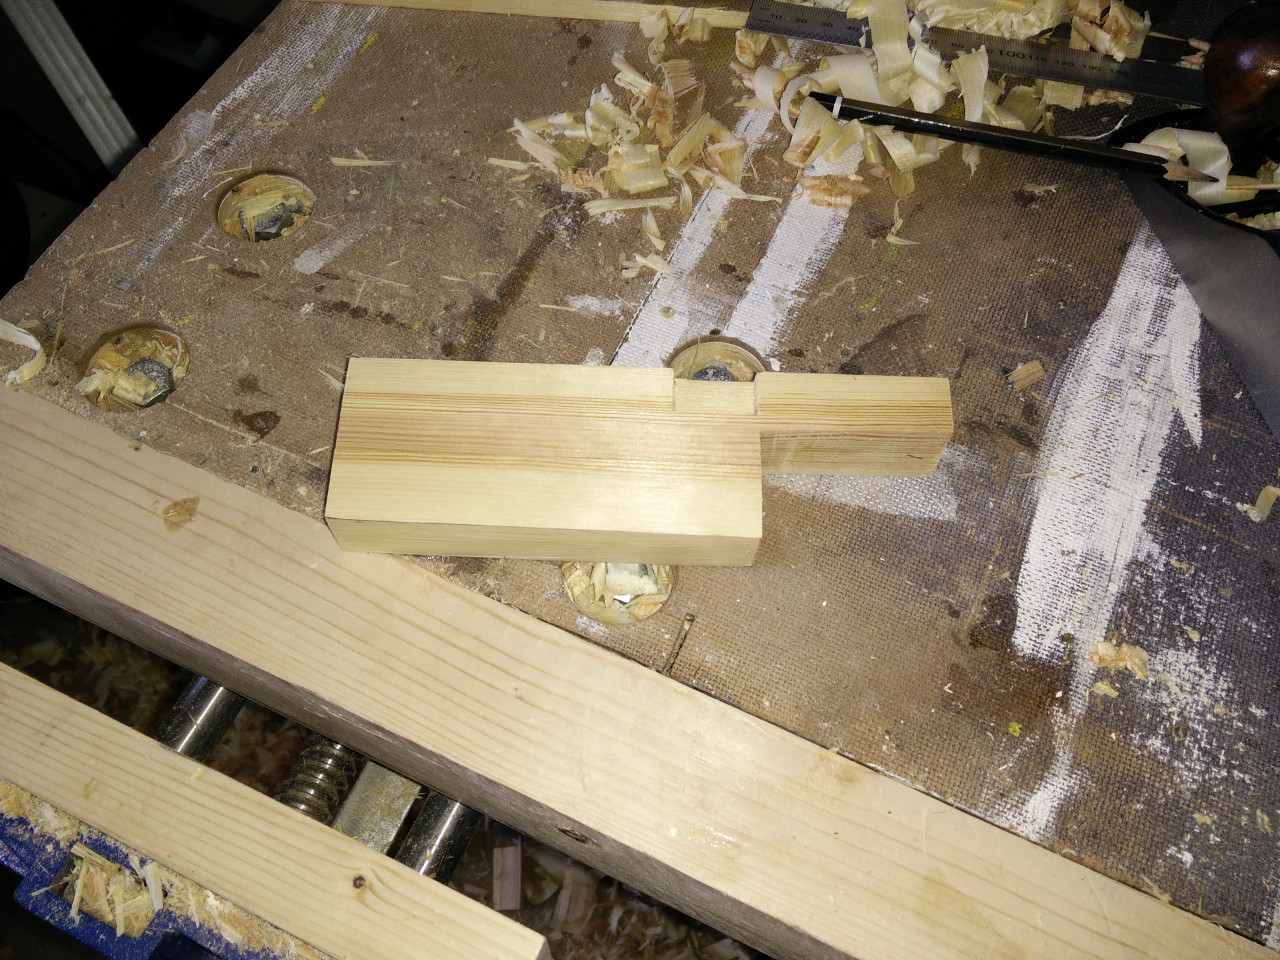
Now that the wood hardener has dried and the glue has dried on my replacement sill piece it’s time to start shaping the sill piece to fit the hole. I first cut the sill patch to length and then carefully measured for the first cut out for the back lining. Once the cut out was made I offered the piece up and marked where the pulley lining would enter the piece.
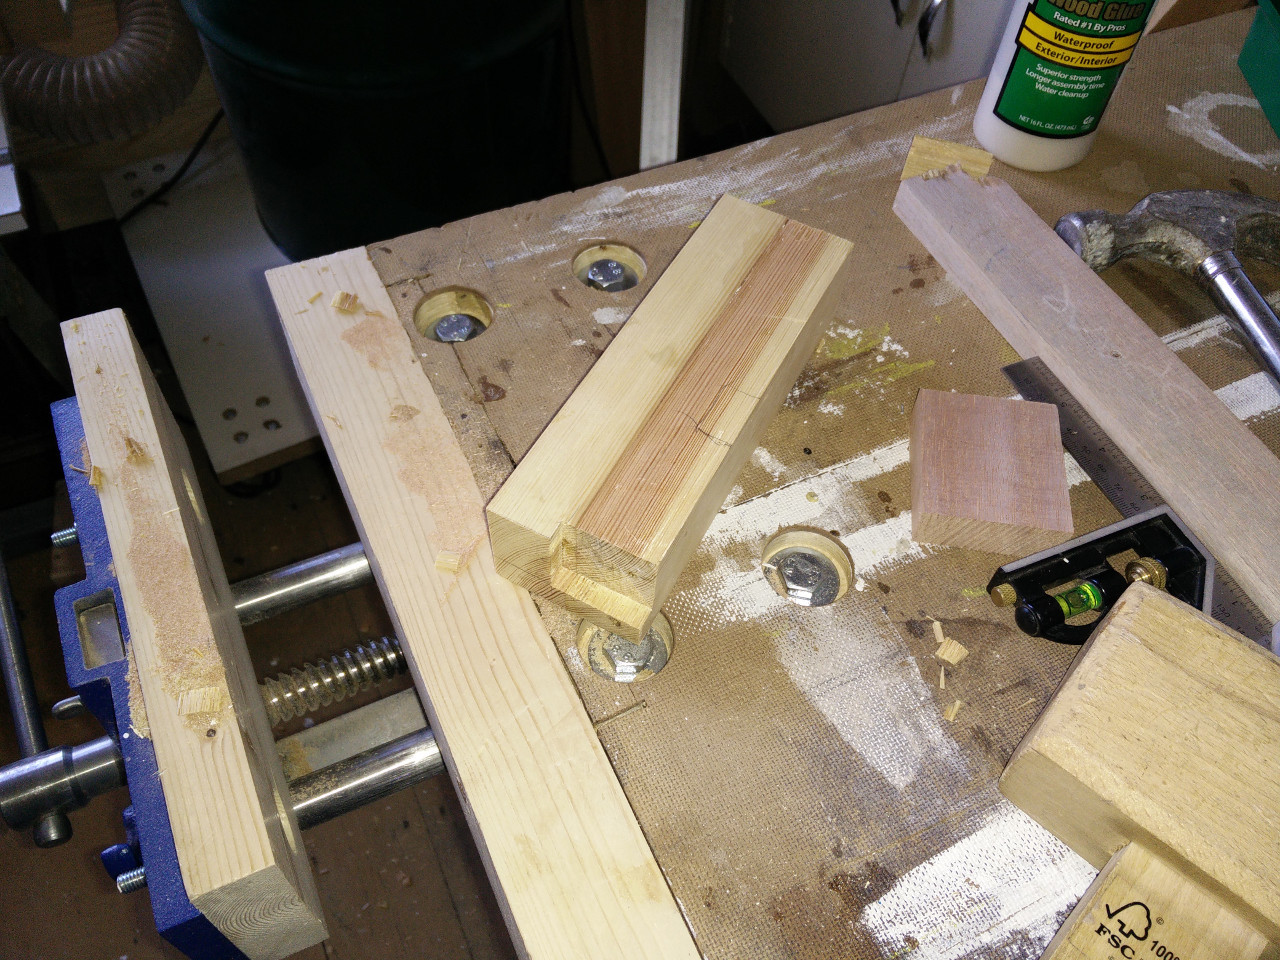
I began chopping out for the pulley lining and then changed my mind on how deep I would go. Initially I had planned on sinking the patch deep enough so that the back of the piece would lie flat with the rest of the area to be repaired. This would leave a lot to remove on the slopped side of the of the sill though which could be difficult to remove. I instead opted to sink it just deep enough to give enough wood on the slopped side and plane down the back.
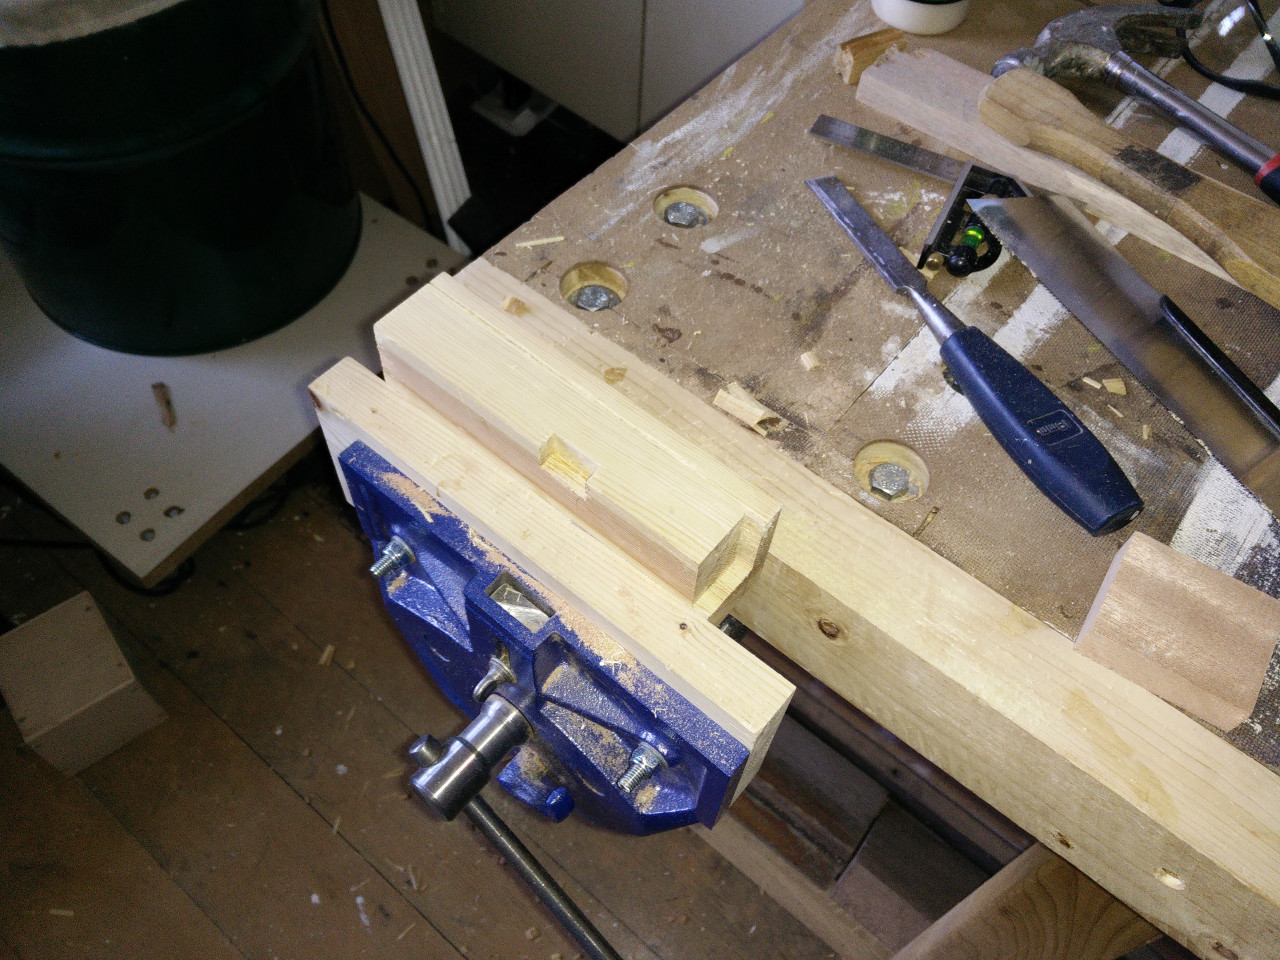
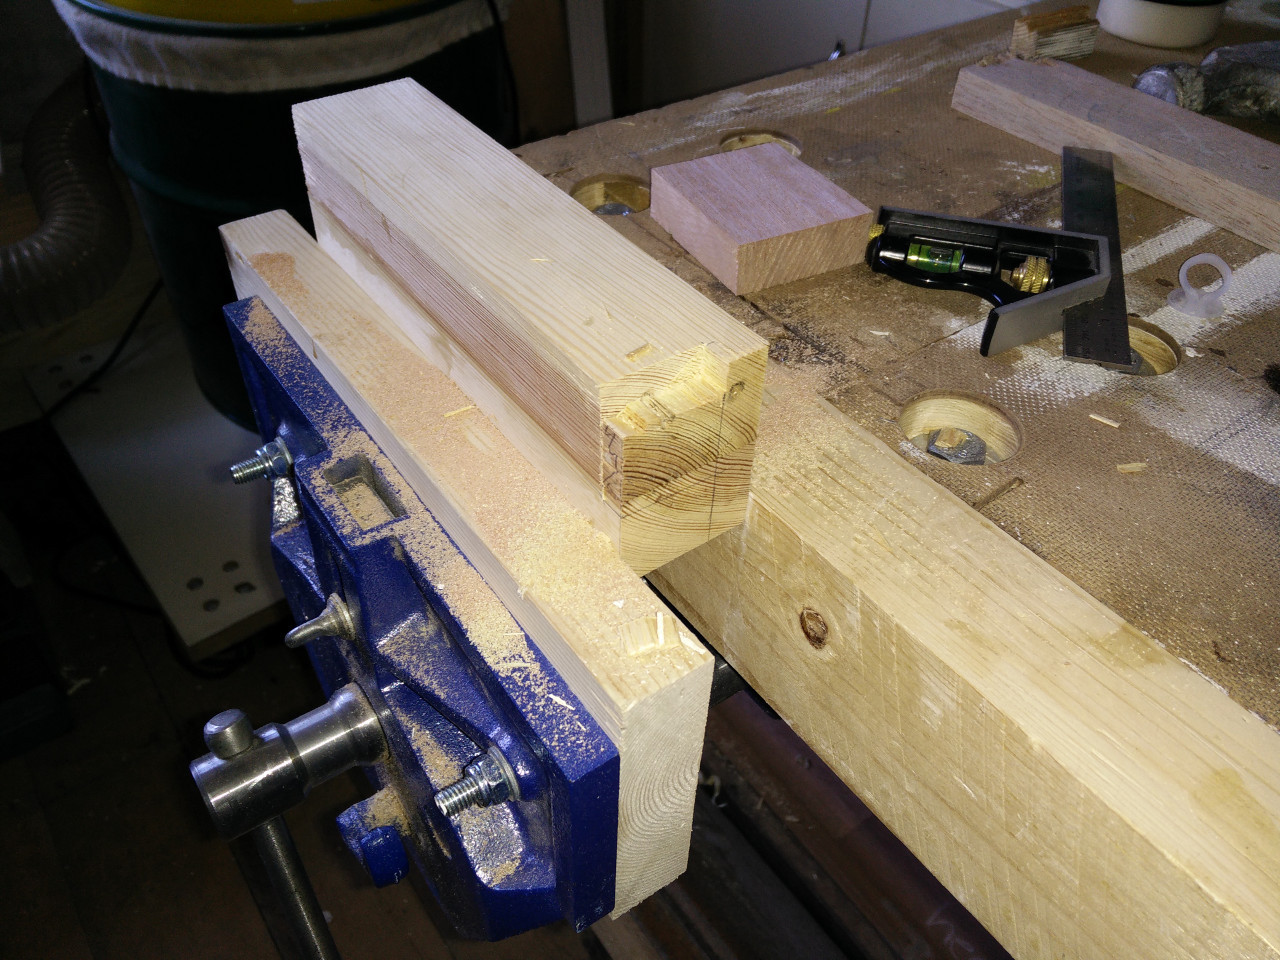
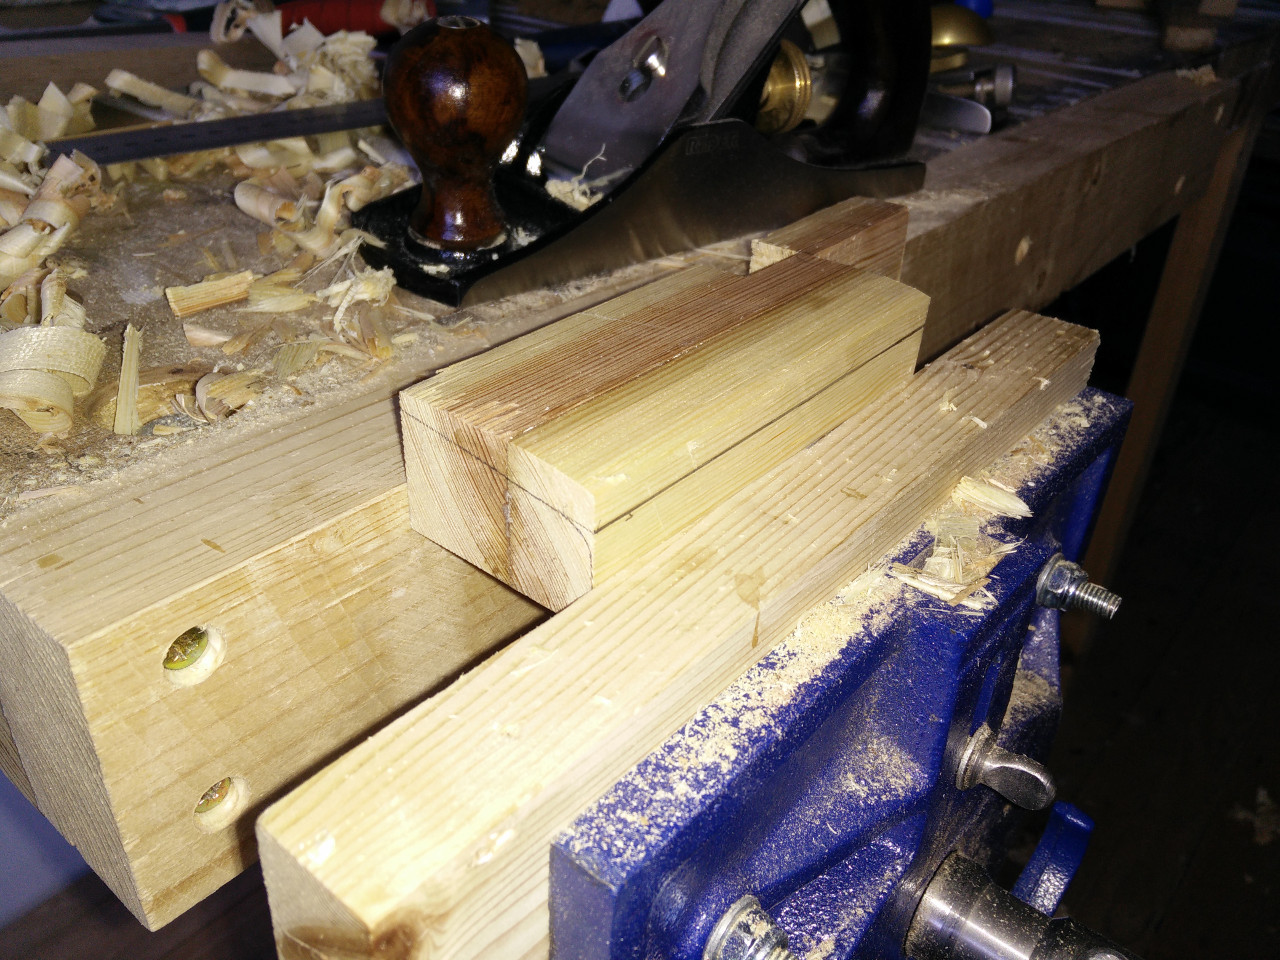
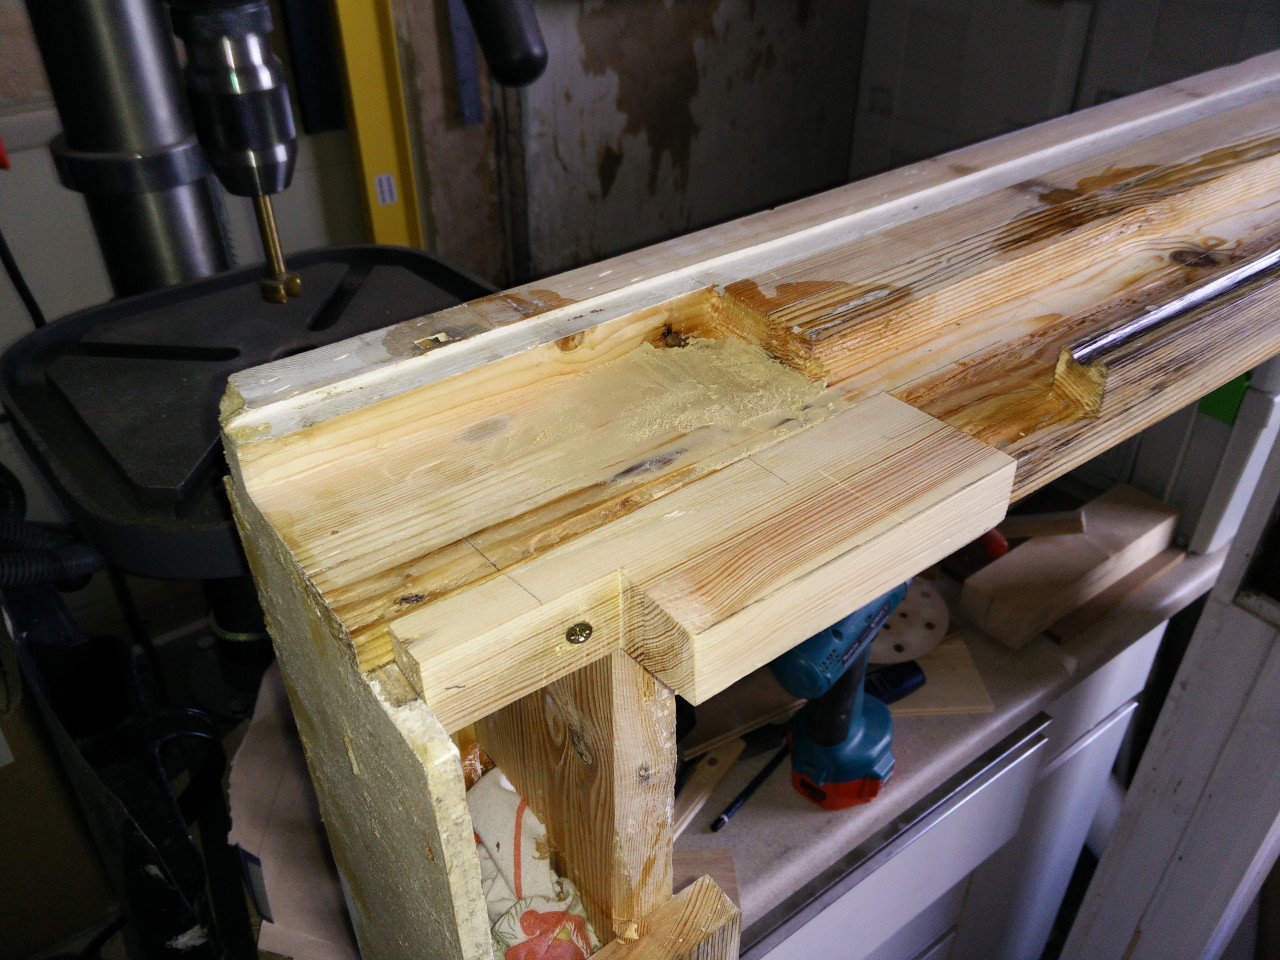
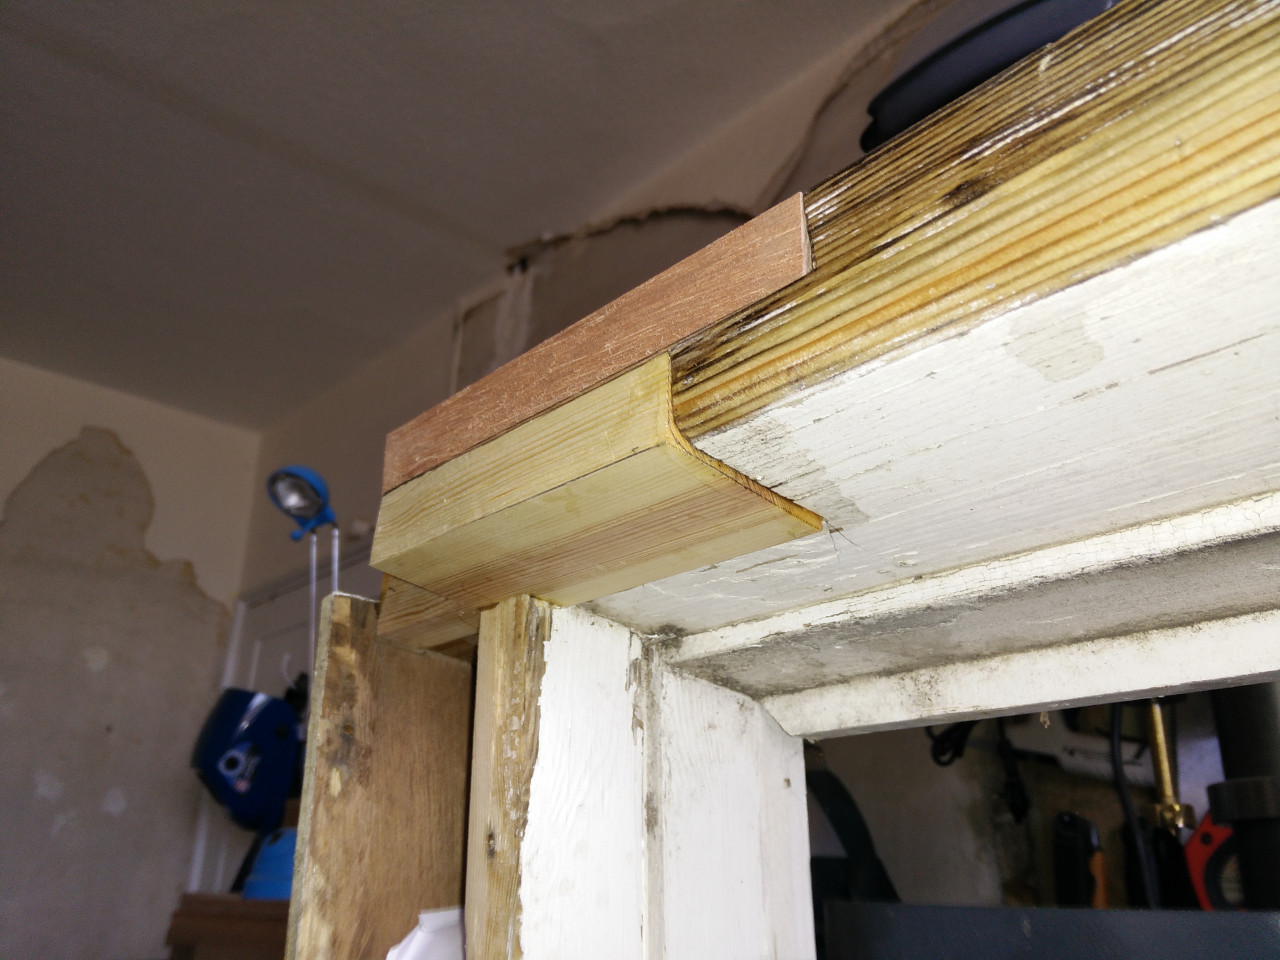
Now that the patch piece is fitting correctly it’s time to shape the sloped face. I traced around the piece while in place and planed it down until it was a good match leaving about 1mm of material to be taken off after the glue up.
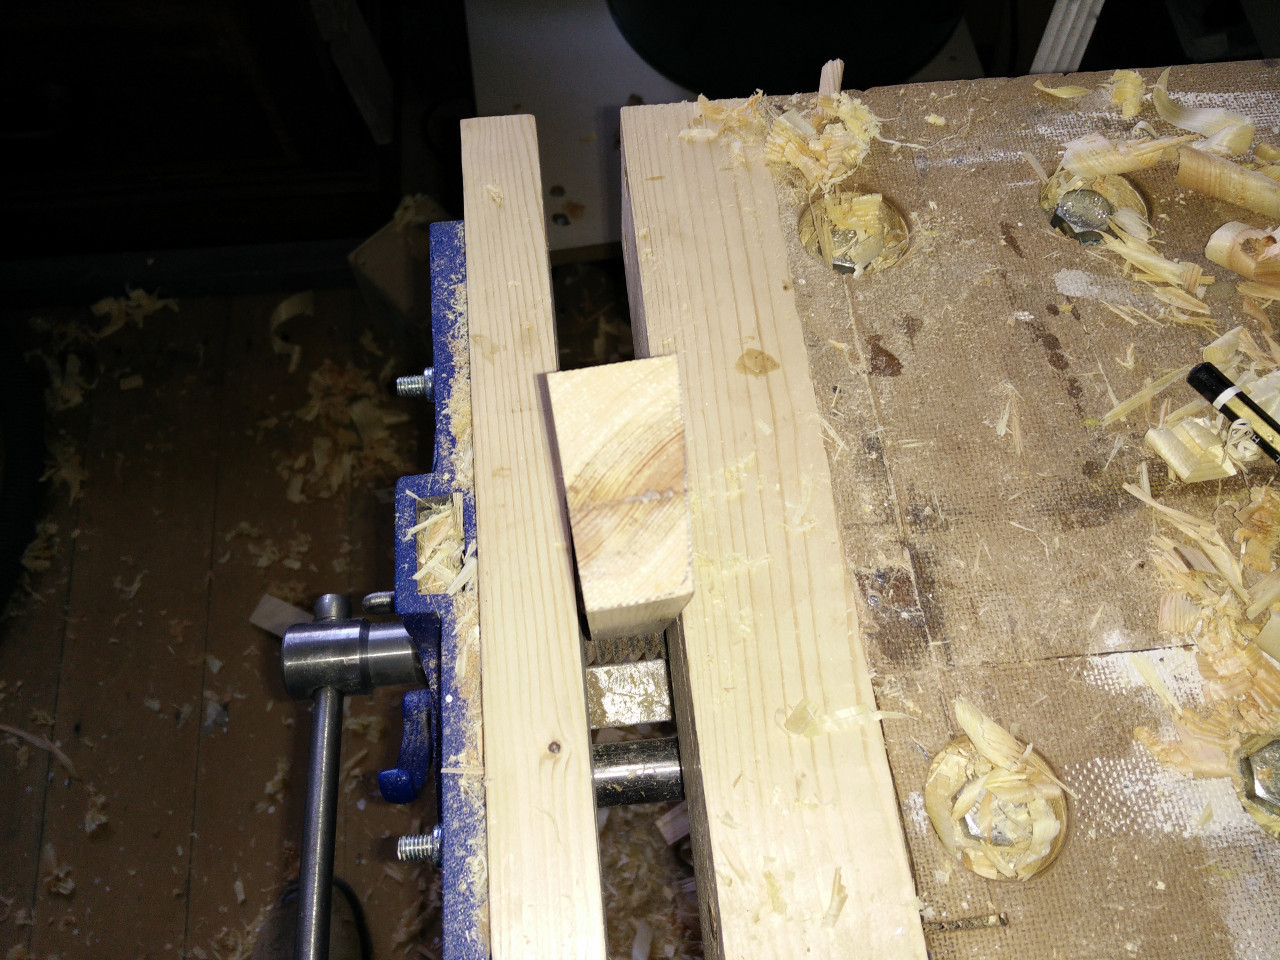
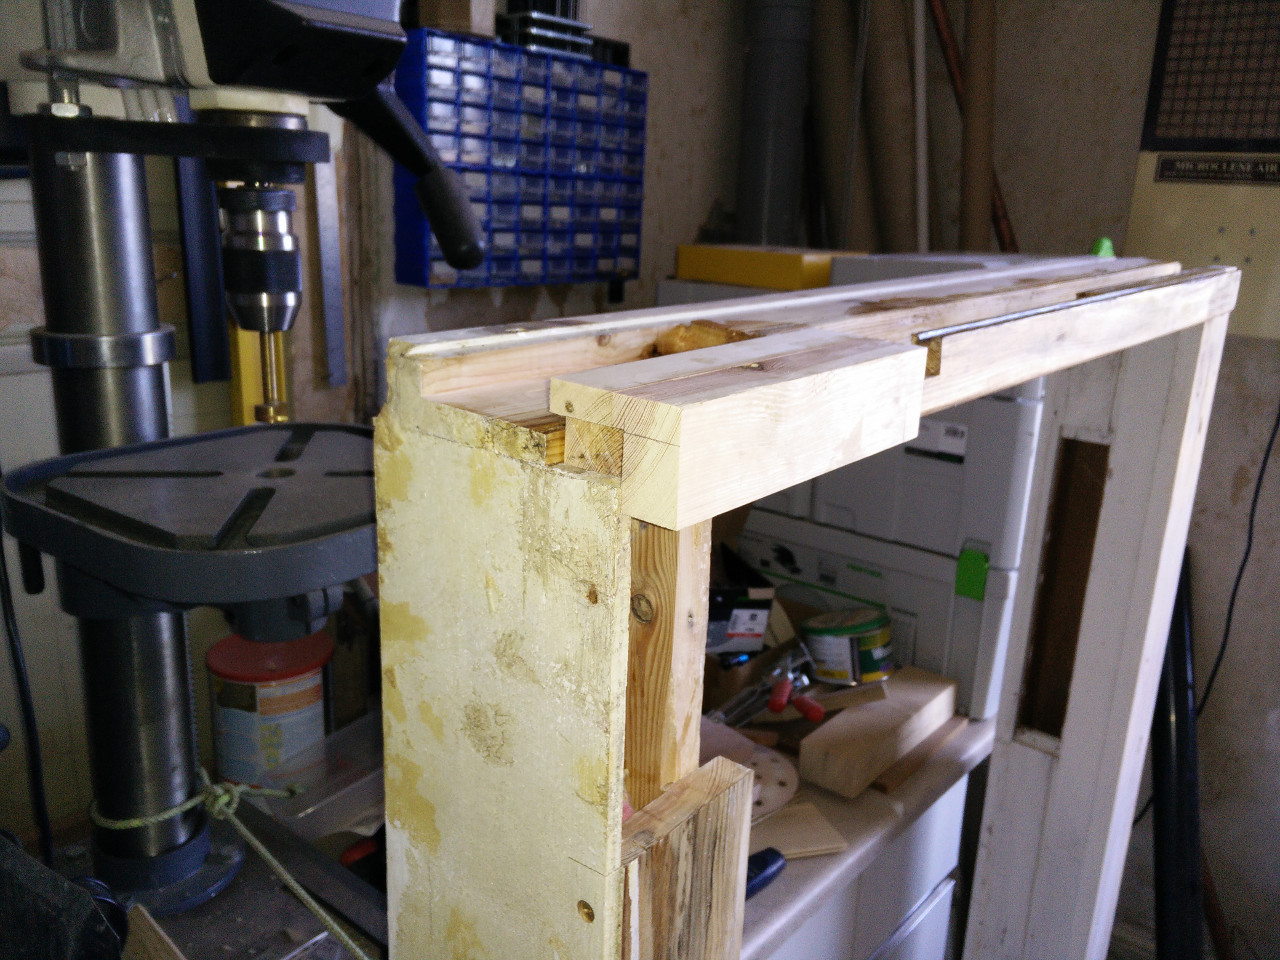
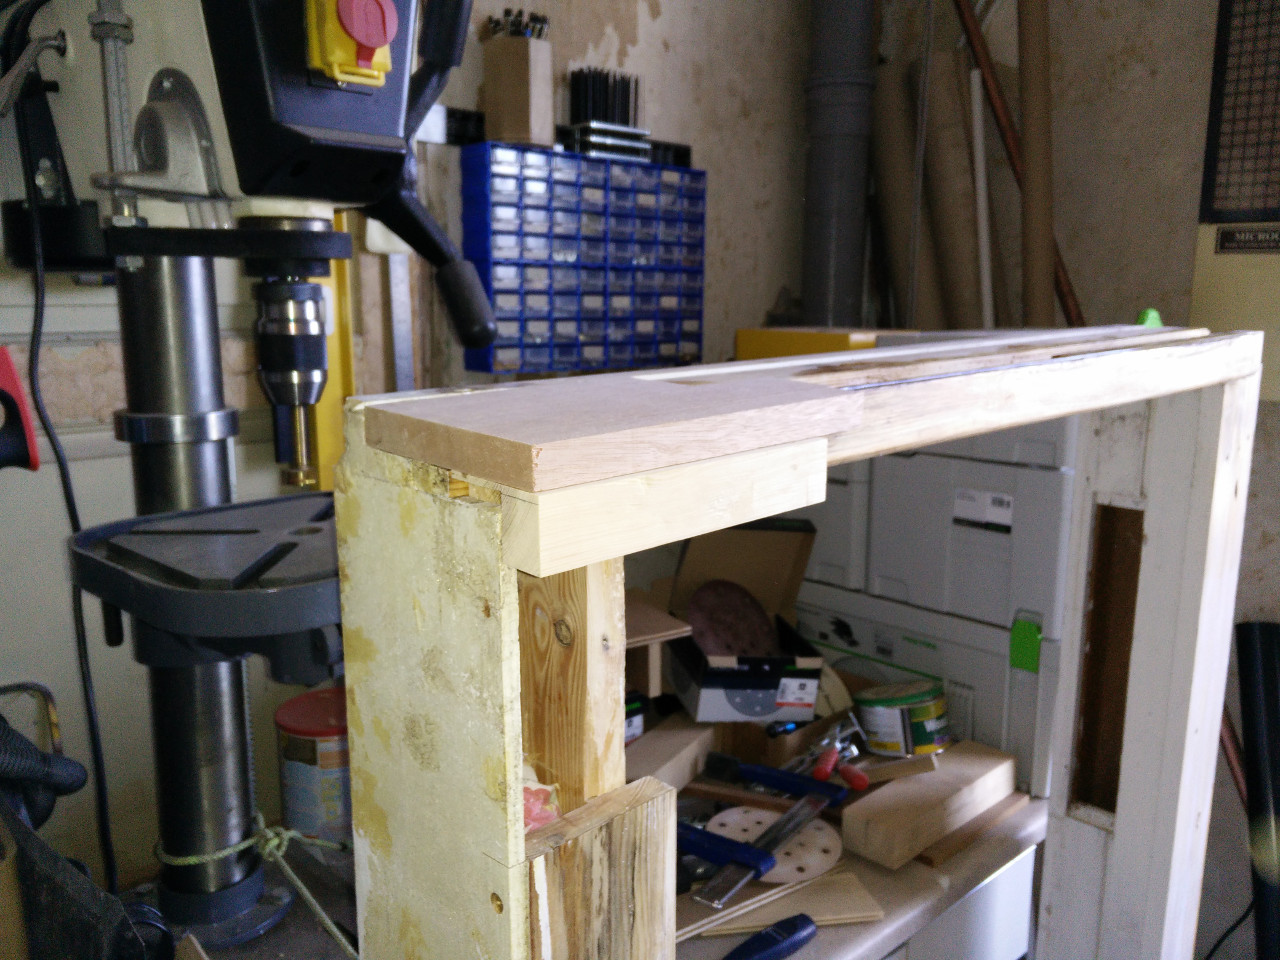
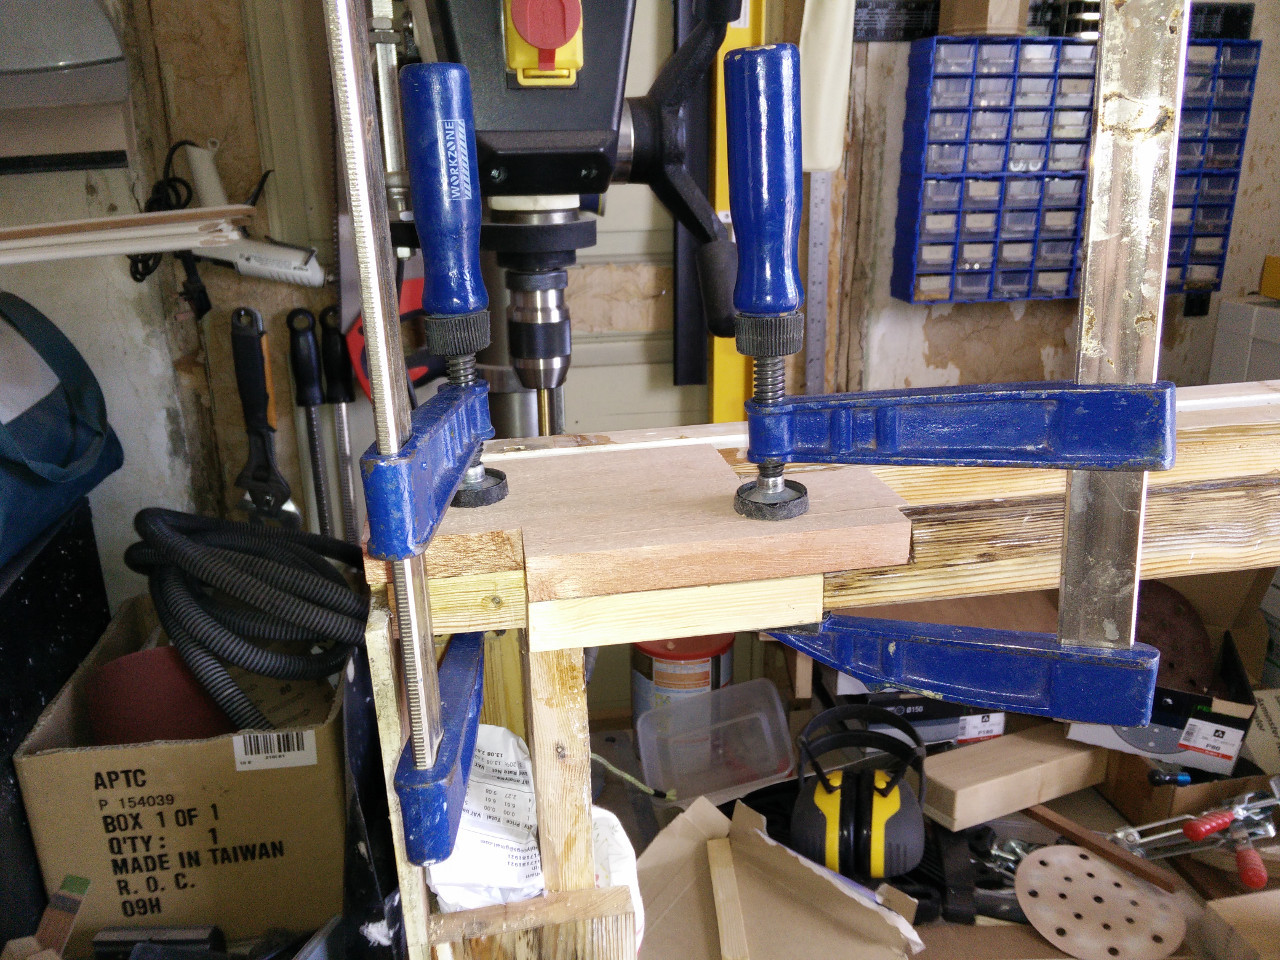
Now I started to think about gluing the patch into place. First though I filled in the rough area where the screw had caused rot. This would have caused more rot if I’d left it open. Clamping was tricky on the patch piece so I added a temporary screw to hold it together while it set. The second picture below is after the glue has set. Notice that it seems to be slightly misaligned.
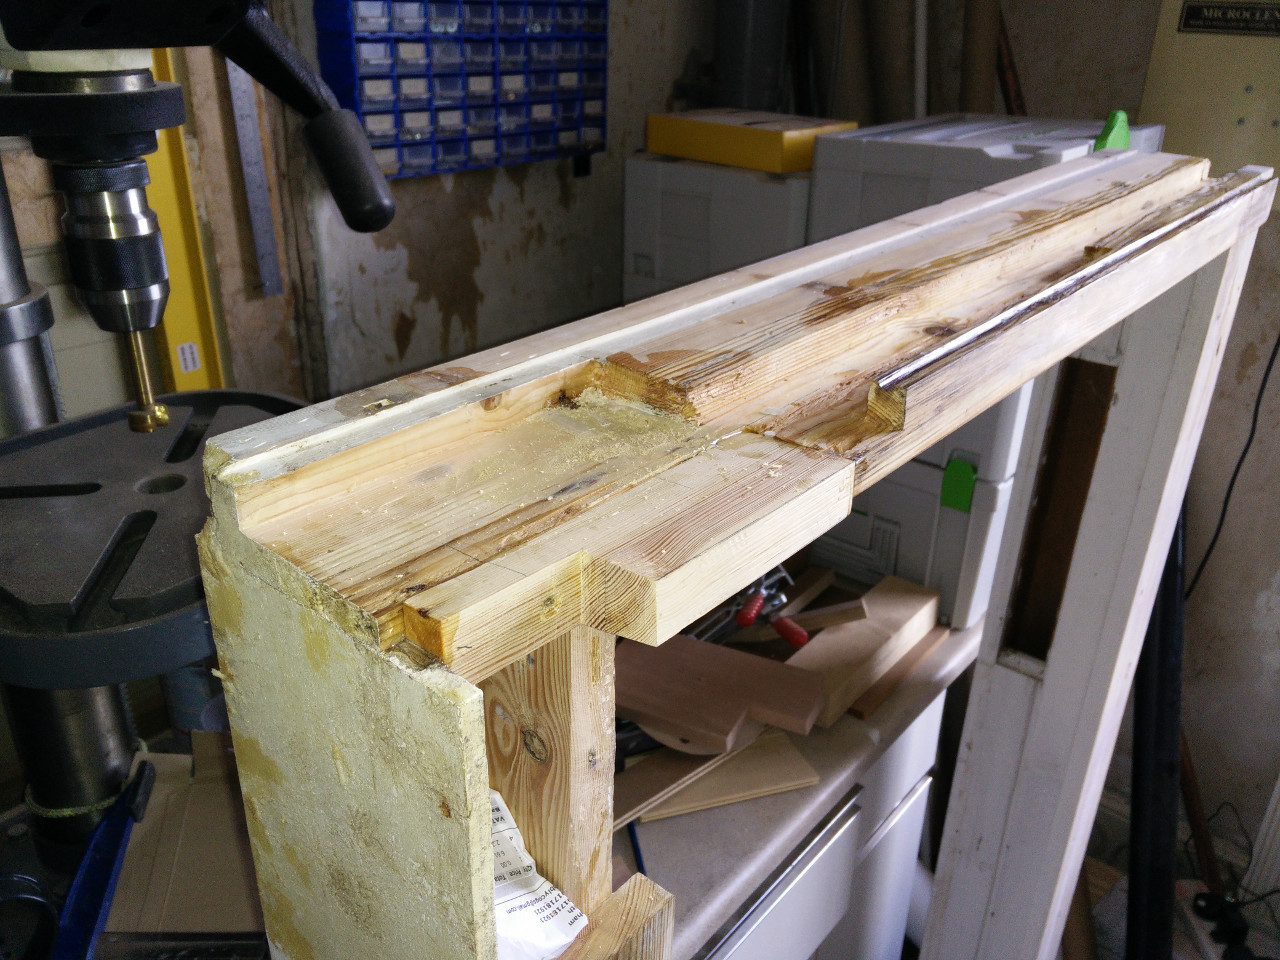
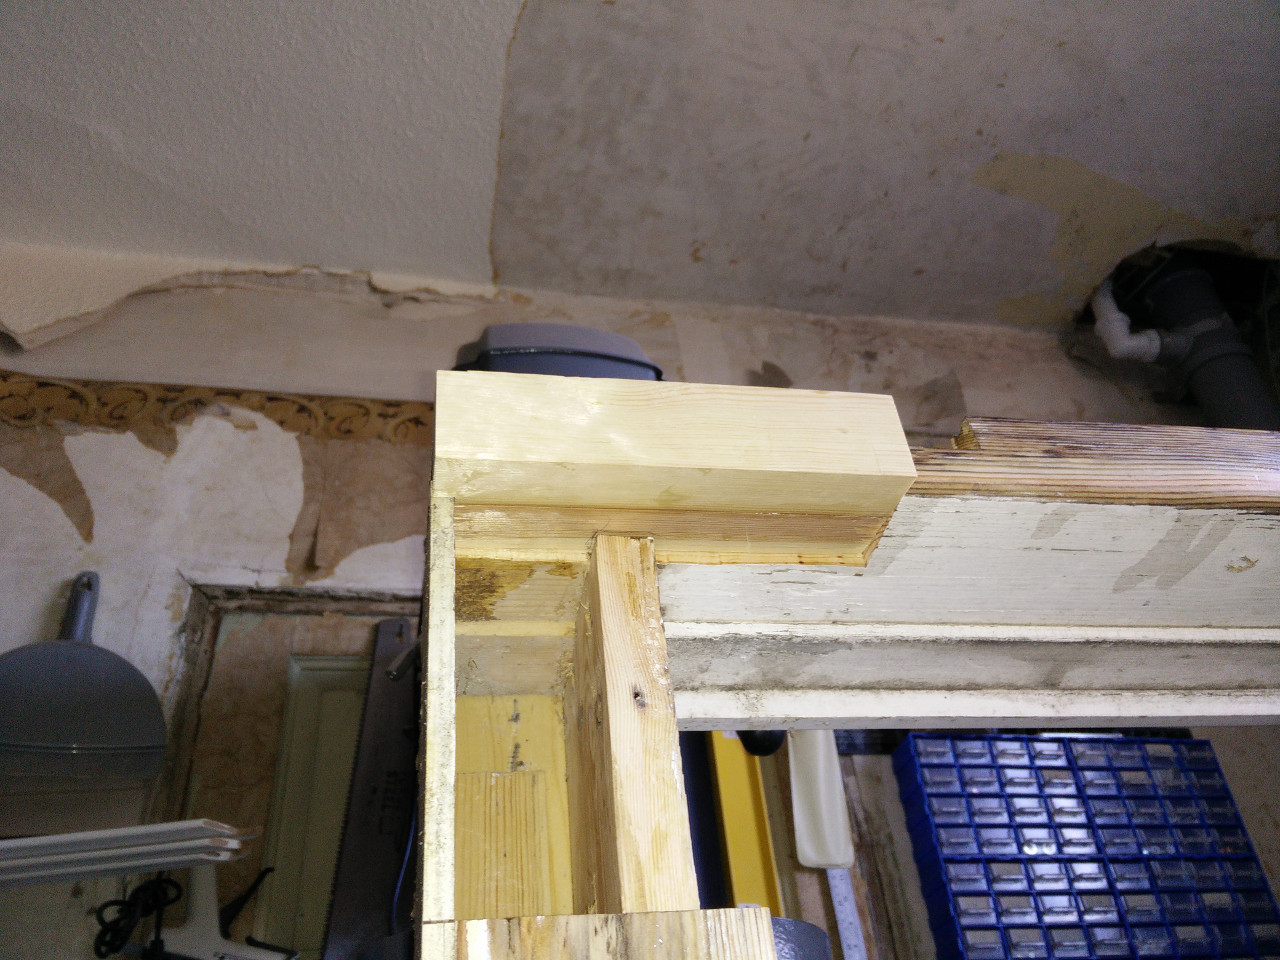
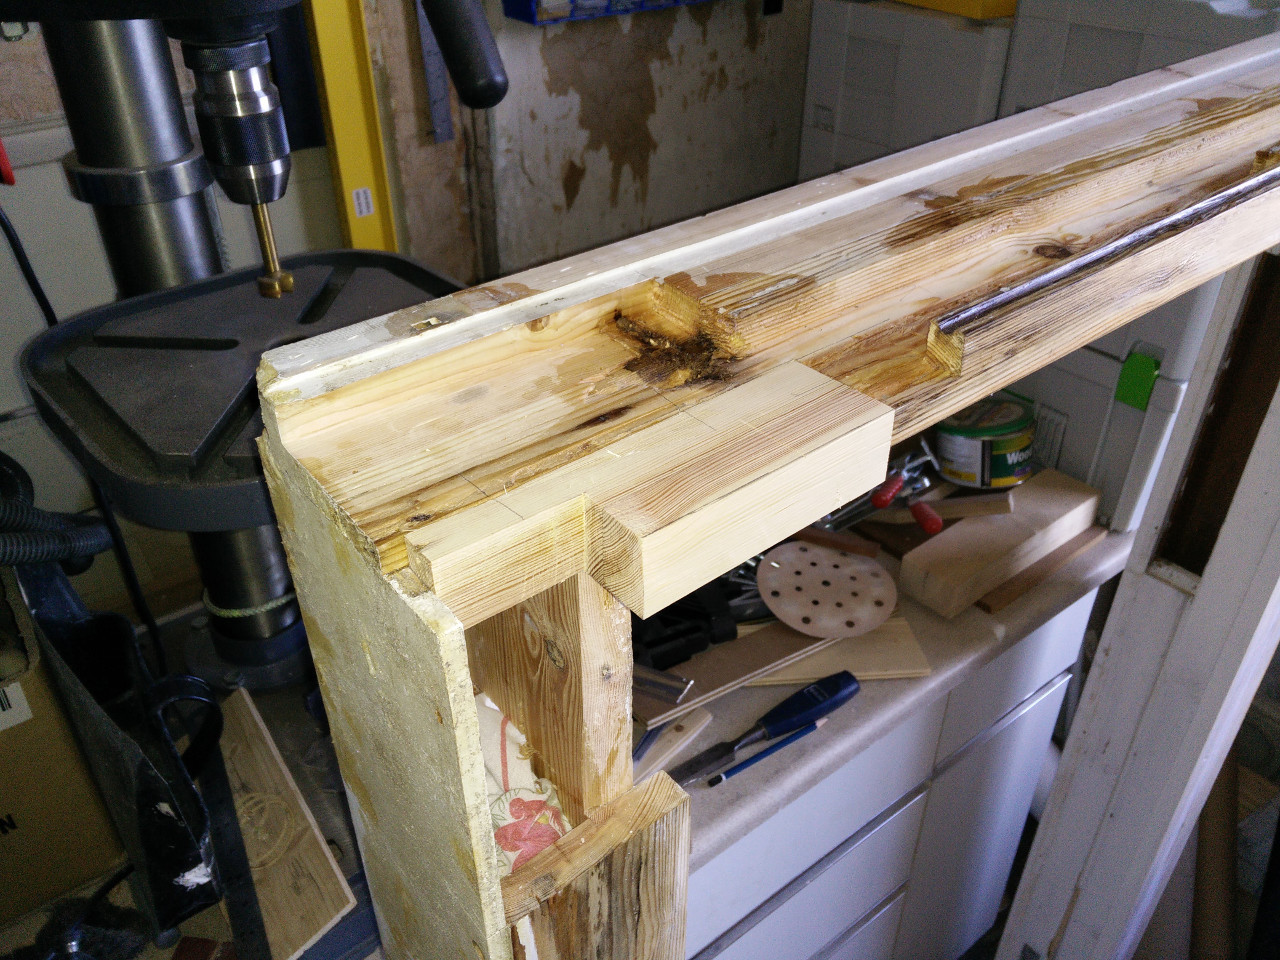
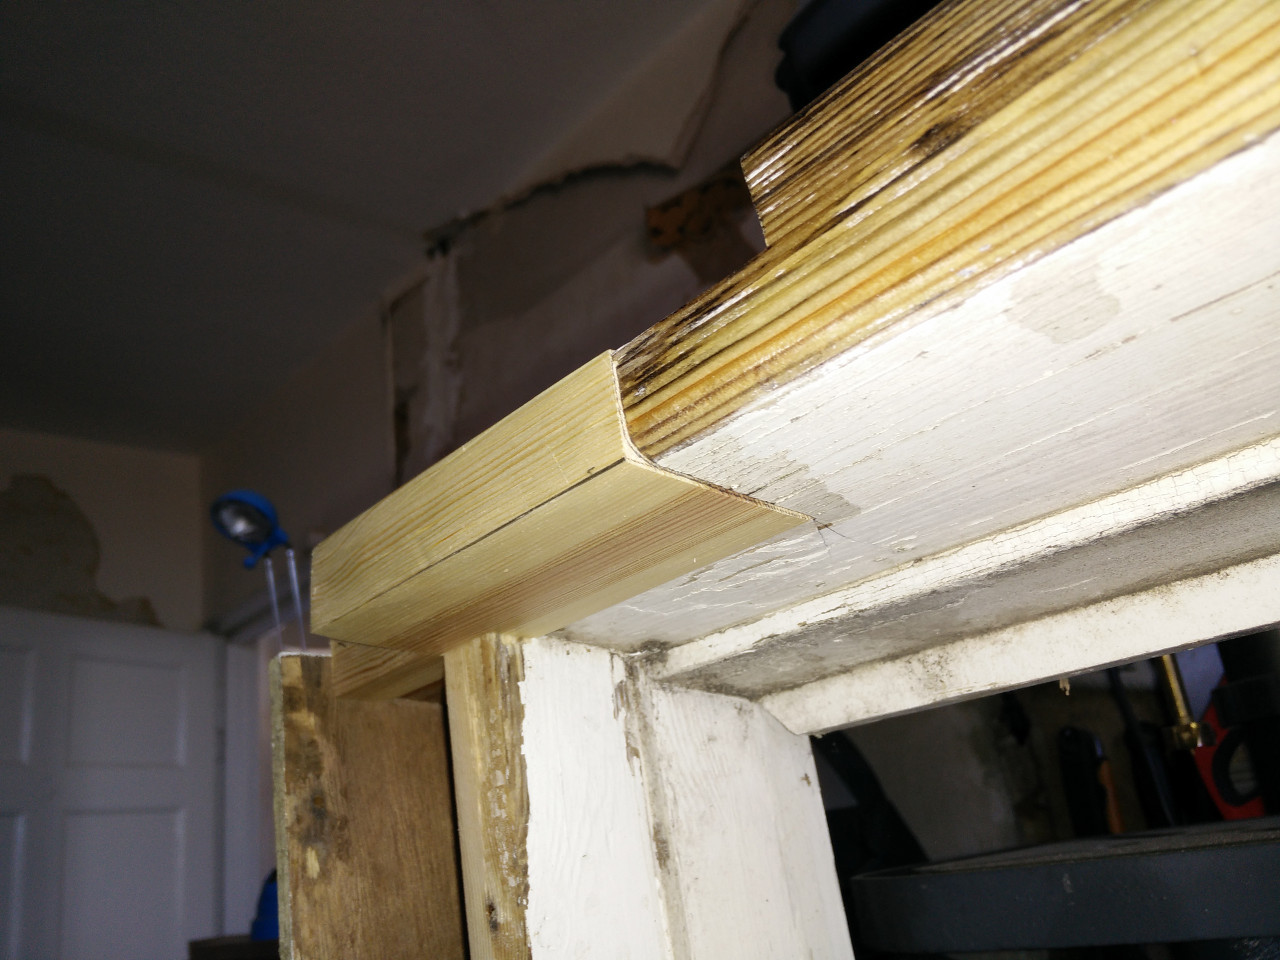
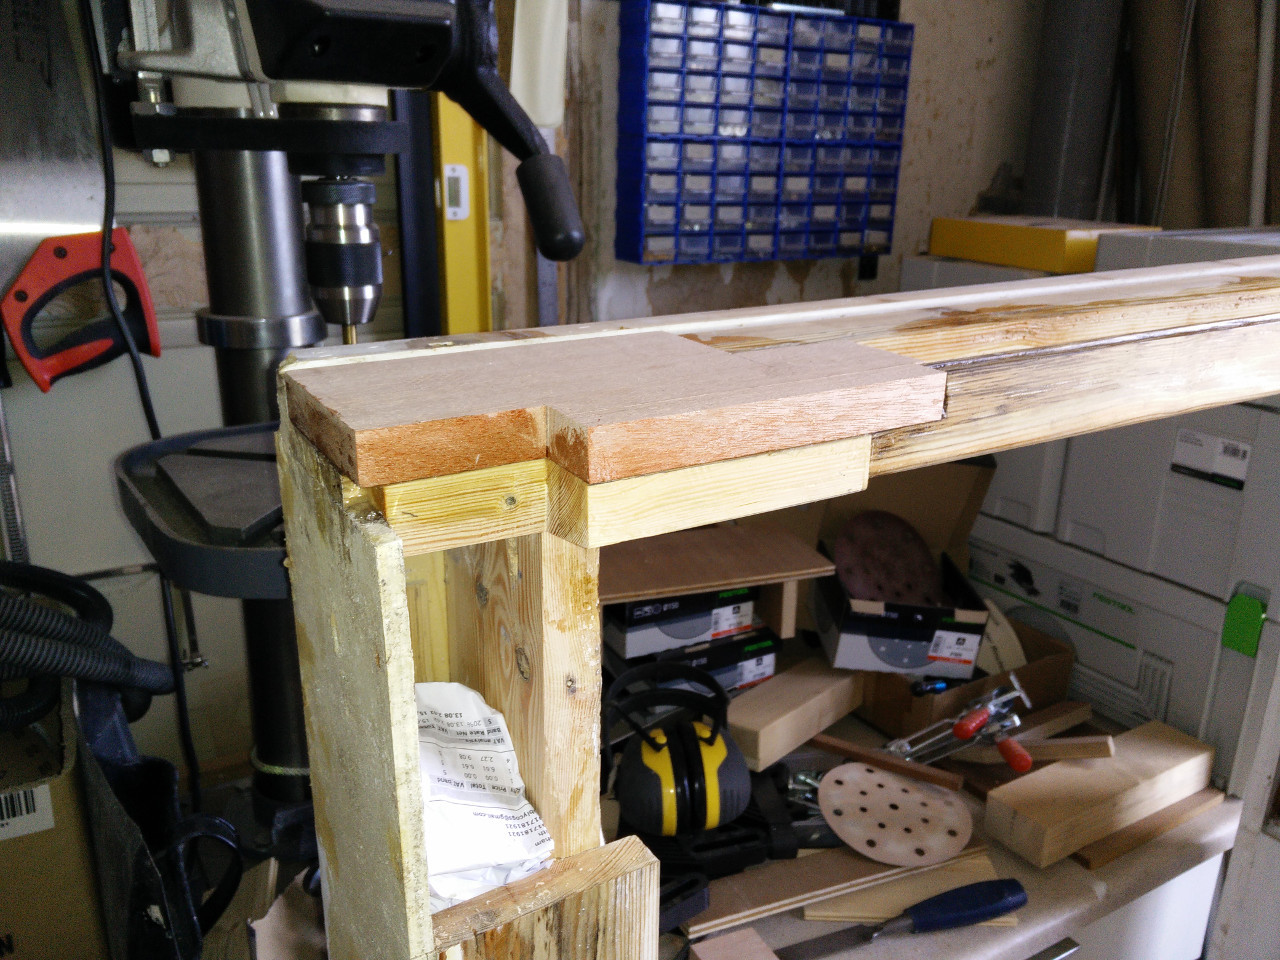
Since I was using epoxy for the repair I was able to move on to the lower sill patch piece after only an hour. I cut additional notches out to match my other patch piece, offered it up and then glued it into place. You can see in the second picture I ended up with a reveal of more like 3mm on the slopped side. It should be easy enough to fix though.
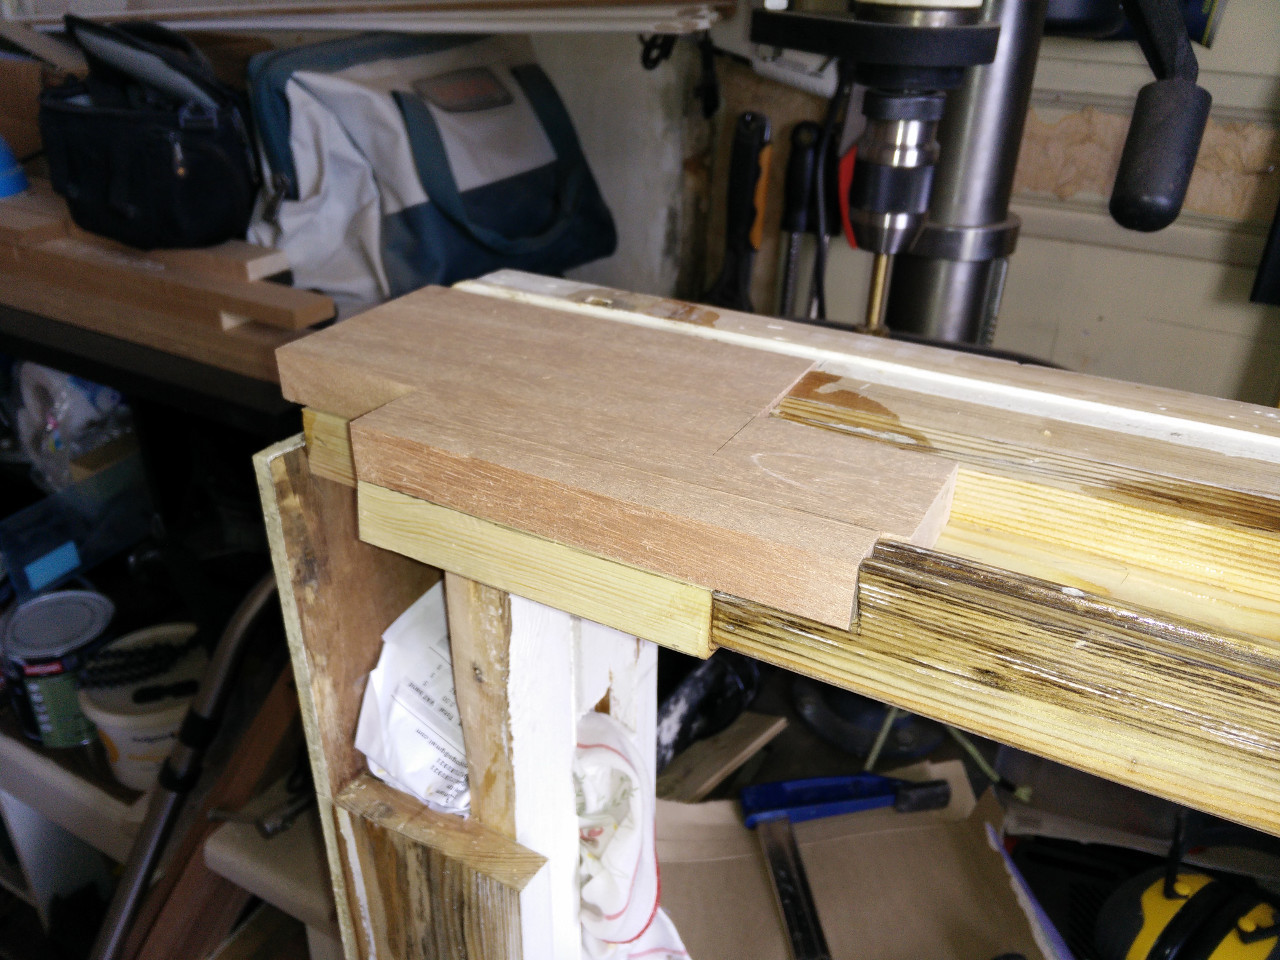
That’s the worst of the damaged now repaired. Clearly there is still a fair bit of work to do but the most technically difficult bits are over. In part four I’ll add the other patch pieces to the underside of the sill and fill in any small holes. I’ll then cut and fit a new outer lining piece and shape the sill.