I’ve been reading everything I can get my hands on regarding the electrical design for this machine but I’m still most stumbling around in the dark. Everyone else seems to find is trivially easy and I suppose in some ways it is but I really don’t want to connect to parts together and release the blue smoke.
So far I’ve managed to come up with this:
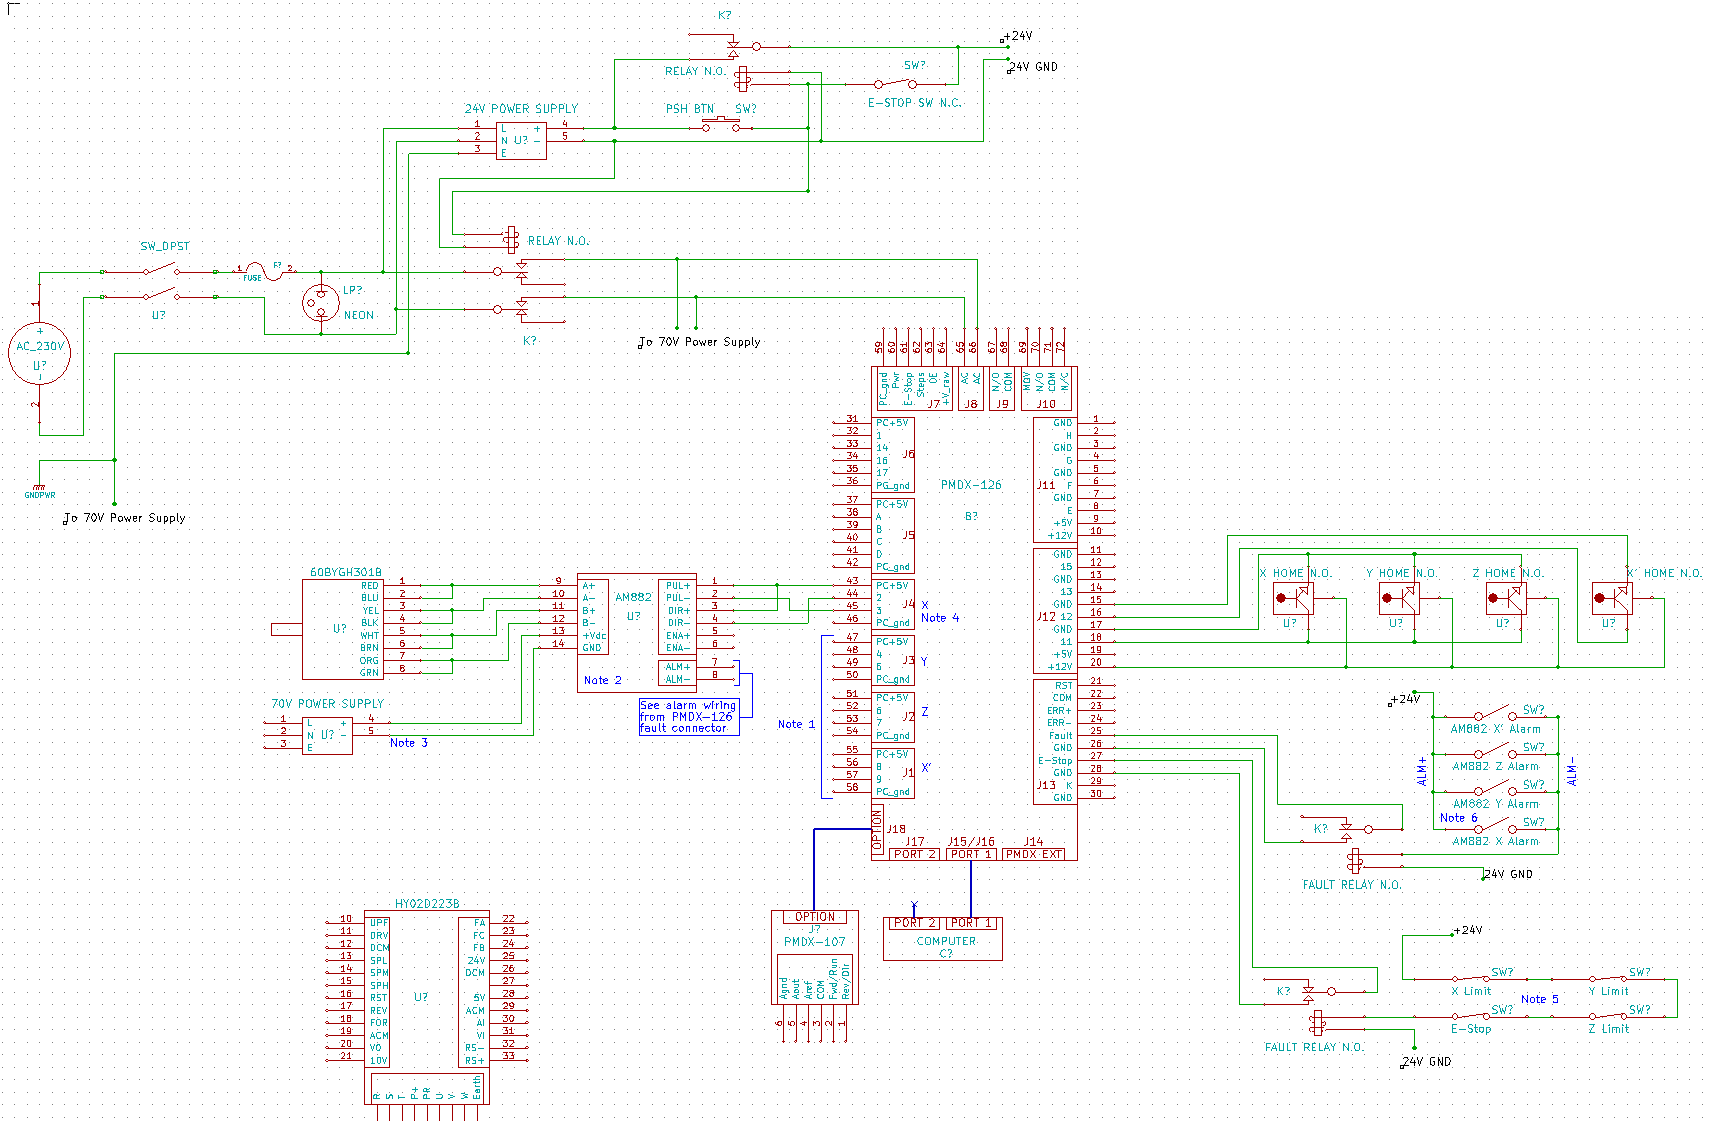
which is not a bad first pass but still leaves a lot to be desired. I’ve made a couple of minor changes already, the single e-stop in the safety circuit is now two e-stops in series and the e-stop in the limits circuit has been removed. I prefer this because then there’s no confusion over what e-stop does – it just kills all power. I originally had the home circuits using PNP sensors but I’ve replaced them with NPN since I can then power them from the PMDX rather than have to supply separate power and some how limit the current. PNP would probably have worked but I wasn’t completely sure so I thought it was better to be safe.
The fact the limit switches don’t cut power was the cause of a heated debate on the forum. I like the set up shown as I don’t consider hitting the limit to be a life threatening situation if the machine can safely handle the situation. The PMDX cuts the step and direction signals when e-stop is triggered which is good enough for me (for now at least). If I want the limits to cut the power it should be fairly easy to wire that in as well.
I went on a spending spree earlier on in the week and bought essentially all the parts I need to complete the mechanical aspect of the build. The aluminium profile arrived yesterday and I couldn’t resist joining a couple of parts together to see how strong they were.
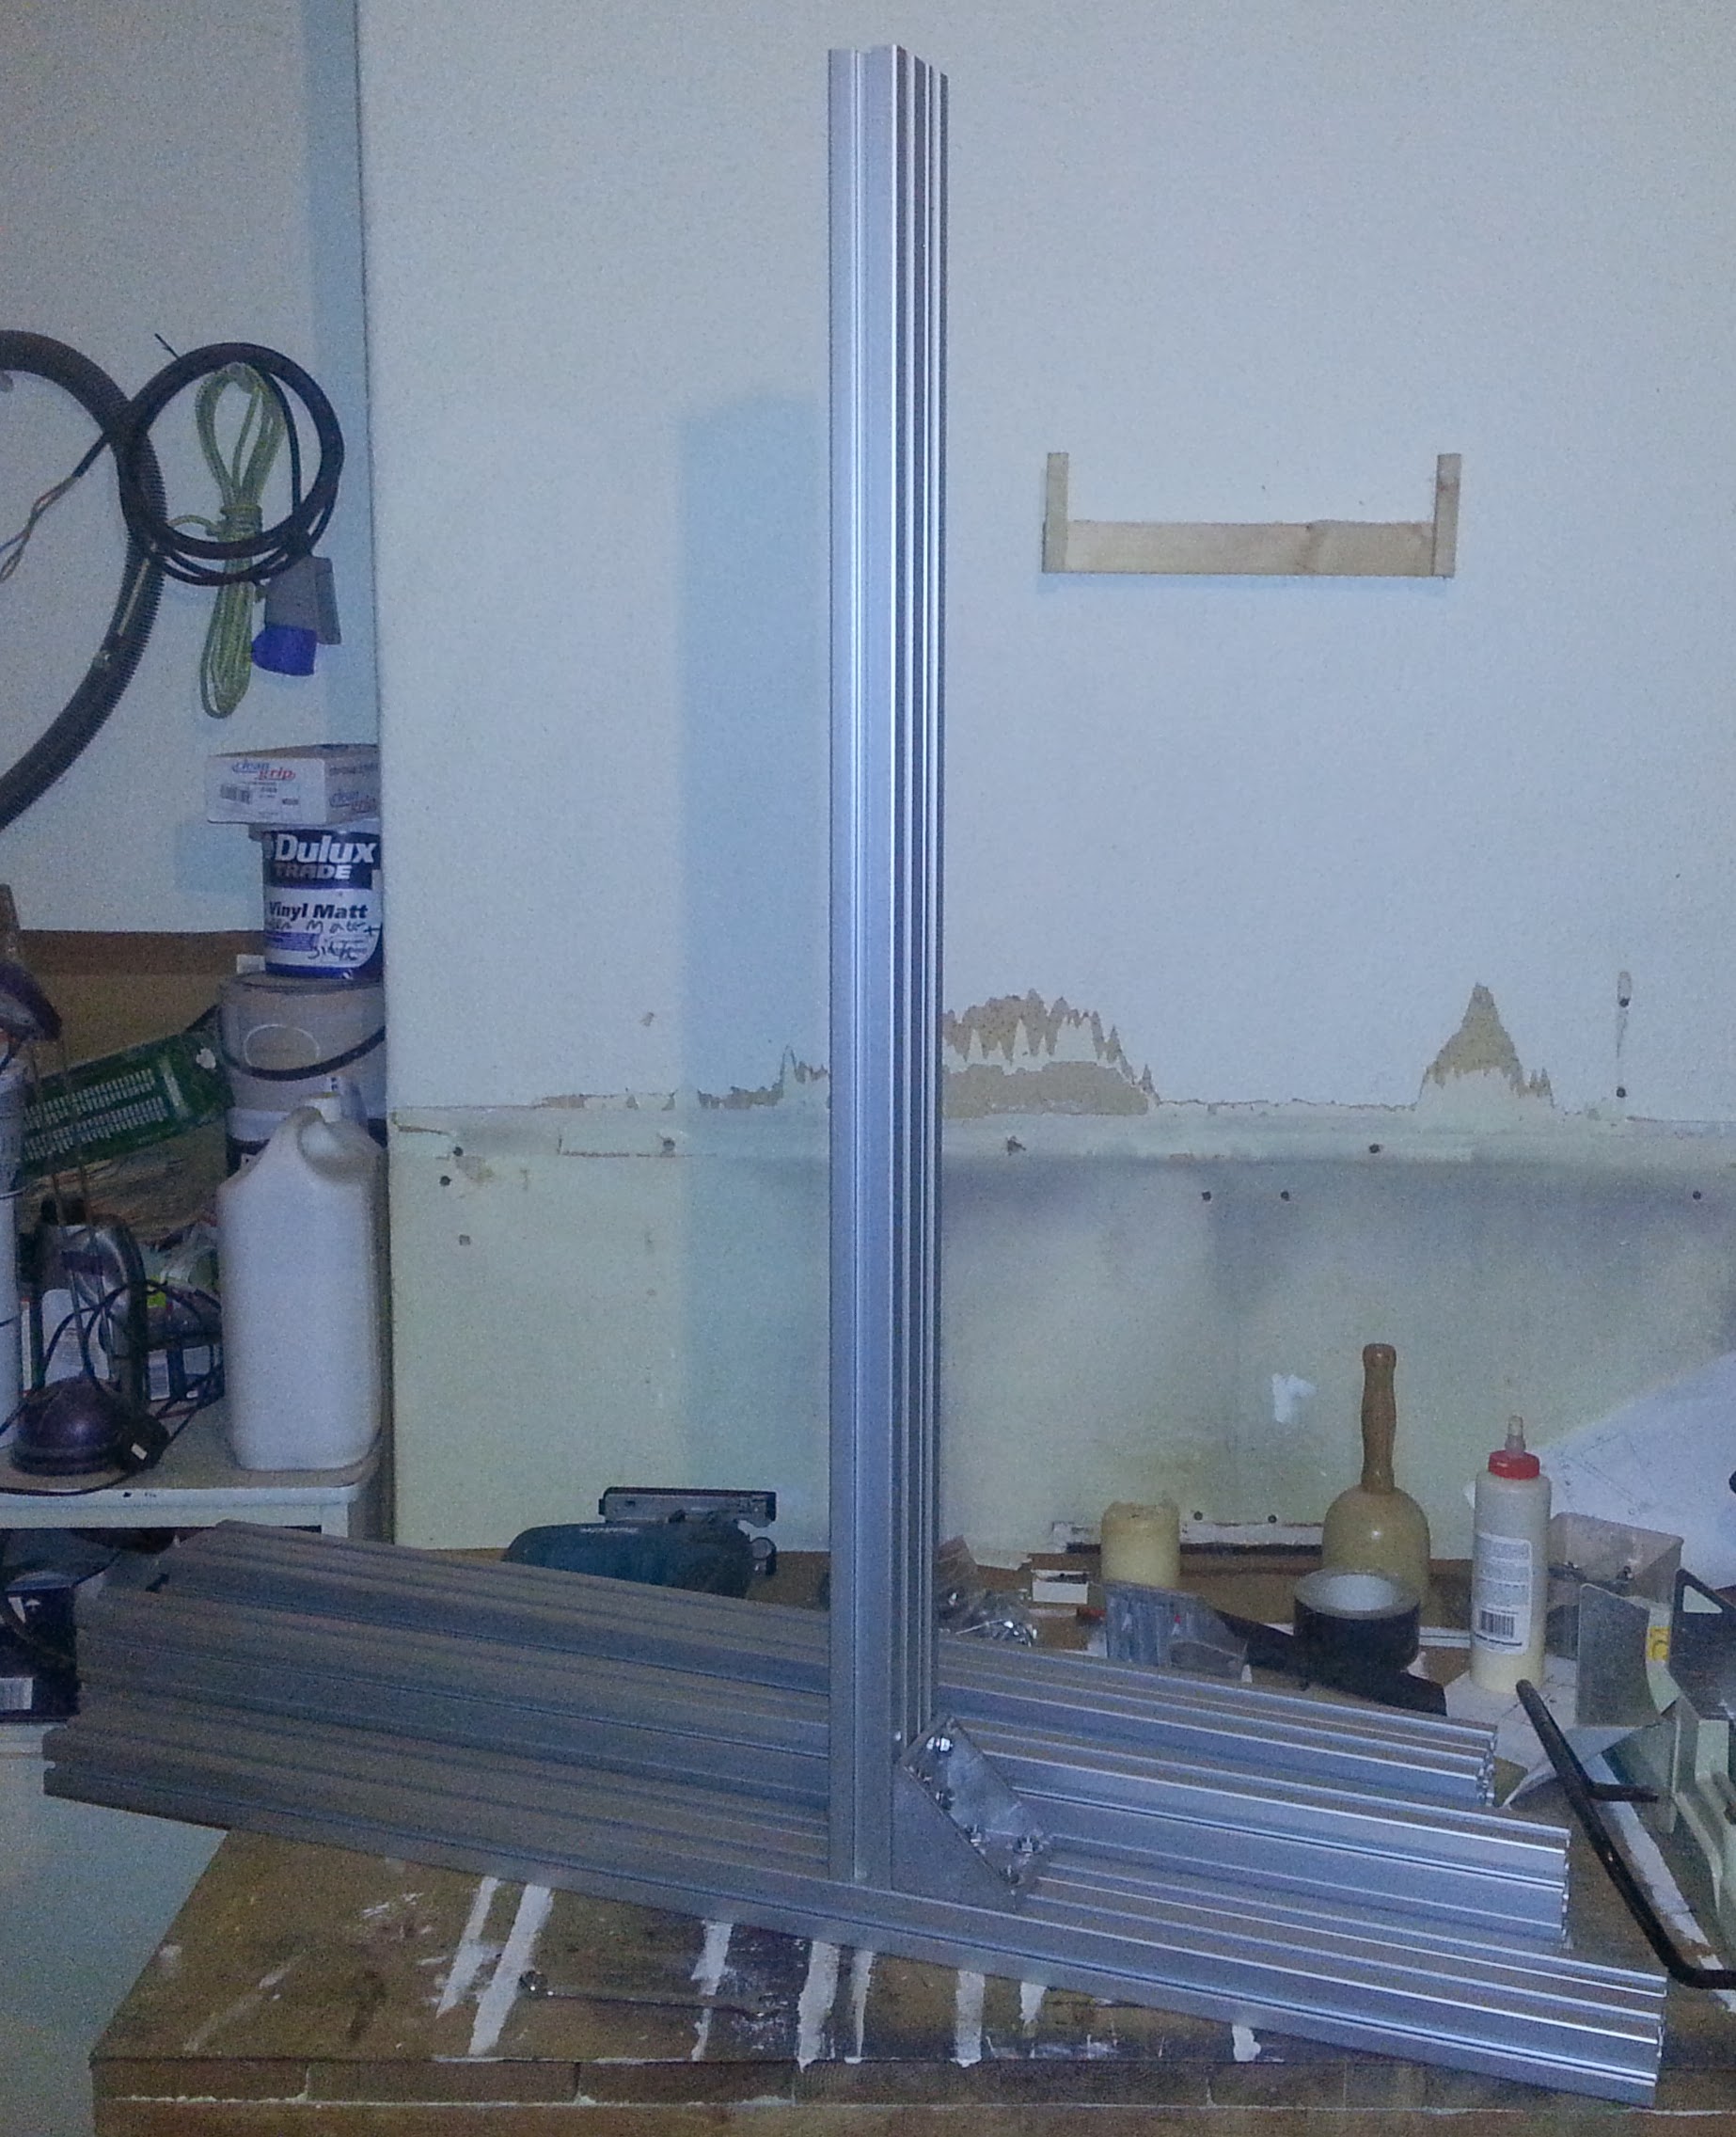
Turns out the guys on the forum were right, despite the fact that bracket is seriously chunky the joint isn’t all that strong. If I pushed the top of the upright towards the left I couldn’t see any movement but pushed to the right a gap opened up at the bottom of the joint. It was perhaps only 0.1mm but even so the joint isn’t as rigid as I would like. Lucky then that the bracket is just for the cabling and I have my own fixing plates holding the actual frame together. Saying that I feel a bit silly for having bought those 90mm brackets as they are only going to be holding up a cable tray and drag chain, I could have bought much smaller, cheaper brackets. In fact I could probably have just bolts the tray direct to the aluminium profile, oh well they are here now.
While I think about it, the aluminium profile is from KJN. The cuts are beautifully square and apart from one piece which is perhaps 0.5mm over length the lengths are very consistent. The packaging was good to the point of absurd, going from the inside out there was: scratch resistant film, cling film, tape, card, bubble wrap, card, tape. The only thing I didn’t like about the process was the ambush shipping fee. What you see in the picture above cost £50 to ship and I didn’t find that out until well into the process of placing the order. When I consider I’m ordering items that are larger and significantly more difficult to ship from Aluminium Warehouse and they are only charging me £12.50 I consider the KJN shipping charge to be a massive rip off.
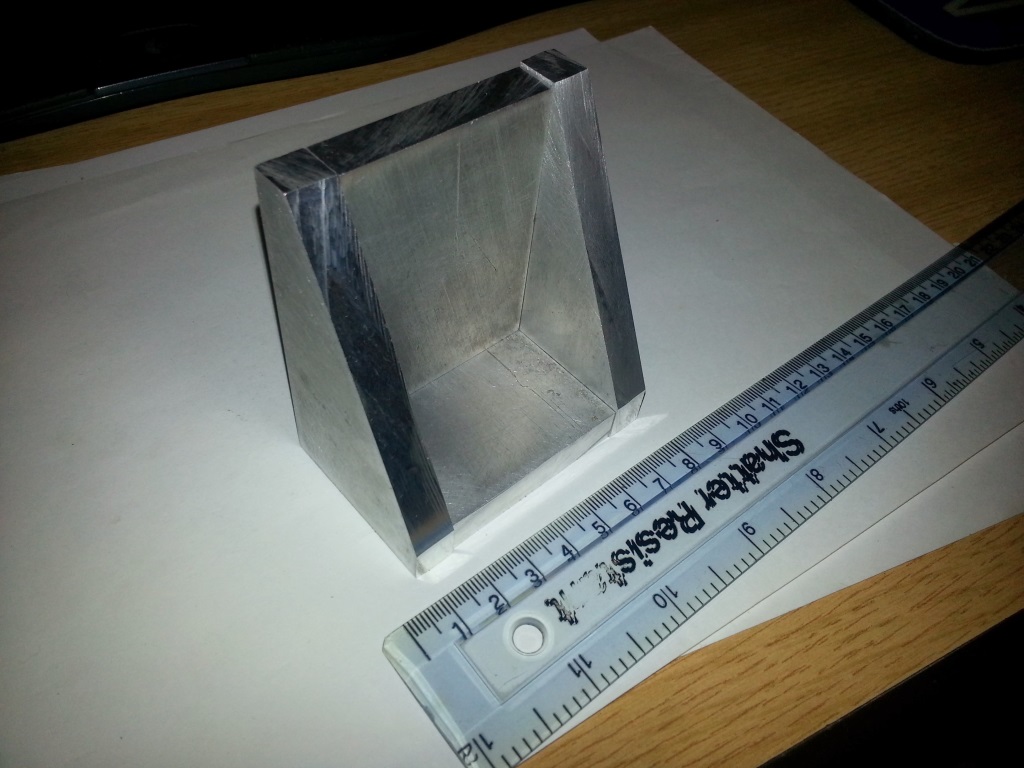
I’ve decided to get most of the parts made from aluminium plate professionally cut rather than do it myself. Although I think I probably could, eventually, cut the parts myself there is a great deal of time and money already invested in this project so it seems silly to risk it for the cost of getting someone else to cut the parts. I came to this decision after making this bracket:
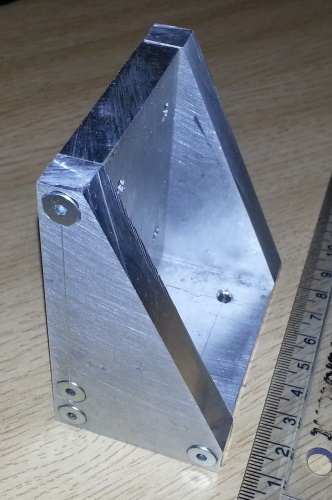
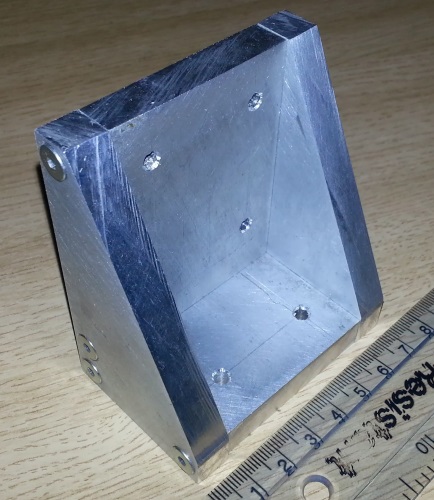
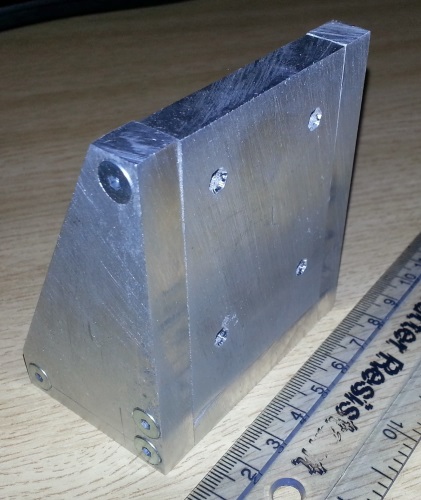
Since taking these photos I’ve cleaned it up a bit. It’s almost perfectly square and incredibly strong but it took an age and a half to make. Even with the professionally cutting there’s still a fair amount of work to be done as none of the edge drilling or tapping will have been done (all the fact drilling should be done though). The process of making this bracket was very similar to the way it would be done if it was made from wood. I squared up one edge of the aluminium plate:
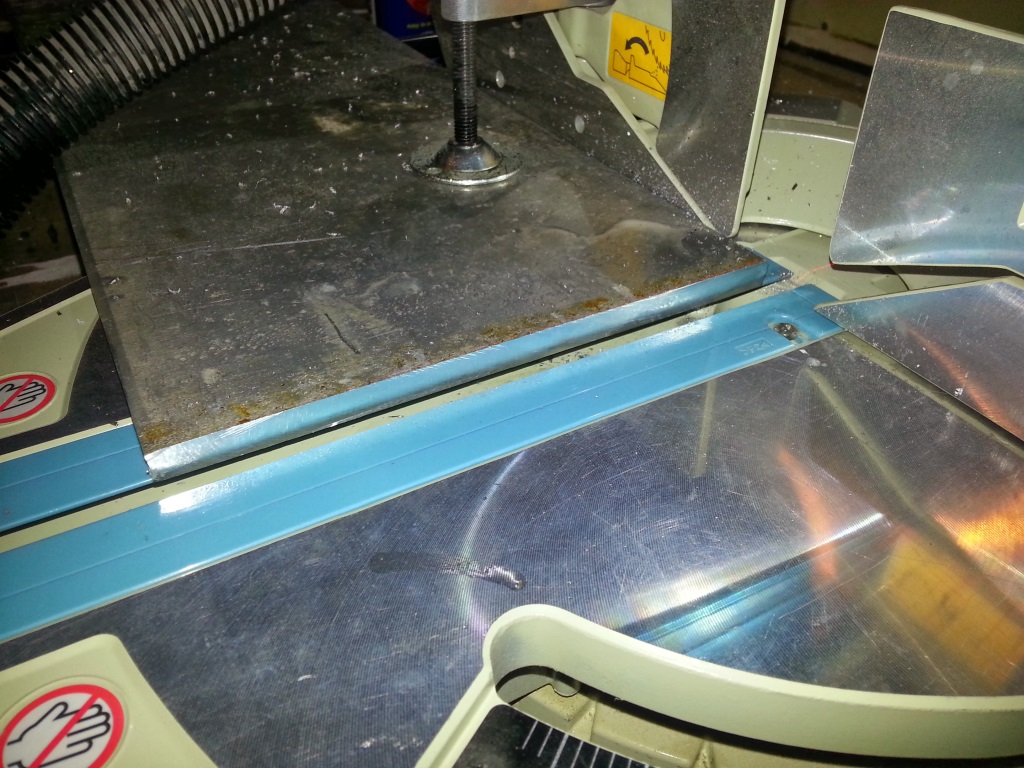
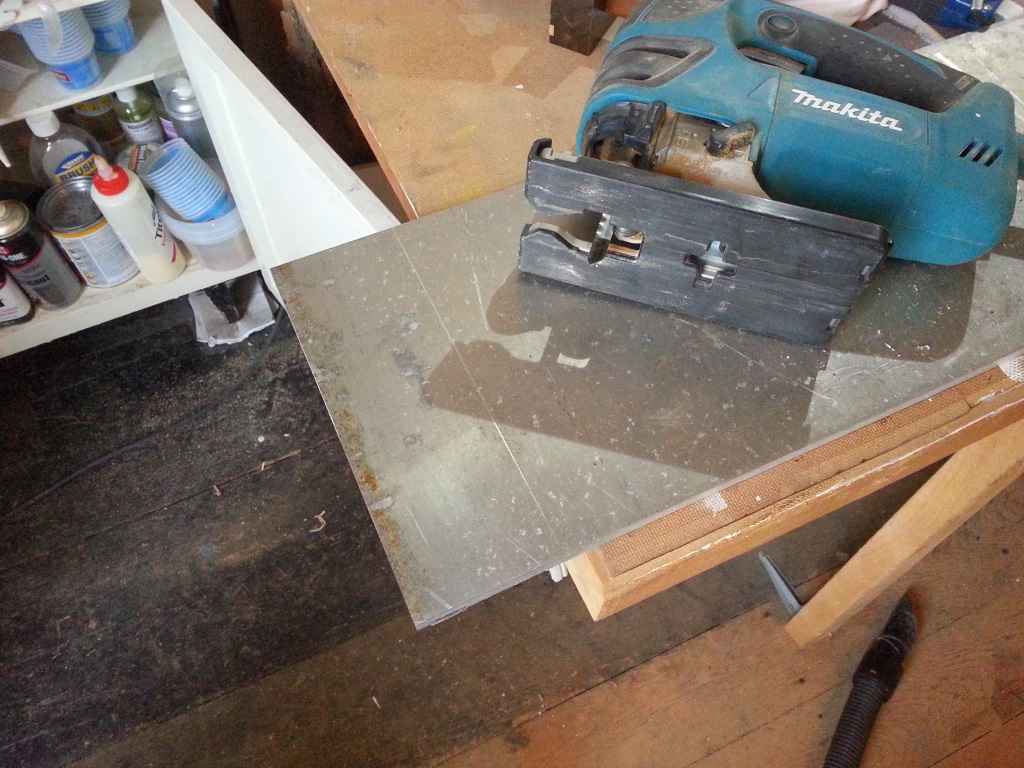
This can be done on a mitre saw or any other saw which can take TCT blades. I used a standard cross cutting wood blade which has a positive rake on the teeth. If you are going to be doing a lot of aluminium cutting get a dedicated aluminium blade as the teeth have a negative rake and will grab a lot less. I lubricated the cut with a little WD40 (a light spray on oil). Once the edge was squared I marked up a parallel with a marking gauge and rough cut with with a jigsaw.
It was then just a matter of squaring the piece up and cutting the various components out with the mitre saw. This shot shows the pieces just standing in place before any bolts were added. I used countersunk bolts as that was all I could get in a hurry but I’d suggest using pan or regular heads as they don’t suffer from the self centring issue.