
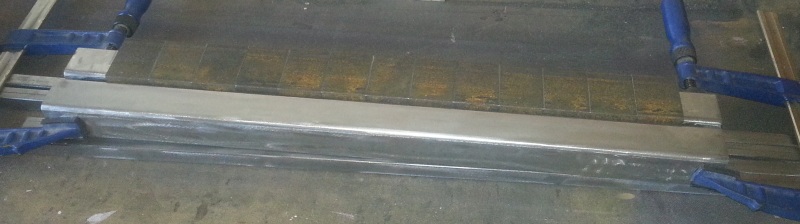
The big clean up continued over the last few days. I was beginning to think that perhaps this coating on the steel should be left in place and that was confirmed by someone on the CNC forum. It seems steel comes with a protective coating. My problem with that is it holds onto the oil like there’s no tomorrow and it’s somewhat oily itself. Commercially, apparently, they shot blast the steel before painting but that’s not a luxury open to me.
Anyway, the steel is all bright and shiny now and ready for a coat or two of paint.
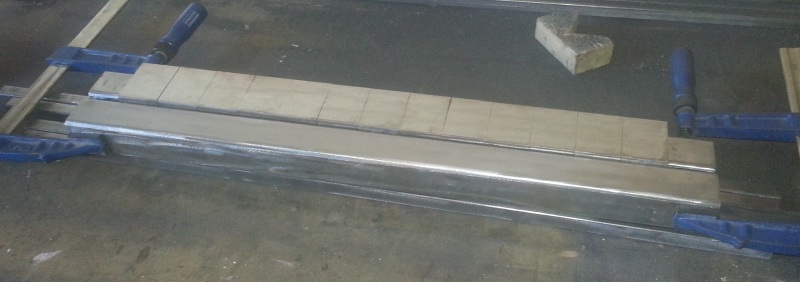
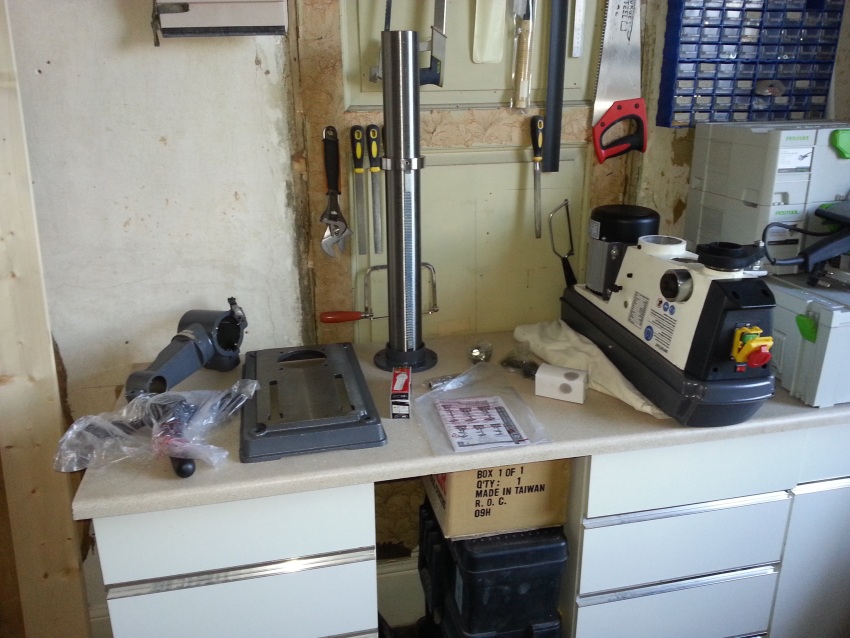
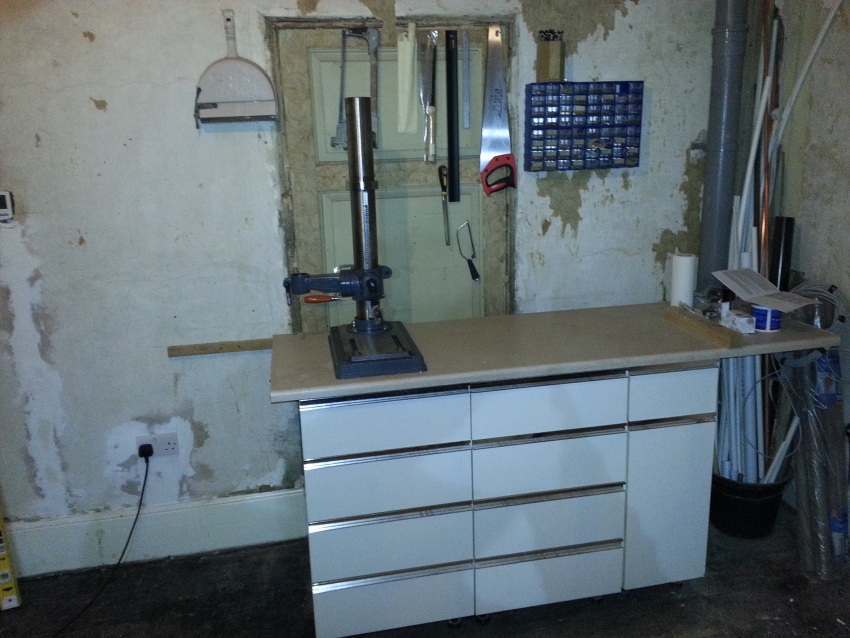
Since this machine will be bolted together for now I went out and bought myself a bench mounted pillar drill. I vowed a while back to buy good once rather than rubbish twice so I did some shopping around and settled on an Axminster ED16B2. I’ll put up a full review later but suffice it to say I’m fairly pleased with it so far. In fact I’ve only really found two downsides – it’s damn heavy and it doesn’t fit on a standard 600mm worktop.The first couple of shots show the brackets. They were probably the most rust of the lot but they cleaned up fine with a combination of flapper wheels and wire brushes. I’ve never really used a grinder before and I can’t believe how much I’ve been missing out. From now on anything and everything that needs cleaning is going to be ground to within and inch of it’s life! As an aside, my one previous foray into the world of grinders was chasing out a brick wall to fit some electrical sockets. The mess was so terrible I never tried it again and switched over to using an Armeg chisel in an SDS drill which is both fast and clean.
The work top problem was solved by quickly tearing out my existing run of bench. Pulling it forward about 200mm and then putting it all back together. It’s tied to the wall so that the whole shooting match it’s a bit more stable.
As I couldn’t leave the steel bare I cracked on with finding out about paint. Honestly, it couldn’t be more confusing if you tried. There’s about a million different makes of paint all claiming to offer the ultimate protection because of their wonderful pixie dust additive and everyone you talk to has a different opinion on the best combination of products and application styles. One thing I did learn though: stay away from 2k (2-pack or 2-part) gloss finish. It’s very hard wearing and gives a great finish but it’ll also kill you without the proper protection and working conditions.The weight problem is still a problem though. This drill weighs just over 80kg (about as much as me – at the moment) and it’s on an upstairs floor. The cabinets weight a good amout too so I’m getting a little concerned about weight. I’m seriously thinking the CNC can’t stay in this room anymore but it’s got no where else to go.
After much research I’ve settled on using Rustoleum CombiColor. It seems to offer a good combination of being fairly cheap and fairly hard wearing – it also comes in bright yellow which is a major plus for me. While looking around for paint I noticed that prices varied quite a bit. I want a 2.5l can of CombiColor and the cheapest I found it (including shipping as that can make a big difference) was £35.84 the most expensive was £47.12. That’s a whopping 31% more expensive for exactly the same item.
I’ve also done a bit of strength testing on various components. I’d read that you needed to be careful when bolting directly to steel box that had thin walls as there weren’t many turns in the thread so it can be easily torn out. I grabbed a bit of scrap 50×25 which has 3mm walls and drilled and tapped for M8 which most of my machine is using. I chose this section because it’s the worst case in the machine so if it works then it should all work.
Lets just say that it worked but the results weren’t great. The pitch on an M8 coarse is 1.25mm which means in a 3mm wall there’s only 2.4 turns which isn’t much and leads to a wobbly bolt. I was able to do it up fairly tight but I’m pretty sure I could rip the thread out by hand with a regular spanner. Next I tried an M6 which has a 1mm pitch and therefore 3 full turns in the steel. I was really surprised how much extra strength you get from an extra 0.6 turns.
Spurred on by this I grabbed a piece of 20x20x2 box and drilled a hole right the way through. The plan was to see how tight I could get the M6 bolt before I destroyed the thread and what sort of force it could withstand. The setup was simple, bolt the 20x20x2 to the 50x25x3, clamp it to the bench and see how much weight it could hold. I won’t bore you with all the gory details but the three photos below show the test set up and how much weight the bolt could hold.
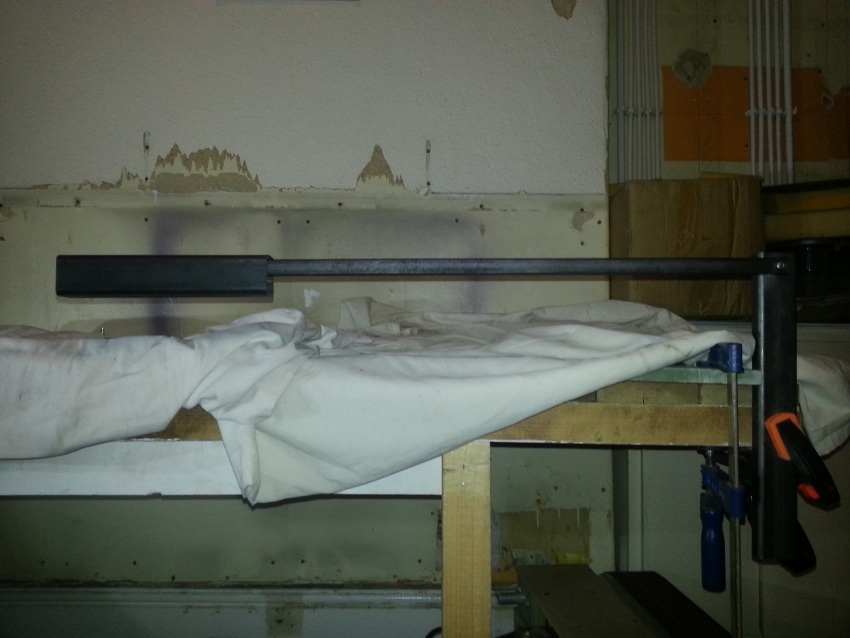
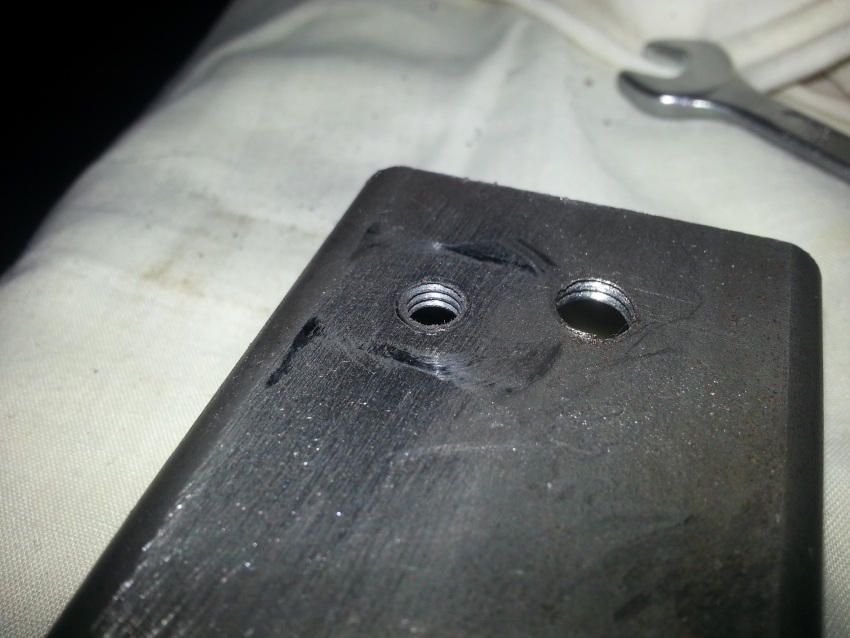
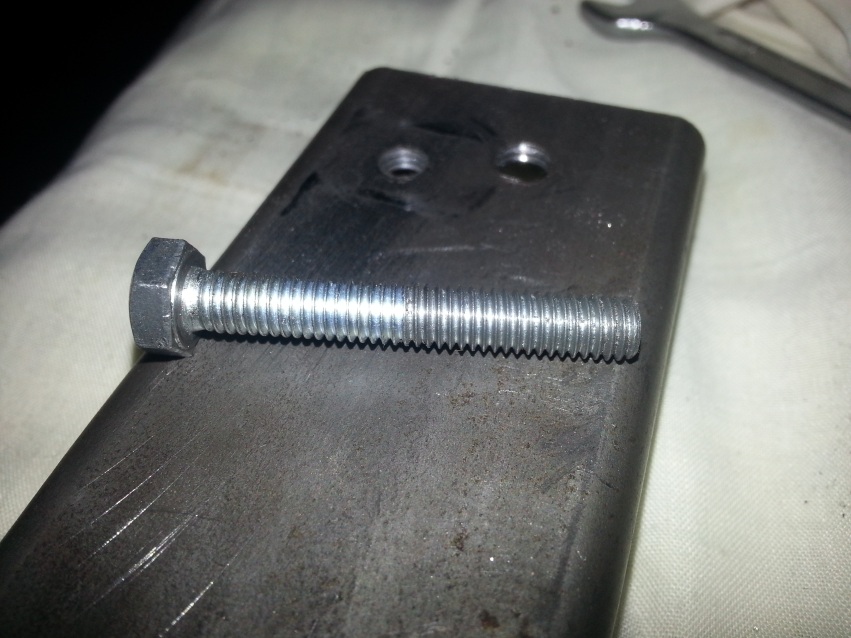
As all my pieces will have four bolts I though this was probably strong enough so I turned my attention to destroying the thread. I bolted the 20x20x2 back on and started tightening with a regular 10mm hand spanner. I managed to get it tight enough that I was starting to deform the 20x20x2 and the spanner was seriously hurting my hand. I got the feeling the thread was about to pull out but my conclusion was that unless I’m going for cursing tight (e.g. so tight you need to swear while turning the spanner) this should hold well enough.The first image shows the test setup with the maximum weight I tested with (I did try doubling the weight and it all fell on the floor). The piece of steel on the end weights around 1000g and rod is about 800mm long. The weight is being supported purely by the compression from a single M6 bolt. The second and third shots show the thread and bolt after testing. Notice that the thread on both is completely undamaged.