Well I’ve found my new favourite paint in CombiColor. It goes on smoothly with very little odour and the coverage is pretty good considering it’s yellow which doesn’t tend to cover very well. That lot you see in the picture below was covered using <100ml of paint. It needs another coat but the 2 litre tin I bought should be more than enough to do the whole frame. Also, I think it’s bright enough even for me as I can practically see the frame in the dark.
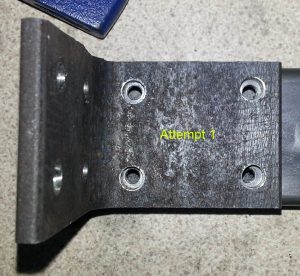
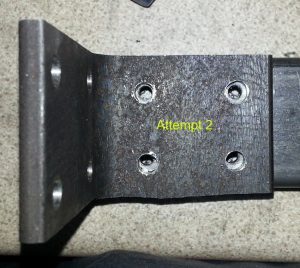
As I mentioned in the last article I’ve not worked in metal before I thought it wise to perhaps have a go at drilling and tapping for brackets before launching into the frame construction properly. Although I’d managed to get a bracket attached to a piece of steel it wasn’t exactly a resounding success so I had another go which also didn’t exactly go according to plan. In fact the alignment was bad enough that I didn’t bother to tap the holes. My first attempt told me that once the holes were tapped it would be a worse fit than it looked now.
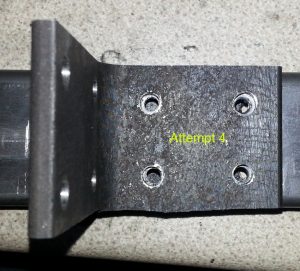
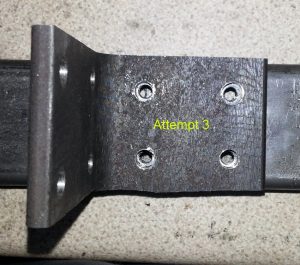
So I waited around for my drill vice, centre drills and transfer punches to arrive and watched a couple of YouTube videos on transferring holes. Attempts 3 and 4 use the better hole pattern with has 7mm holes, after fitting the bolts I get about 1mm play in both directions which is as you would expect. Phew, I was worried for a while that I couldn’t achieve the accuracy needed. The photos below show the four attempts, I lined up the top left hole to be symmetrical around the threaded hole. As you can see the bottom right hole in attempt 1 is a long way off. Photographing this is tricky so apologies for the quality

To my great relief I transferred the holes all but perfectly. On one of them the bolt needs a little encouragement but I can’t really tell if that is because I have a bit of crud in the thread or if it’s a little off centre. I think it’s a bit of both, visually the thread appears to be the tiniest hair off centre (<0.1mm though) but the bolt doesn’t go in completely smoothly without the bracket there. I suppose it could be because I’m tapping free hand, if the thread isn’t exactly vertical the side of the bolt would rub on the hole on the way in.By attempt 4 I was fairly confident that I was able to achieve the level of accuracy I needed but I couldn’t be completely sure as I had no way of measuring the play in the bracket position. I looked like 1mm all round but was it? The only way to prove to myself that I could be sufficiently accurate was to drill some new holes in the angle at 6mm. If I couldn’t transfer the holes to less than 0.1mm accuracy I was pretty sure the bolts would bind up as they went in.
I’ve got a few things to think about now though. In my design I’ve used M8 bolts to hold the brackets on as per this build. As you saw though I did a bit of experimenting with my steel though and I think M6 is a better choice. The box section I’m bolting to here has a 3mm wall and while an M8 bolt will hold the M6 feels much better as the piece is bolted up. In terms of strength the M6 seems to be more than enough so I think I’ll got with that.
The next decision is whether what size to drill the holes in the angle brackets? Assuming I use M6 bolts if I drill them at 7mm then I’ve got a little bit of play to adjust things if the alignment of the frame isn’t perfect. There’s a little voice telling me that I’ll end up with a wobbly frame that I can never get properly aligned if I do this though. My current plan is to drill at 6mm and then widen the holes and and when I need to.
Finally, I’ve been reading up on using epoxy for leveling the top of a steel. It’s a lot cheaper than paying someone to mill the top of a piece of box section and simpler in that I don’t need to find someone that will do it for me. I’m not entirely sure it’s worth it but I’ve still not addressed the problem of how to get the bed into alignment with the rails.


