Since I was a boy (which was a depressingly long time ago now) I’ve wanted to play a racing game using a steering wheel. I’ve played using a keyboard, mouse, joystick and game controller and they range from terrible to awful as controllers for driving. None have the control and accuracy that a steering wheel would provide. I could buy a steering wheel but that would be too easy so I decided to build my own.
Commercial Steering Wheels
If you just want to play a driving game with a steering wheel I’d recommend buying. There are a number of decent wheels on the market at quite reasonable prices. For example you can pick up an Xbox 360 Speed Wheel for <£50 which should work with most games. Top end wheels with pedals seem to cost anywhere from about £100 up to around £250.
Arduino Pro Micro
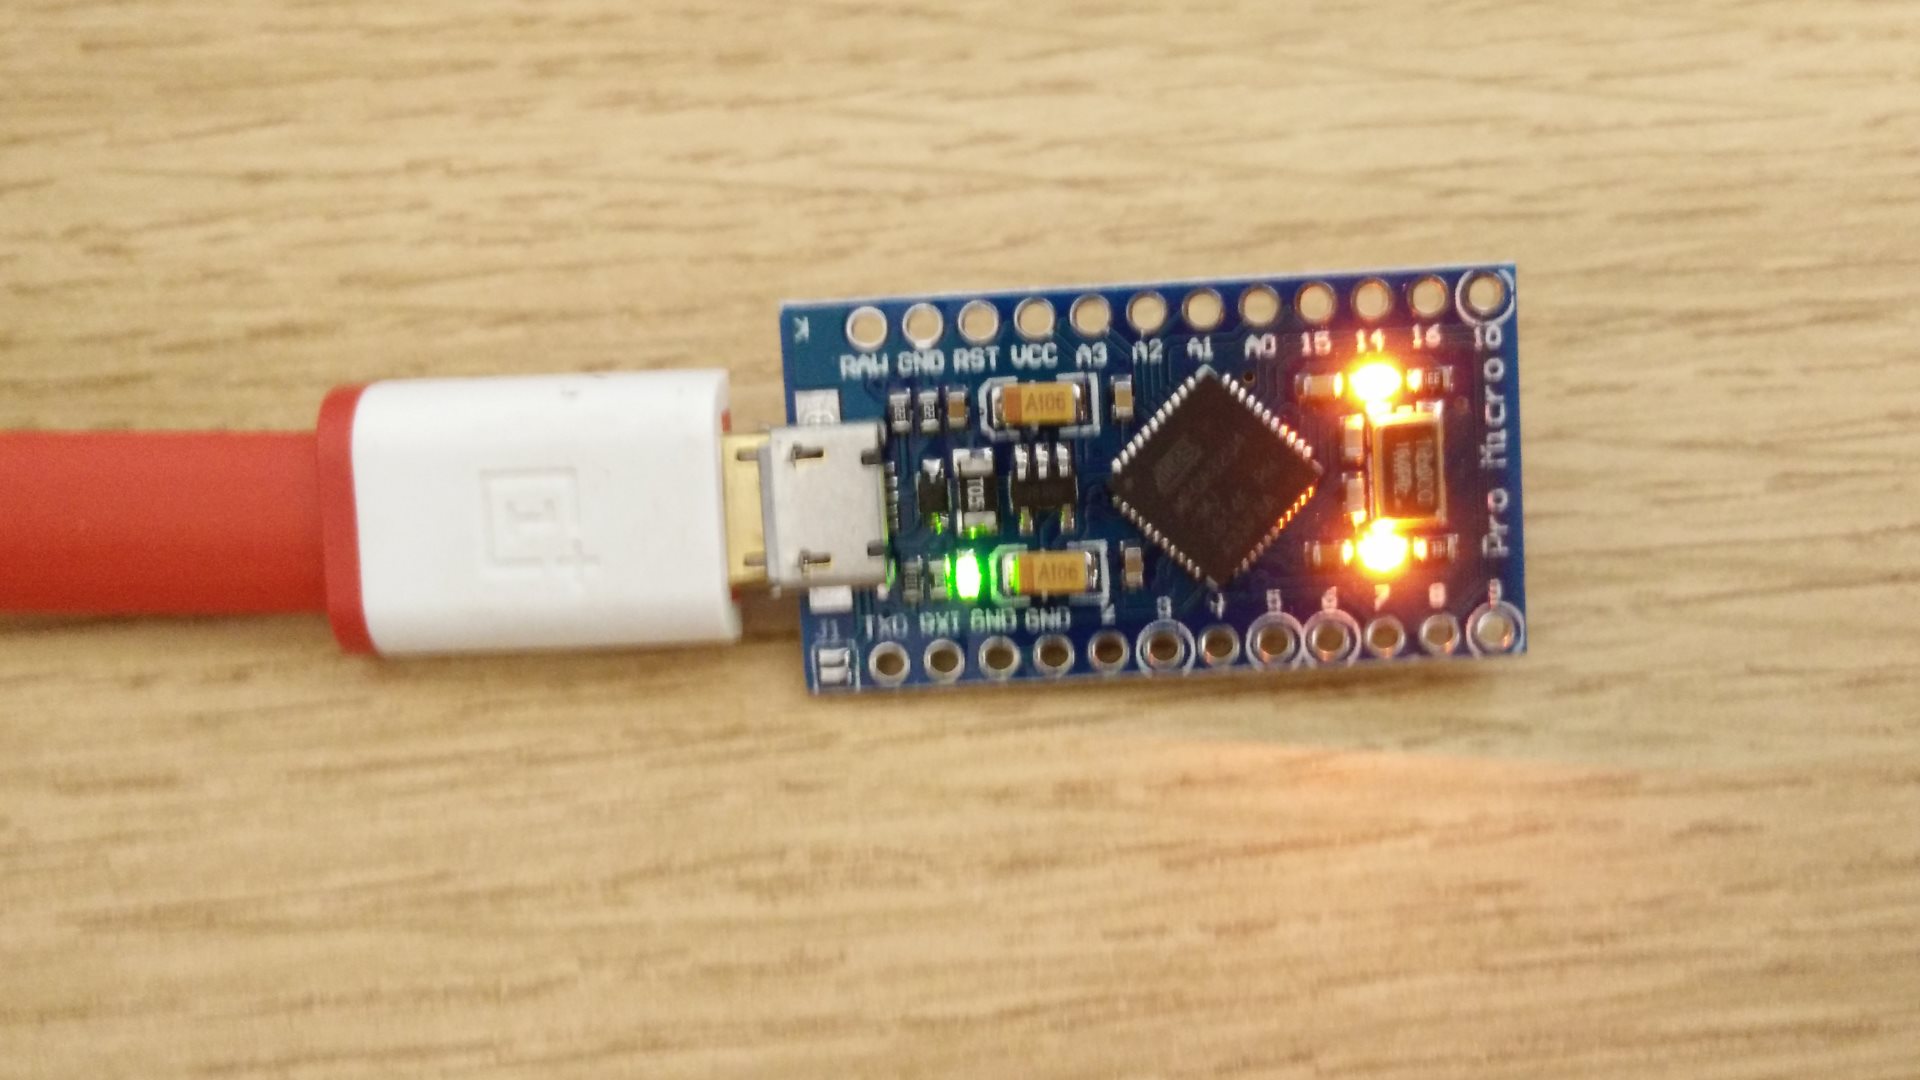
This project will use an Arduino Pro Micro which is based around the ATmega32u4 chip. A board based around the ATmega32u4 chip is necessary because the chip incorporates a USB transceiver which the more common ATmega328 based boards do not. Essentially that means you’re limited to either an Arduino Pro Micro or Arduino Leonardo. The Leonardo boards tend to be quite expensive, £10 or more, but the Pro Micro boards can usually be found for less than £3.
As well as the Pro Micro board you’ll also need some way to interface it with the computer. Unlike other Arduino boards out of the box the Pro Micro will appear as a keyboard or mouse. Note that for this tutorial I’ll be working on a Windows 10 machine but with a few minor modifications this project should work just fine on a Linux based machine and older versions of Windows.
Arduino Joystick Library
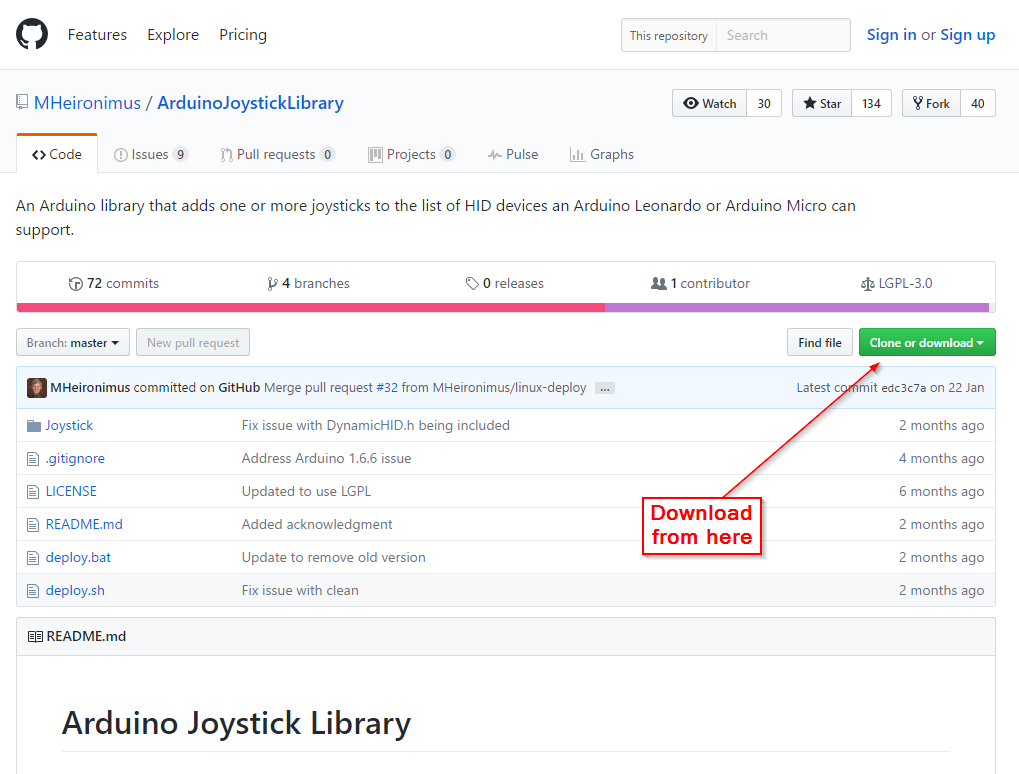
What we need is for the Pro Micro to appear as a game controller or joystick which is where the fantastic Arduino Joystick Library comes in. Head on over to GitHub and and download one of the available versions. At the time of writing there are two branches available 1.0 and 2.0, I’m going to go with 2.0 branch for this project.
Unzip the library and copy the “Joystick” folder into your Arduino “libraries” folder. Typically this folder is located at: C:\Users\<username>\Documents\Arduino\librariess. When you next start the Arduino IDE you should find examples for the joystick library under the file menu.

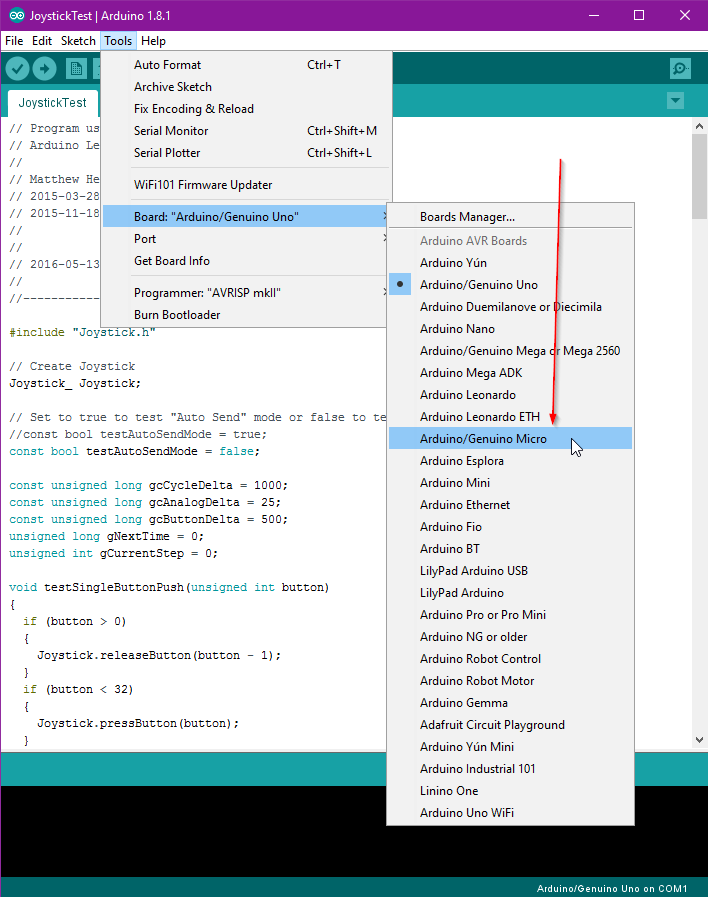
Load the example called JoystickTest and make sure you have the correct board type selected. Compile the sketch using Sketch -> Verify/Compile (or Ctrl+R) and check it builds without issue. If everything looks good upload it to the Pro Micro with Sketch -> Upload (or Ctrl+U).
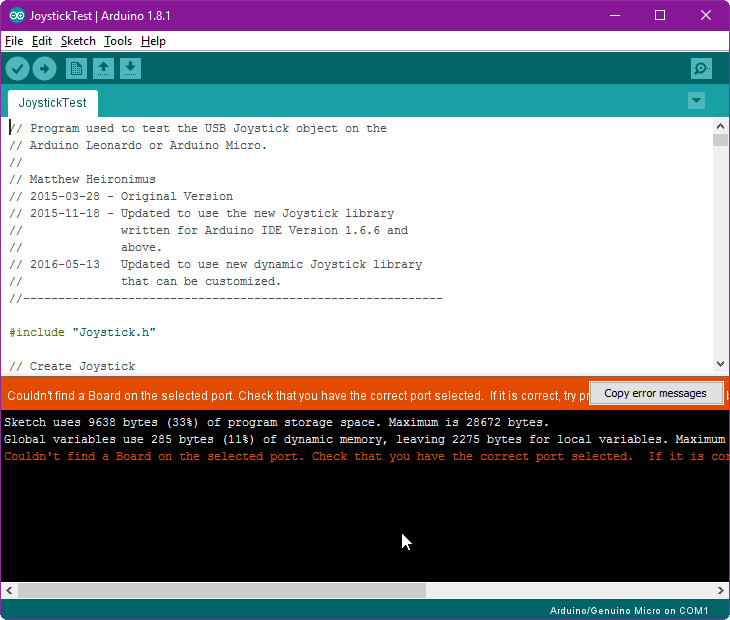
If on upload you get an error message that the board couldn’t be found make sure you have the correct port selected under Tools –> Port.
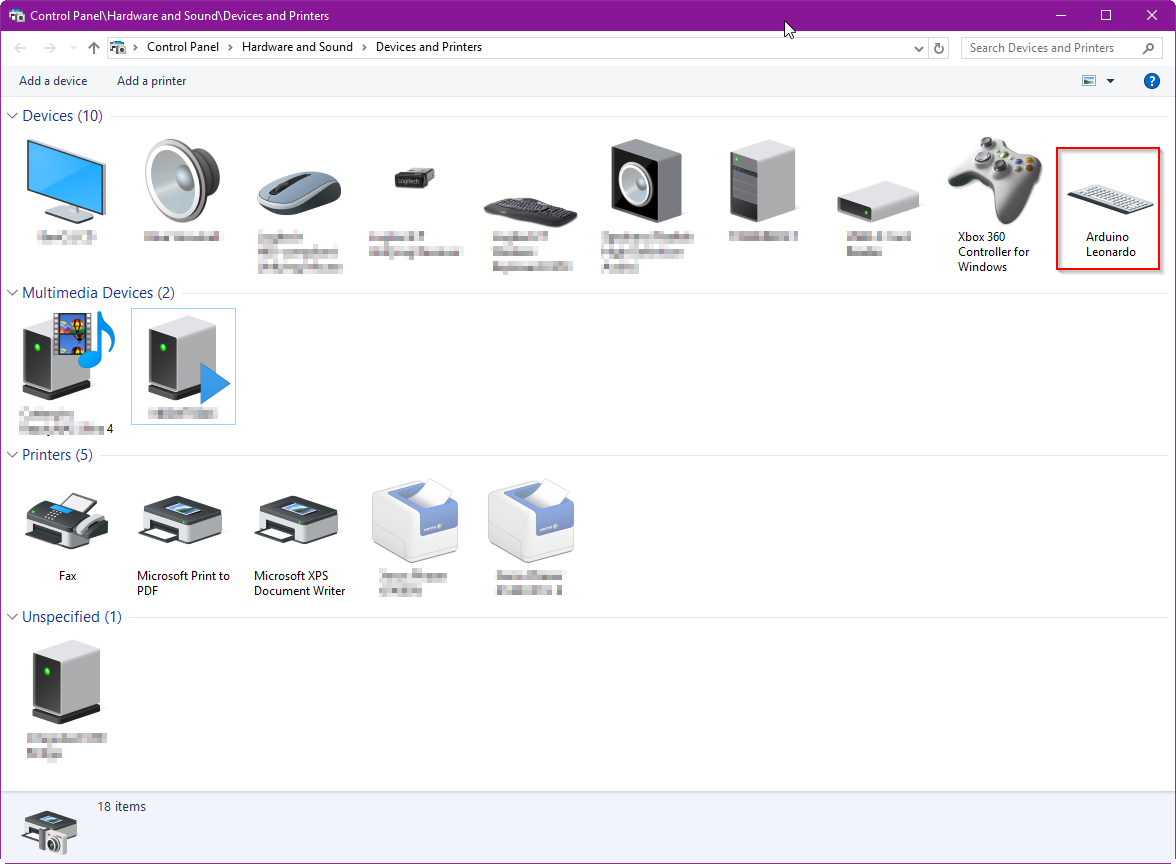
If all goes to plan with the upload you’re computer will probably make a noise indicating it’s found a new USB device which should be listed as an Arduino Micro but with a game controller logo. The Pro Micro will probably also light up like a Christmas tree as the TX and RX lights will now be permanently lit.

Right click on the Arduino Micro icon and select “Game controller settings” this will open a “Game Controller” dialog. From the list select Arduino Micro and then press the “Properties” button. With the “Arduino Micro properties” dialog open short pin A0 on the Pro Micro to ground, this will cause a short test routine to run on the board which you can watch in the properties window.
Assuming this test works you probably have a good Pro Micro board and have the Joystick libraries correctly installed and configured so it’s time to move on to part 2 where I build up the basic circuit and get it working with a game.
Resources
- Arduino Joystick Library GitHub – the repository for the Joystick library.
- Arduino Joystick Library Blog – the blog of the author of the Joysick library. At the time of writing there are half a dozen articles specifically about the library.
- Arduino Joystick Library Instructible – an Instructible
- TocaEdit Xbox 360 Controller Emulator – if all else fails this might work, I didn’t need it in the end.
- UnoJoy – an alternative joystick library that works with the Arduino Uno but requires replacement of the bootloader.
- Adapt-FFB-Joy – a joystick library that includes force feedback but requires device drivers.