The previous two articles have covered the basics of LED theory and gone into some of the maths behind designing the circuit that will power and LED. This article covers more complex arrangements of LEDs and the design of our LED cube.
In the last article I made a big point of telling you to always use a resistor but that isn’t necessarily always the case. If your power supply is stable and matches your LED forward voltage you can actually get away without using a resistor. If you plug the values into the formula on the previous page when the supply voltage equals the forward voltage it indicates you need a zero ohm resistor. One consequence of this is that lithium ion button batteries, such as the very common CR2032 @ 3.2v, can often be used to directly drive blue and white LEDs (although see this if you are driving a lot of LEDs this way). Generally though you will be stuck using a 5v, 12v or some other arbitrary voltage supply that won’t match your LED so you’ll need a resistor in there.
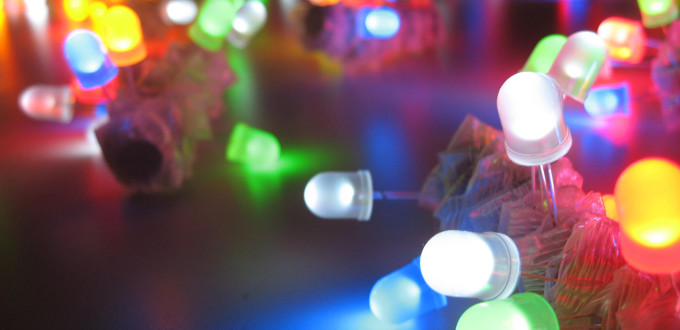
The previous page discussed powering a single LED but the cube we are making requires us to power 100 LEDs at the same time. So as not to run before we can walk lets look at powering two LEDs at a time. There are three possible circuits that we could use.
- Parallel with separate series resistors.
- Series with a shared resistor.
- Parallel with a shared resistor.
Option 1 is just two single LEDs running from the same power source (in parallel). This is a good safe solution but it has the draw back of making you solder in a resistor for every LED. From the cube point of view that’s a lot of extra soldering and it’s not clear quite how you would support the structure if you included the resistors.
Option 2 is the other safe alternative, it treats two LEDs in series effectively like they were one LED with a forward voltage equivalent to the sum of their two separate LEDs forward voltages. In the case of the cube LEDs that would mean using a supply voltage of at least 7v for two LEDs. This fine for small runs of LEDs, perhaps even as many as 10 in a row but 100 all wired in series would require a supply voltage of 350v (all be it at just 20mA). Quite apart from the difficulty of finding a suitable 350v DC power supply you don’t want a high voltage lamp sitting on your desk. Option 3 is the pragmatic solution to the problem and runs the two LEDs in parallel but sharing a resistor. This is not an ideal situation since no two LEDs are identical the voltage seen by each LED is slightly different meaning the current drawn by each one can vary greatly. In reality, as long as you are using the same LED everywhere and you aren’t driving them hard you should get away with it.
Of course you can mix and match the circuits to suit your purposes if you want. The LED cube we’ll build will have four layers each built from 25 LED’s. I toyed with the idea of having each layer in parallel and the layers wired in series – in the end I couldn’t be bothered to try and find a 14v power supply though so everything is wired in parallel.
Assuming you’re willing to take the fairly small risk of over powering some of the LEDs that are wired in parallel it seems like a perfect solution. Unfortunately, nature is a cruel master and never lets us win completely. When you wire the LEDs in parallel the current draw is additive. What this means in practice is that you have to waste quite a lot of power through a resistor which means making a resistor really quite hot.