Looking at the date on the last post it’s been 6 years since I last touched this project. Over on mycncuk, where I was getting input from people who know what they are doing, it seems to be saying it’s been 10 years since I started planning this machine. By either measure I think it’s time I actually got this thing built.
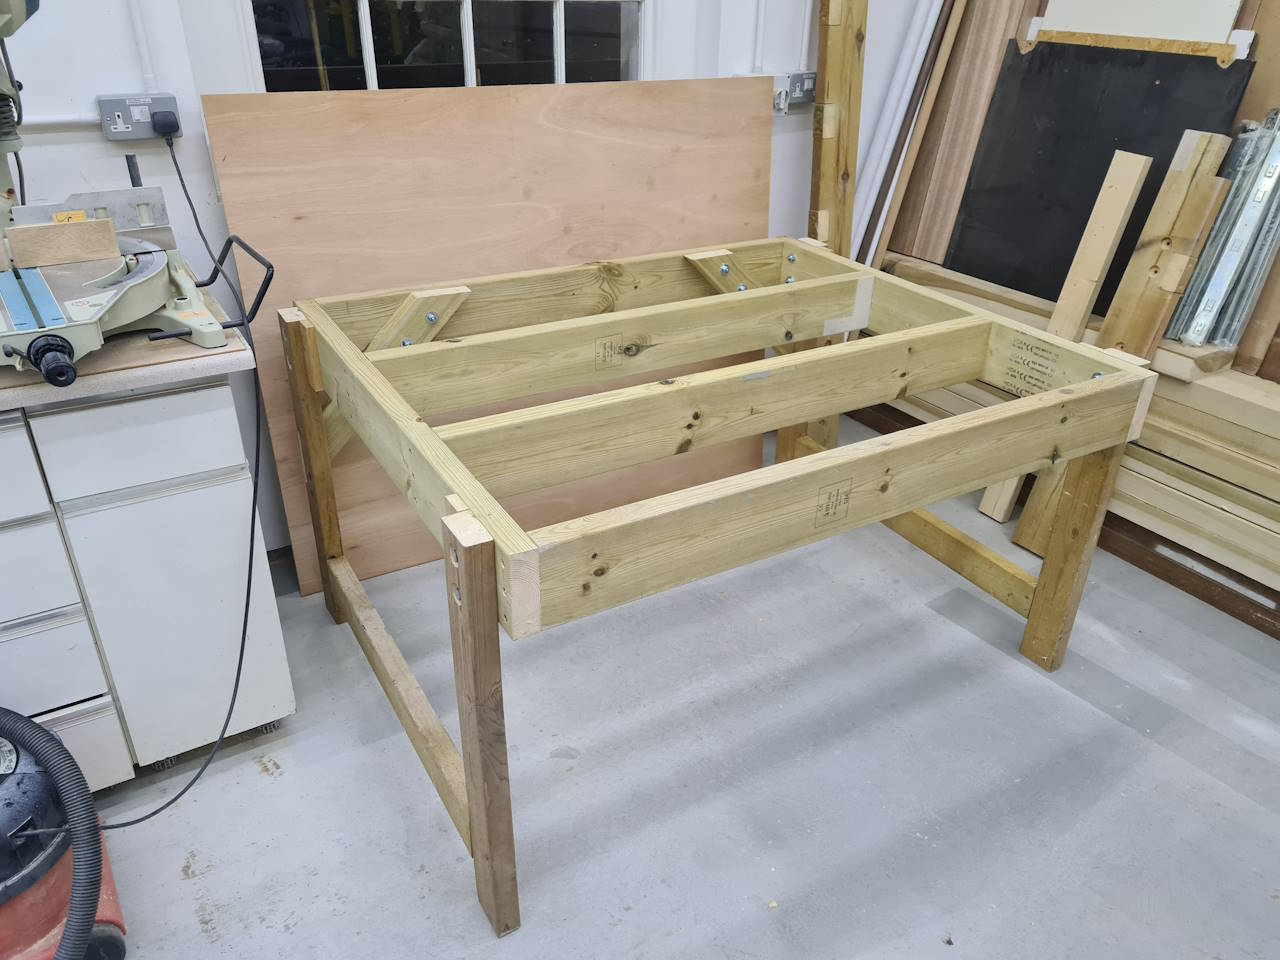
I started by building a solid bench for it to sit on. I’ve got some experience with woodworking so at least this bit went well.
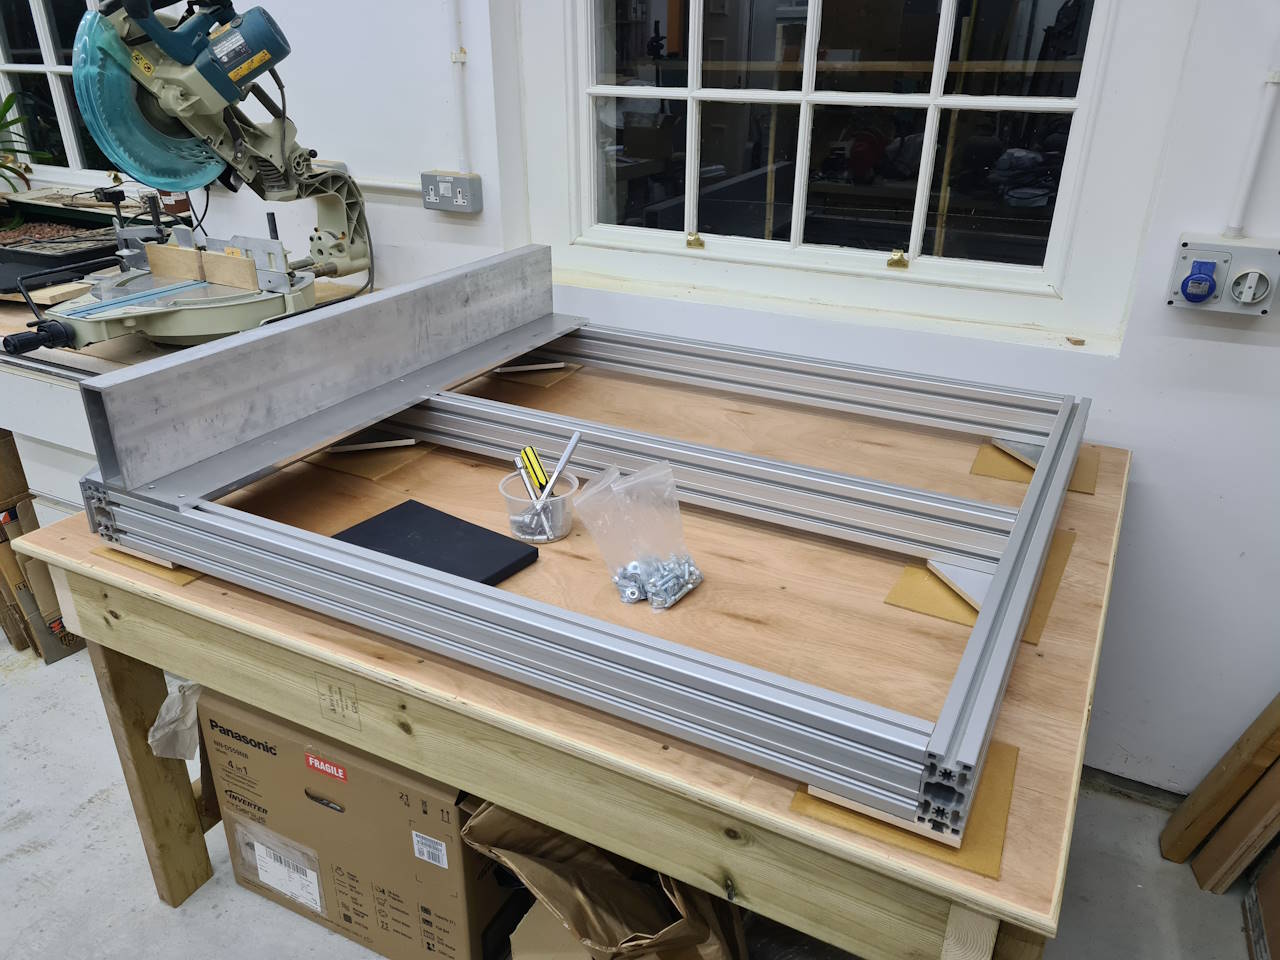
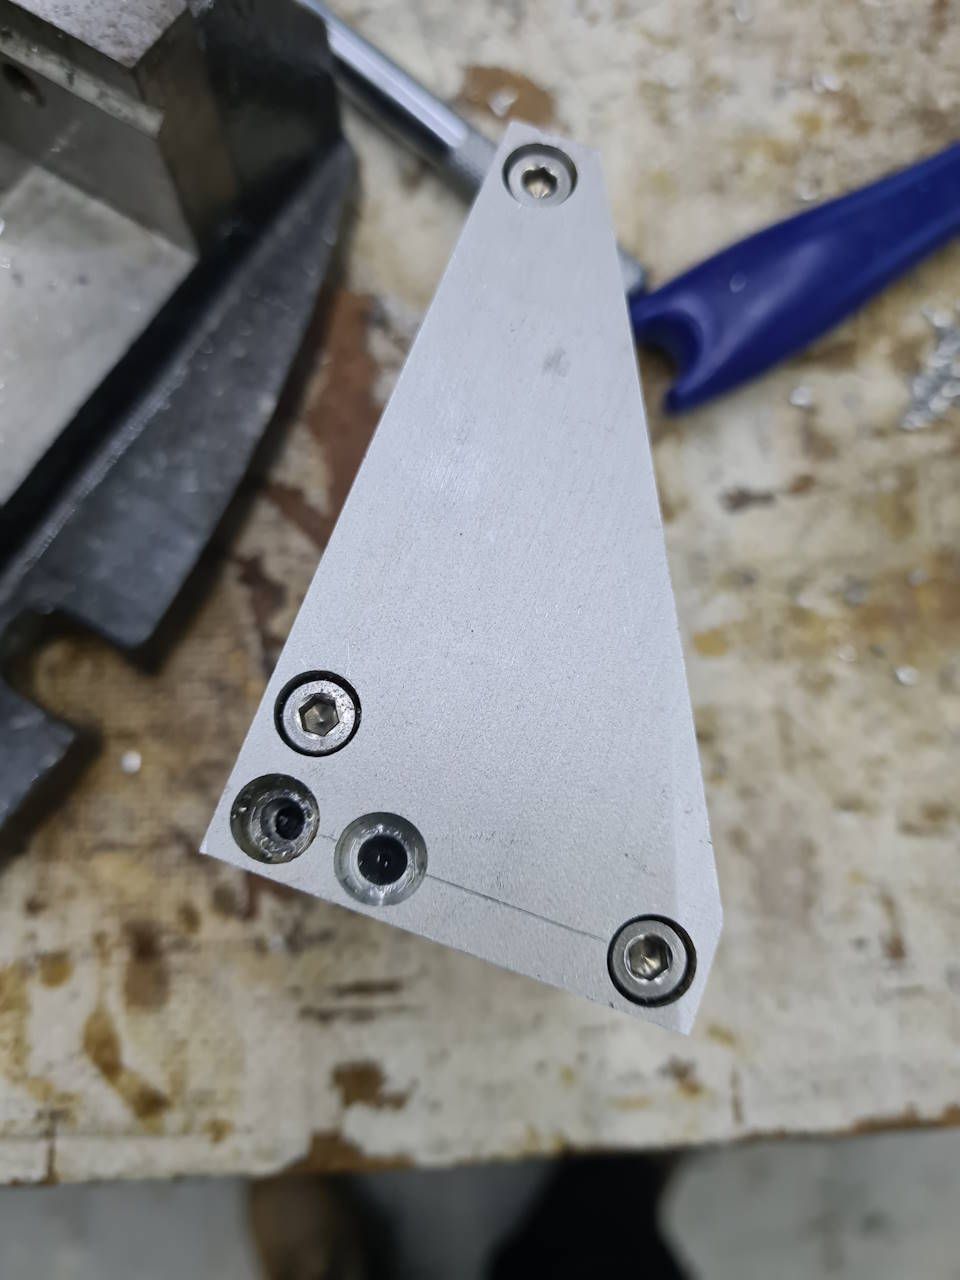
I then built the base frame for the machine which is made from a five lengths of extrusion. Advice from the forums said don’t rely on the brackets you can buy to hold it square so had some corner plates made up. In conjunction with the plates that mount the x-axis I think this will be a sturdy base. The bolts fixing the bottom plates to the frame stick though slightly hence the small sections of hard board at each location. I didn’t like this at first but I think that’ll give me some excellent shimming points if needed.
I started working on the left x-axis assembly by mounting the box section to the base plate. That went well and I forgot to get any images of it. There are 11 bolts running up through the plate into the box section.
With the box section mounted I moved on to making the brackets that I’m hoping should provide additional stiffness. They mount on the outside face of the box section. All was going well until the last hole for bracket three. It had been a long day and I was rushing so, naturally, I broke a drill bit in the hole. I drilled a replacement hole and then promptly broke a tap in it. Ah well, it’s strong enough I’m sure.
With all the supports built I drilled and tapped holes in the base and in the box section and then arranged all the pieces as they will be when the machine is finished.
I stopped here because the next thing to do was going to be mounting the rail to the box section but I’m not sure that’s correct. The x-axis rails need to be exactly perpendicular to the y-axis. In my head it feels like that would be easier to achieve if I build the y-axis first and then mount the rails. The last thing I want to do is build a machine that can only cut parallelograms! Obviously there’s the same issue with the z-axis to the y-axis but that’s less important because there’s not a great deal of travel in the z-axis.
Something that has really surprised me about this build is how large it is. The finished cutting area is about 800x800mm but the machine dominates my workshop.
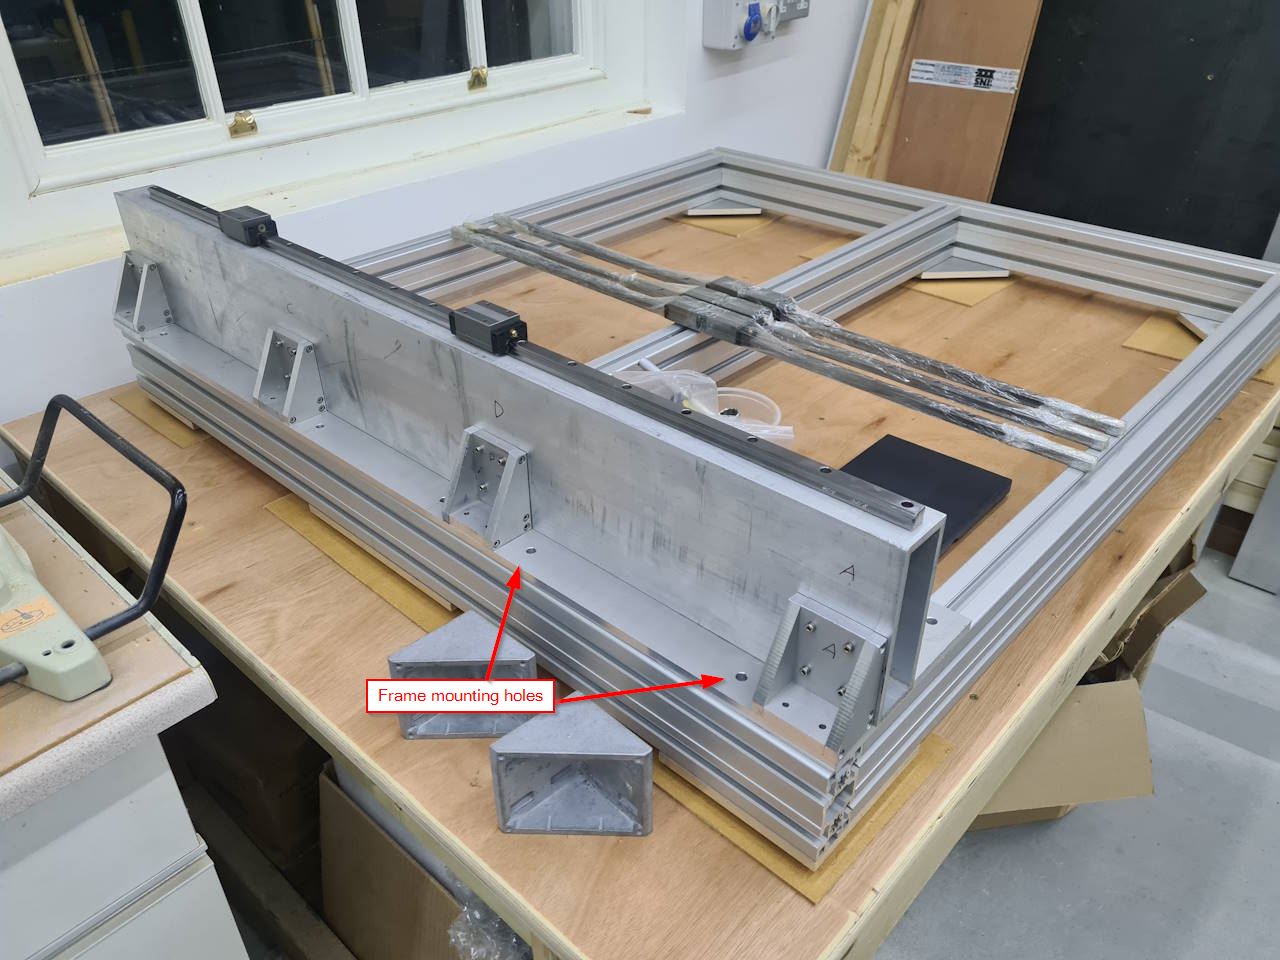
Having the plates already CNC’ed to final size is a massive help. Dimensionally all the important parts are absolutely spot on. It looks like something went wrong during the machining of the bracket pieces as there is aluminium smeared all over a few of the parts and big steps in the cut face. The drilled holes are all in the right place (apart from one run which is only spot drilled) but the sizes are all over the place. Almost all of them should be 4mm but there’s a mixture of 4, 4.2 and 5mm. I assume the wrong drill bit got loaded by mistake. Not a bit issue but it’s weird seeing a part with three different hole sizes right next to each other.